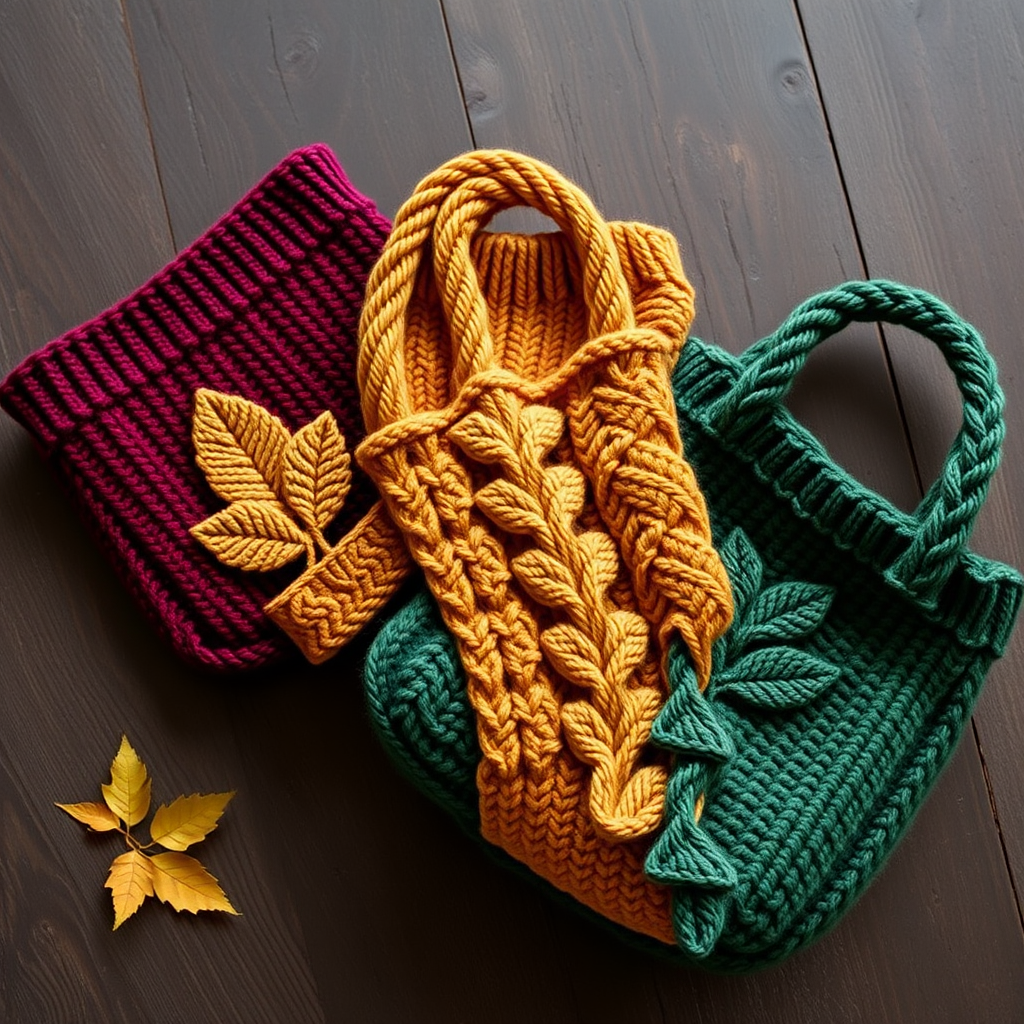
Whispering Pines Forest Tote Free Knitting Pattern – Textured Pinewood Carrier

Whispering Pines Forest Tote: A Free Knitting Pattern for a Cozy, Woodland-Inspired Carrier
Imagine strolling through a quiet forest, the earthy scent of moss and pine filling the air. That serene, grounding feeling is exactly what you'll capture with the Whispering Pines Forest Tote. This free knitting pattern transforms simple worsted-weight yarn into a richly textured, practical accessory that evokes the beauty of a woodland walk. With its tapestry of moss, bark, and pine needle hues, this tote is more than just a bag—it's a statement piece that brings a touch of nature's calm to your everyday errands.
Whether you're a seasoned knitter looking for a quick, satisfying project or a confident beginner ready to tackle your first bag, this pattern is designed to be both enjoyable and achievable. The combination of garter stitch, ribbing, and stockinette creates a beautiful, tactile fabric that is sturdy enough for daily use. Let's gather our materials and begin crafting this unique, eco-friendly tote that you'll be proud to carry.
Materials Needed: Gathering Your Forest Palette
Before we cast on, let's ensure you have everything you need. This project is wonderfully portable and requires only a few basic supplies. The color palette is key to achieving that rustic, forest-floor aesthetic, so feel free to choose shades that speak to you.
Yarn
- Worsted weight yarn in four colors, approximately 400g total:
- Color A (Moss Green): ~150g
- Color B (Bark Brown): ~100g
- Color C (Pine Needle): ~75g
- Color D (Cream): ~75g
Tip: Any worsted weight yarn (like wool, cotton, or a blend) will work beautifully. Choose a soft yet durable yarn for a bag that will hold its shape.
Needles & Notions
- US 8 (5mm) circular knitting needles with a 24-inch cable (or straight needles if you prefer).
- Tapestry needle for weaving in ends and seaming.
- Stitch markers (optional, but helpful for keeping track of pattern repeats).
- Scissors.
Gauge
18 stitches and 24 rows = 4 inches in stockinette stitch. Always take a moment to check your gauge to ensure your finished bag is the perfect size. If your gauge is off, simply adjust your needle size up or down accordingly.
Step-by-Step Instructions: Knitting Your Forest Tote
This pattern is worked in two main parts: the bag body (knitted flat and then seamed) and the handles. Don't worry—the instructions are broken down into clear, manageable steps. Let's get started!
Part 1: The Bag Body
Step 1: Cast On
With Color A (Moss Green), cast on 60 stitches using your preferred method. A long-tail cast-on works perfectly here.
Step 2: Knit the Base
Work in garter stitch (knit every row) for 10 rows. This will create a sturdy, flat base for your tote.
Step 3: Begin the Textured Body Pattern
Now, we'll start the beautiful 12-row pattern that gives the bag its forest-inspired texture. You will repeat this 12-row sequence until the piece measures 12 inches from the cast-on edge. Here is the pattern in detail:
- Rows 1-2: With Color A (Moss Green), knit all stitches. (This creates a smooth stockinette section.)
- Rows 3-4: Switch to Color B (Bark Brown). Work the ribbing pattern: *K2, P2*; repeat from * to * across the entire row. (This creates a lovely, stretchy bark-like texture.)
- Rows 5-6: Switch to Color C (Pine Needle). Knit all stitches.
- Rows 7-8: Switch to Color D (Cream). Work the ribbing pattern: *P2, K2*; repeat from * to * across the entire row. (Notice this is the reverse of the earlier ribbing, adding subtle visual interest.)
- Rows 9-10: Switch back to Color A (Moss Green). Knit all stitches.
- Rows 11-12: Switch to Color B (Bark Brown). Work the ribbing pattern: *K1, P1*; repeat from * to * across the entire row. (This tighter ribbing adds a nice finishing touch to the pattern repeat.)
Important: When changing colors, simply drop the old color and pick up the new one at the beginning of the row. Leave a 6-inch tail to weave in later. Do not cut the yarn until you are completely finished with that color, as you will be picking it up again in future repeats.
Continue repeating these 12 rows until your work measures 12 inches from the cast-on edge. End after completing a full 12-row repeat, ideally on Row 12.
Step 4: Knit the Top Border
With Color A (Moss Green), knit 6 rows of garter stitch (knit every row). This creates a clean, sturdy edge for the top of your bag.
Step 5: Bind Off
Bind off loosely in knit. A loose bind-off is crucial here to prevent the top edge from being too tight and pulling in. You can use a larger needle to bind off if you find it's too snug.
Part 2: Knitting the Handles
You will make two identical handles. They are simple, sturdy garter stitch straps that are comfortable to carry.
Step 1: Cast On
With Color A (Moss Green), cast on 8 stitches.
Step 2: Work the Handle
Knit in garter stitch (knit every row) until the handle measures 18 inches long. This length is perfect for carrying over your shoulder or in your hand.
Step 3: Bind Off
Bind off all stitches. Repeat these steps to create the second handle.
Part 3: Assembly – Bringing It All Together
Now for the exciting part—watching your tote take shape! Take your time with the seaming to ensure a professional, polished finish.
Step 1: Fold and Seam the Sides
Fold the bag body in half with the right sides together. The cast-on edge will be the bottom of the bag, and the bind-off edge will be the top. Using your tapestry needle and a length of Color A yarn, sew the side seams using a mattress stitch. This invisible seam creates a beautiful, professional finish. Sew both side seams securely.
Step 2: Turn the Bag Right Side Out
Carefully turn the bag right side out, gently pushing out the corners to create a neat, rectangular shape.
Step 3: Attach the Handles
Position each handle on the inside of the top edge of the bag. Place them about 3 inches from the side seams. Make sure they are evenly spaced and not twisted. Using your tapestry needle and Color A yarn, sew each handle securely to the bag with a sturdy whip stitch. Sew back and forth a few times over each end of the handle to ensure it is firmly attached and can withstand the weight of your belongings.
Step 4: Weave in All Loose Ends
Use your tapestry needle to weave in all loose yarn ends from your color changes and seams. Weave them in on the inside of the bag for a clean, professional look. Trim any excess yarn.
Step 5: Optional Lining for Extra Durability
For added strength and to prevent small items from slipping through the stitches, you can sew a fabric lining to the inside of the bag. Simply cut a piece of fabric to the bag's dimensions, sew it into a matching pouch, and hand-stitch it to the inside of the top edge.
Congratulations! You've just completed your very own Whispering Pines Forest Tote. This beautiful, textured bag is perfect for farmers' market trips, library visits, or as a unique gift for a nature-loving friend. The earthy tones and cozy texture make it a timeless accessory you'll reach for again and again. Happy knitting!