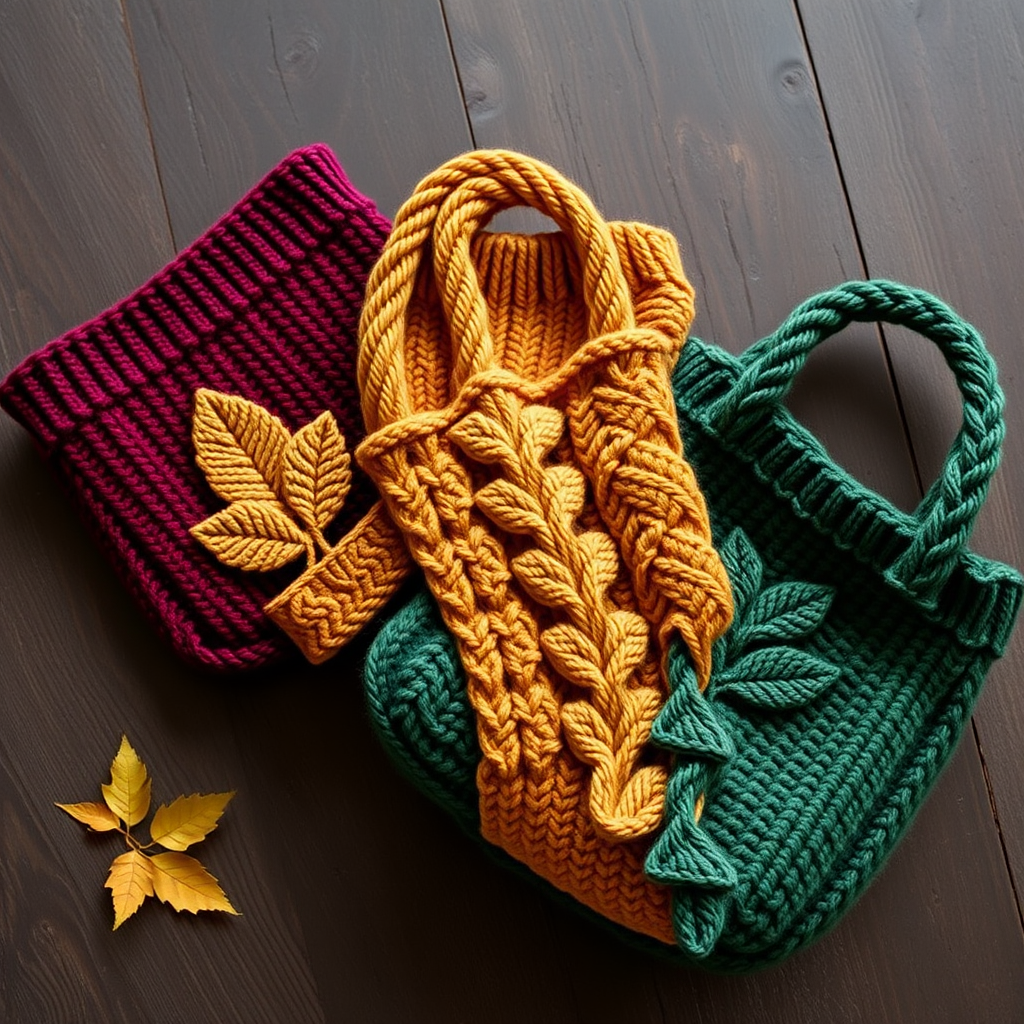
Meadow Breeze Market Tote Free Pattern – Knitted Summer Stripe Carryall

Meadow Breeze Market Tote Free Pattern – Knitted Summer Stripe Carryall
Imagine strolling through a sun-drenched farmers' market, your arm looped through a beautifully handcrafted, breathable tote that carries your fresh produce with effortless style. That's the magic of the Meadow Breeze Market Tote. This airy, striped carryall is knitted in soft cotton with a delicate mesh stitch, creating a fabric that's both sturdy and breathable—perfect for everything from weekend beach trips to everyday errands.
With its seamless, bottom-up construction and comfortable straps, this pattern is a joy to knit and even more satisfying to use. The harmonious palette of warm sand, soft sage green, and sky blue evokes a sense of coastal calm, making it a stylish and practical companion for all your summer adventures. Let's dive into this rewarding project that combines beauty with utility.
Materials Needed
Before you begin, gather the following supplies to ensure a smooth knitting experience:
- Yarn: Worsted weight cotton yarn (e.g., Lion Brand 24/7 Cotton) in 3 colors:
- Color A (Sand) – approx. 100g
- Color B (Sage) – approx. 75g
- Color C (Sky Blue) – approx. 75g
- Needles: US 7 (4.5mm) circular knitting needle, 24-inch cable (or longer for magic loop)
- Notions: Stitch markers (at least 2), tapestry needle for weaving in ends
- Gauge: 18 stitches and 24 rows = 4 inches in stockinette stitch (after blocking). Always check your gauge to ensure the correct size.
Step-by-Step Instructions
This bag is knitted in the round from the bottom up. The mesh stitch pattern creates a stretchy, breathable fabric that's ideal for a market tote. Follow these detailed instructions carefully, and you'll have a beautiful bag in no time.
Special Stitches
- Yo: Yarn over – bring the yarn to the front, then over the needle to the back, creating a new loop.
- K2tog: Knit two stitches together as one – a right-leaning decrease.
- Ssk: Slip, slip, knit – slip two stitches knitwise one at a time, then knit them together through the back loop – a left-leaning decrease.
- Kfb: Knit front and back – knit into the front of the stitch, then into the back of the same stitch before slipping it off – an increase.
Mesh Stitch Pattern (multiple of 4 + 2)
This 4-round pattern is the heart of the bag's texture:
- Round 1: *K2, yo, ssk*; repeat from * to end of round.
- Round 2: Knit all stitches.
- Round 3: *Yo, ssk, k2*; repeat from * to end of round.
- Round 4: Knit all stitches.
Base
- With Color A, cast on 96 stitches using a stretchy method (like the long-tail cast-on). Place a stitch marker at the beginning of the round and join in the round, being extremely careful not to twist your stitches.
- Knit 6 rounds in garter stitch (knit one round, purl one round) to create a sturdy, non-curling base edge. This will give your bag a solid foundation.
- Increase round: *K8, kfb (knit front and back)*; repeat from * to end of round. You should now have 108 stitches on your needle. This increases the circumference to give the bag its roomy shape.
Body
- Begin the mesh stitch pattern. Work Rounds 1-4 of the mesh pattern as described above.
- Color sequence: Change colors every 8 rounds (which equals two full repeats of the 4-round mesh pattern) in this order:
- Color A (Sand) – 8 rounds
- Color B (Sage) – 8 rounds
- Color C (Sky Blue) – 8 rounds
- Color B (Sage) – 8 rounds
- Color A (Sand) – 8 rounds
Strap Holes
- Next round (creating strap holes): This round is crucial for creating the openings for your straps. At the beginning of the round, work: K2tog, yo, k2, yo, ssk, k2, yo, ssk. Then, continue working the mesh pattern (as in Round 1 or 3, depending on where you are) until you reach the opposite side of the bag. To find the opposite point, count 54 stitches from the start of the round. At this point, repeat the same sequence: K2tog, yo, k2, yo, ssk, k2, yo, ssk. Continue the mesh pattern to the end of the round. This creates two larger, reinforced holes on opposite sides of the bag.
- Work 4 more rounds in the mesh pattern with Color A, maintaining the established pattern. This will stabilize the strap holes.
Top Edge
- Next round (decorative eyelet row): *K2tog, yo*; repeat from * to end of round. This creates a lovely, delicate eyelet detail that finishes the top of the bag beautifully.
- Knit 4 rounds in garter stitch (knit one round, purl one round) with Color A. This creates a neat, sturdy border that won't stretch out of shape.
- Bind off loosely in knit. Tip: Use a larger needle (e.g., US 8 or 9) to bind off to ensure the edge remains stretchy.
Straps (Make 2)
- With Color A, cast on 8 stitches.
- Knit in stockinette stitch (knit one row, purl one row) until the strap measures 18 inches long, or your desired length. For a crossbody bag, you may want them longer (e.g., 24-30 inches).
- Bind off loosely. Set aside.
Finishing
- Weave in all loose ends with a tapestry needle, being sure to secure them well on the inside of the bag.
- Attach the straps: Thread each strap through the two large holes on opposite sides of the bag. Align the ends of the strap on the inside of the bag, about 2 inches below the top edge. Using the tapestry needle and matching yarn, sew the strap ends securely to the inside of the bag. Use a sturdy whip stitch or backstitch, going through the strap and the bag fabric several times to ensure it's very secure.
- Block the bag: Gently wet block the bag to even out the mesh stitch and set the shape. Lay it flat on a towel, shape it to your desired dimensions, and let it dry completely. This will give your bag a professional, polished look.
Congratulations! You've just created your very own Meadow Breeze Market Tote. This beautiful, eco-friendly bag is not only a stylish accessory but also a testament to your knitting skills. It's perfect for carrying groceries, beach essentials, or knitting projects. Enjoy your new handmade companion, and don't be surprised if you receive compliments wherever you go!