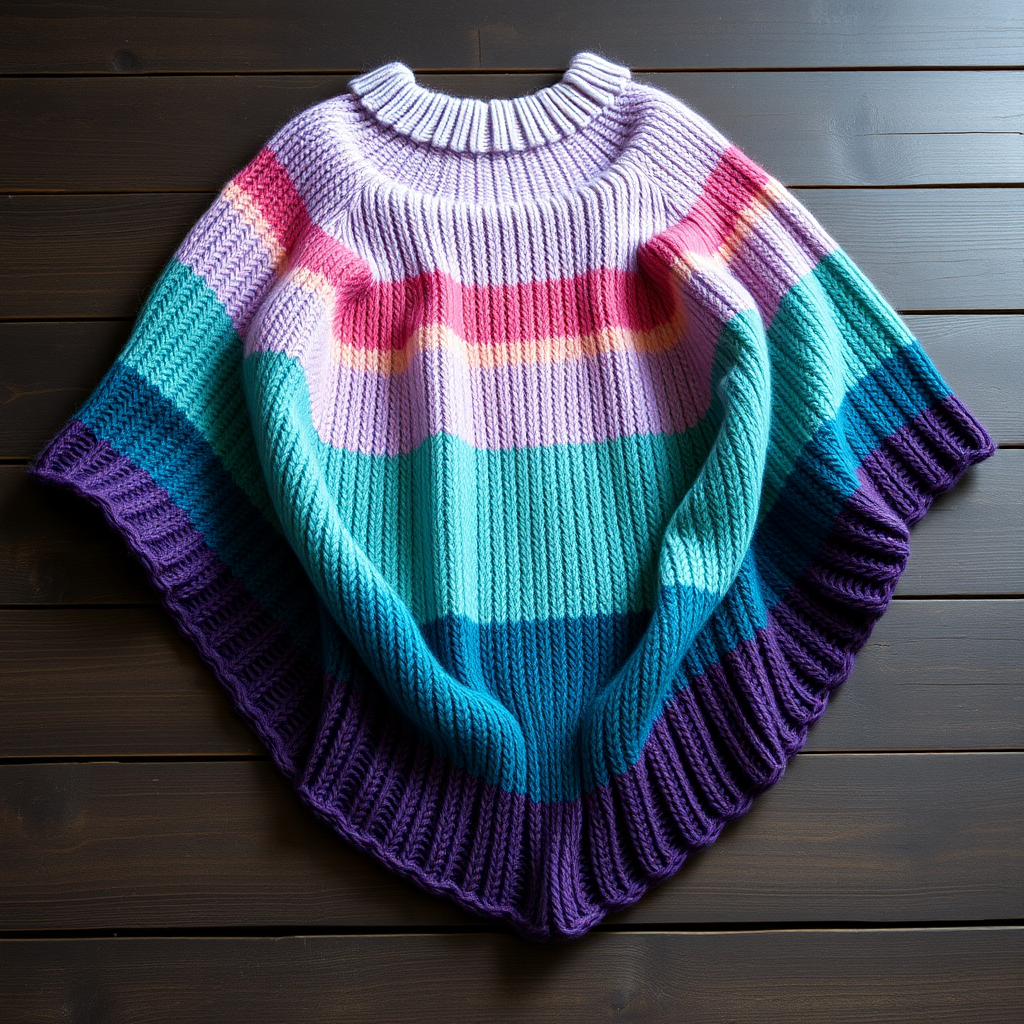
Whispering Dunes Poncho Free Pattern

Wrap Yourself in the Whispering Dunes Poncho: A Free Beginner-Friendly Knitting Pattern
There are some knitting projects that feel like a warm hug from the very first stitch, and the Whispering Dunes Poncho is exactly that. This isn't just another bulky wrap; it's a modern, sculptural piece that drapes beautifully over your shoulders, creating a soft, pebbled texture that mimics the gentle ripples of wind-blown sand. The magic lies in the deceptively simple Sand Stitch—a rhythmic alternation of knits and purls that produces a mesmerizing, woven-like fabric. Best of all, this free pattern is entirely beginner-friendly, using basic stitches and a simple rectangular construction. Whether you're curled up with a book or heading out for a crisp autumn walk, this poncho is your new go-to layer for cozy, artisan style.
In this comprehensive guide, I'll walk you through every step, from gathering your materials to seaming those final stitches. By the end, you'll have a stunning, handmade poncho that looks like it came straight from a high-end boutique—but with the unmatched comfort of something you knit yourself.
Materials Needed: Your Knitting Toolkit
Before we dive into the stitches, let's gather everything you'll need. This project is wonderfully straightforward, requiring only a few essential tools and one gorgeous, chunky yarn.
Yarn & Gauge
- Yarn: Bulky weight yarn (Category 5). You'll need approximately 700 (800, 900, 1000, 1100, 1200) yards depending on your size. For the perfect warm, sandy hue, I highly recommend Lion Brand Wool-Ease Thick & Quick in 'Sand' or 'Oatmeal'. Its plush, matte finish is ideal for this pattern.
- Gauge: 12 stitches x 16 rows = 4 inches in Sand Stitch pattern (after blocking). Getting your gauge right is crucial for achieving the correct finished measurements, so take the time to knit a swatch first!
Needles & Notions
- Needle: US Size 10.5 (6.5 mm) 24-inch circular knitting needle. Even though we're working flat, the circular needle comfortably holds the large number of stitches.
- Stitch Markers: At least one removable marker to mark the center of your neck opening.
- Tapestry Needle: For weaving in ends and seaming the shoulders.
- Stitch Holders: Or spare scrap yarn to hold your shoulder stitches while you work the other side.
Step-by-Step Instructions: Knitting Your Whispering Dunes Poncho
Let's get those needles clicking! This pattern is worked flat in one large rectangle from the bottom up, then cleverly seamed to create the poncho shape. Follow along carefully, and you'll be amazed at how quickly this comes together.
Understanding Your Size & Stitch Pattern
SIZES: XS (S, M, L, XL, XXL) – Finished chest/bust circumference: 36 (40, 44, 48, 52, 56) inches. This poncho is designed with positive ease, meaning it drapes loosely and comfortably over your body. When in doubt, size up for a cozier fit.
THE SAND STITCH (multiple of 2 + 1):
This is your main pattern, and it's incredibly easy to memorize.
- Row 1 (RS): *K1, P1* repeat to last st, K1.
- Row 2 (WS): *P1, K1* repeat to last st, P1.
- Repeat Rows 1-2 for the entire pattern.
Pro-Tip: The key is that on the right side, you start with a knit and end with a knit. On the wrong side, you start with a purl and end with a purl. This creates that beautiful, offset pebbled texture.
Knitting the Body
This is the main event—a long, relaxing stretch of knitting that builds the foundation of your poncho.
- Cast On: Loosely cast on 108 (120, 132, 144, 156, 168) stitches using your preferred method. A long-tail cast-on works beautifully here.
- Work the Pattern: Begin working in the Sand Stitch pattern as described above. Continue knitting back and forth in this pattern until your piece measures 18 (19, 20, 21, 22, 23) inches from the cast-on edge. Be sure to end with a Wrong Side (WS) row. This is the bottom of your poncho.
Dividing for the Neck Opening
Now we'll create the opening for your head. This is a simple bind-off in the center, which separates your work into two shoulder sections.
- Next Row (RS): Work in pattern across the first 45 (50, 55, 60, 65, 70) stitches.
- Bind Off: Loosely bind off the next 18 (20, 22, 24, 26, 28) stitches for the neck opening. Tip: Bind off in pattern (knit the knits and purl the purls) to keep the edge neat.
- Finish the Row: Work in pattern to the end of the row. You will now have two separate groups of stitches on your needle—the left shoulder and the right shoulder.
Knitting the Right Shoulder
We'll tackle one side at a time. Let's start with the right shoulder, which is the last set of stitches you just worked.
- You are now working on the last set of stitches (the right shoulder from the RS).
- Continue working even in the Sand Stitch pattern on these stitches only, until this section measures 9 (10, 11, 12, 13, 14) inches from the neck bind-off edge.
- Place these stitches onto a stitch holder or scrap yarn. Break your yarn, leaving a long tail for seaming.
Knitting the Left Shoulder
Time to give the left side some love.
- Rejoin your yarn to the remaining stitches on your needle (the left shoulder from the RS).
- Work even in the Sand Stitch pattern until this section measures the exact same length as your right shoulder section.
- Place these stitches onto a stitch holder or scrap yarn. Break your yarn, leaving a long tail.
Finishing Touches: Blocking & Seaming
This is where your rectangle transforms into a beautiful, wearable poncho.
- Block Your Work: This step is non-negotiable for a professional finish. Soak your piece in lukewarm water with a splash of wool wash, gently squeeze out excess water (never wring!), and lay it flat on a towel. Gently stretch and pin it to your desired measurements. Let it dry completely. Blocking evens out your stitches and gives the fabric its beautiful drape.
- Seam the Shoulders: With the Right Sides (RS) of your work facing each other, use the mattress stitch and your tapestry needle to seam the shoulder seams. Start from the outer edge and sew inward, toward the neck bind-off edge. Do this on both sides.
- Leave the Neck Opening: When seaming, be sure to leave the center 9 (10, 11, 12, 13, 14) inches open in the middle. This is your neck opening. The bound-off stitches you created earlier will form the back of the neck, and the seamed shoulders will sit perfectly on your shoulders.
- Weave in Ends: Use your tapestry needle to weave in all loose yarn ends securely on the wrong side of the fabric.
Optional: Adding a Boho Fringe
Want to add a little extra flair? A simple fringe along the bottom edge looks stunning and emphasizes the poncho's artisan vibe.
- Cut pieces of yarn about 12 inches long. You'll need one piece for every other stitch along the cast-on edge.
- Fold a piece of yarn in half. Insert your crochet hook (or your fingers) from the wrong side to the right side of the fabric at the cast-on edge.
- Pull the folded loop through the fabric. Thread the two loose ends through the loop and pull tight to secure.
- Repeat this process along the entire bottom edge, then trim the fringe evenly.
And there you have it—your very own Whispering Dunes Poncho! A stunning, cozy, and chic garment that you'll reach for all season long. The rhythmic Sand Stitch is almost meditative to knit, and the simple construction makes it a perfect weekend project. I can't wait to see your version! Happy knitting!