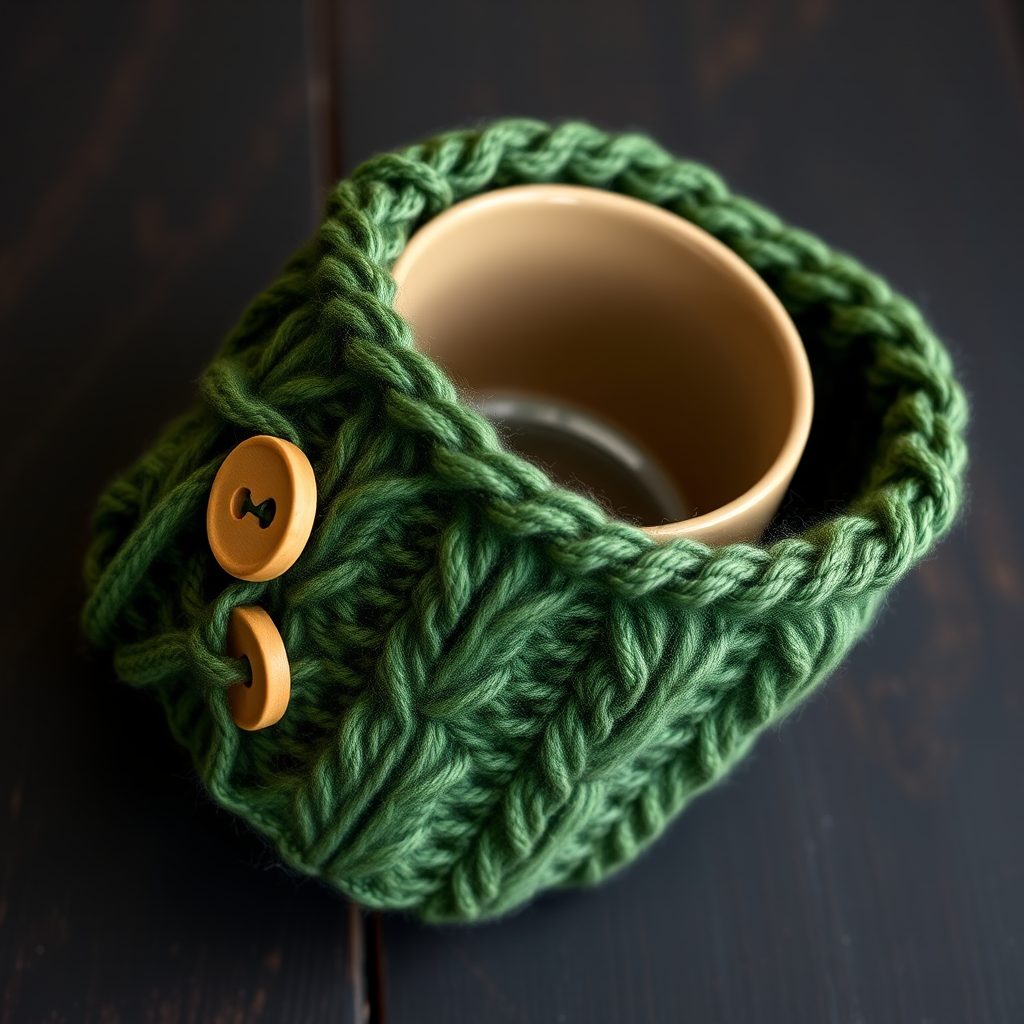
Whimsical Woodland Mushroom Mug Cozy Free Pattern
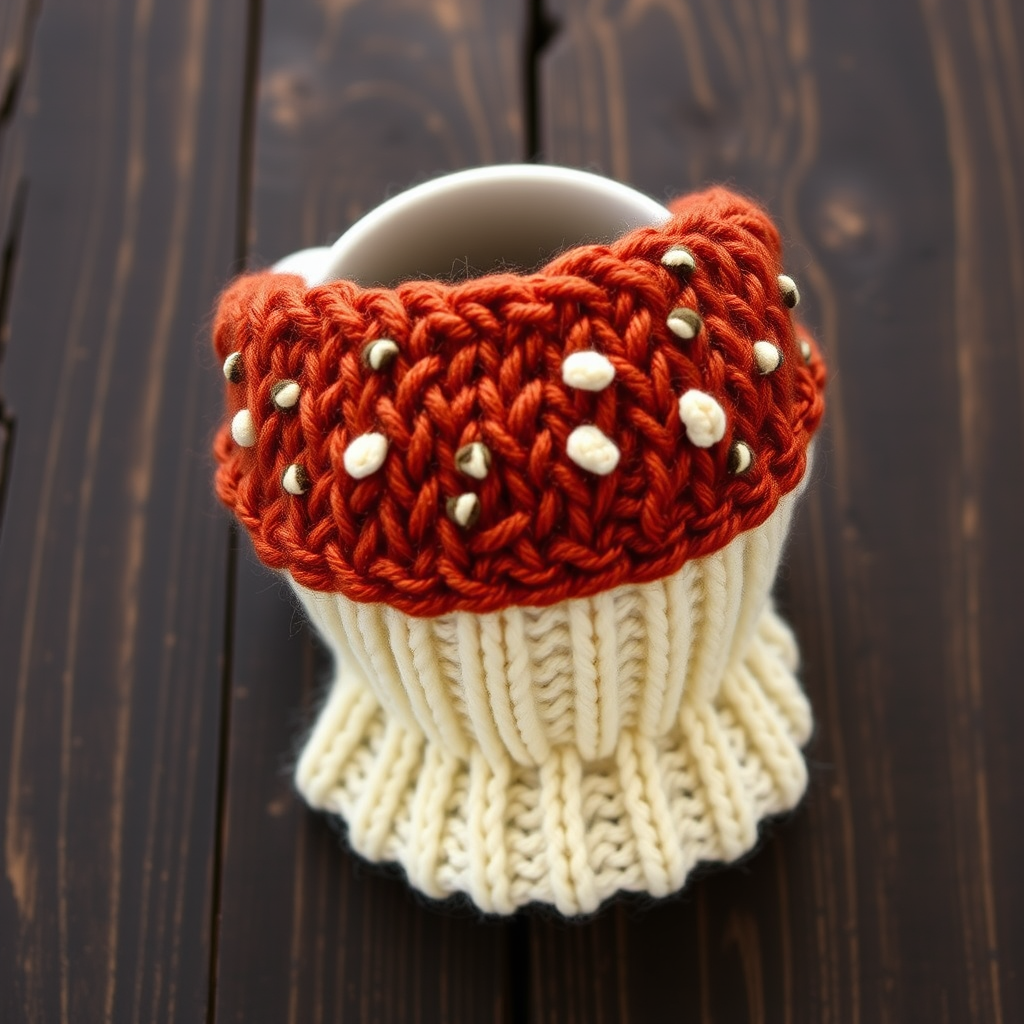
Whimsical Woodland Mushroom Mug Cozy: A Free Knitting Pattern for Beginners
There's something undeniably magical about wrapping your hands around a warm mug on a chilly morning—and when that mug is dressed in a hand-knit mushroom forest cozy, the experience becomes truly enchanting. This charming project features a textured, bumpy mushroom cap in warm terracotta, a smooth cream stem, and a neat ribbed border that hugs your favorite ceramic mug perfectly. Whether you're looking for a quick handmade gift idea or a delightful way to practice your knitting skills, this beginner-friendly pattern is your ticket to adding a touch of woodland whimsy to your daily tea or coffee ritual.
This cozy is knitted flat from side to side, then seamed—or optionally finished with a button closure. It's a fast, satisfying project that uses basic knit and purl stitches, making it ideal for those new to knitting while still offering a creative canvas for more experienced makers. Let's dive into the pattern and bring a little forest floor magic to your kitchen.
Materials Needed
Before you begin, gather the following supplies. This project is wonderfully portable and requires minimal materials, making it perfect for on-the-go crafting.
Yarn
- Color A (Mushroom Cap): Worsted weight yarn in a warm red or terracotta shade. Approximately 30-40 yards.
- Color B (Stem & Ribbing): Worsted weight yarn in cream or off-white. Approximately 30-40 yards.
- Optional Speckle Yarn: A small amount of dark brown or white worsted weight yarn for the mushroom spots.
Needles & Notions
- Knitting Needles: US Size 6 (4 mm) straight or circular needles (for flat knitting).
- Yarn Needle: For seaming and weaving in ends.
- Scissors
- Tape Measure
- Optional: One small wooden or decorative button (if choosing the button closure option).
Gauge
20 stitches and 26 rows = 4 inches in stockinette stitch (after blocking). While gauge is not critical for this project, aiming for this tension will ensure a snug, comfortable fit around your mug. If your stitches are looser, the cozy will simply stretch a bit more; if tighter, it will fit more snugly.
Step-by-Step Instructions
Follow these detailed instructions carefully, and you'll have a beautiful mushroom mug cozy in no time. The pattern is worked flat, from side to side, and features four distinct sections: bottom ribbing, smooth stem, textured cap, and top ribbing.
Step 1: Measure Your Mug
First, wrap a tape measure around your mug (excluding the handle) and note the circumference. Your cozy should be approximately 1 inch shorter than this measurement so it stretches snugly around the mug. Next, measure the height of the mug body where you want the cozy to sit. For a standard mug (about 3.5 inches tall), you'll cast on 30 stitches. If your mug is taller or shorter, adjust your cast-on count using this formula: Stitches = Height in inches × 5 (based on the gauge of 5 stitches per inch).
Step 2: Cast On
Using Color B (cream), cast on 30 stitches (or your calculated number) using your preferred method—the long-tail cast-on works beautifully here. Leave a tail of at least 6 inches for seaming later.
Step 3: Bottom Ribbing
This ribbed edge creates a stretchy, neat border that will grip the bottom of your mug.
- Rows 1-6: *Knit 1, purl 1*; repeat from * to * across all rows. Work a total of 6 rows in this k1, p1 rib pattern. Remember to slip the first stitch of each row purlwise for a clean edge (optional but recommended).
Step 4: Stem Section (Stockinette Stitch)
This smooth section represents the mushroom stem and provides a lovely contrast to the textured cap above it.
- Row 7 (Right Side): Knit all stitches.
- Row 8 (Wrong Side): Purl all stitches.
- Rows 9-20: Repeat Rows 7 and 8 for a total of 14 rows of stockinette stitch. You should end after completing a wrong-side row.
Step 5: Mushroom Cap Section (Garter Stitch)
Now switch to Color A (terracotta/red). The garter stitch creates a bumpy, textured surface that beautifully mimics a mushroom cap.
- Row 21: Knit all stitches (right side).
- Rows 22-34: Knit all stitches across every row for a total of 14 rows of garter stitch. Every row is a knit row, creating those characteristic ridges. Cut Color A, leaving a 6-inch tail.
Step 6: Adding Optional Speckles
To give your mushroom cap those charming, whimsical spots, you have two options:
Option A: Duplicate Stitch (Easiest for Beginners)
After finishing the entire cozy, use your yarn needle and a small amount of contrasting yarn (white or dark brown) to embroider small "V" shapes over individual knit stitches on the cap. Simply bring the needle up from the back, follow the path of the V-shaped stitch, and weave the yarn through. Place speckles randomly across the cap for a natural look.
Option B: Intarsia Method (During Knitting)
If you prefer to knit your speckles in as you go, you can work them during the cap section. On rows 23, 27, and 31, at random stitch positions (e.g., stitches 5, 15, and 25), knit one stitch with your speckle color. Important: When changing colors mid-row, twist the yarns around each other on the wrong side to prevent holes. Carry the speckle yarn loosely up the side of your work between rows.
Step 7: Top Ribbing
Switch back to Color B (cream) to create the matching top border.
- Row 35: *Knit 1, purl 1*; repeat from * to * across the row.
- Rows 36-40: Continue in k1, p1 ribbing for a total of 6 rows.
Step 8: Bind Off
Bind off loosely in pattern: knit the knit stitches and purl the purl stitches as you bind off. This maintains the stretchiness of the ribbed edge. Cut your yarn, leaving a 10-inch tail for seaming, and pull it through the last loop.
Step 9: Finishing & Seaming
Fold your cozy in half with right sides together, matching the cast-on and bind-off edges. Thread your yarn needle with the long tail from the bind-off edge (or use Color B yarn). Using a mattress stitch or a simple whip stitch, sew the side seam closed. Be careful to match the rows so your seam is neat and invisible. Weave in all loose ends securely.
Step 10: Optional Button Closure
If you'd prefer a button closure instead of a permanent seam, skip the seaming step. Instead:
- Create a buttonhole: On the last row of the top ribbing (Row 40), when you are about 1 inch from the edge, bind off 2 stitches. On the next row (Row 41, if you're adding an extra row), cast those 2 stitches back on over the gap. This creates a small hole.
- Attach the button: Sew a small wooden or decorative button onto the opposite end of the cozy, positioned to align with the buttonhole. Wrap the cozy around your mug and button it closed for an adjustable fit.
Step 11: Blocking
To even out your stitches and give your cozy a professional finish, lightly steam block the piece. Do not iron directly—hold a steam iron or steamer slightly above the fabric and allow the steam to relax the yarn. Lay flat to dry completely before wrapping it around your mug.
Enjoy Your Woodland Creation
Once your cozy is dry, slip it around your favorite mug, pour yourself something warm, and enjoy the fruits of your labor. This whimsical mushroom mug cozy makes a wonderful handmade gift for tea lovers, nature enthusiasts, or anyone who appreciates a touch of cozy charm. The pattern is easily customizable—experiment with different color combinations, add more speckles, or adjust the size for taller or wider mugs. Happy knitting!