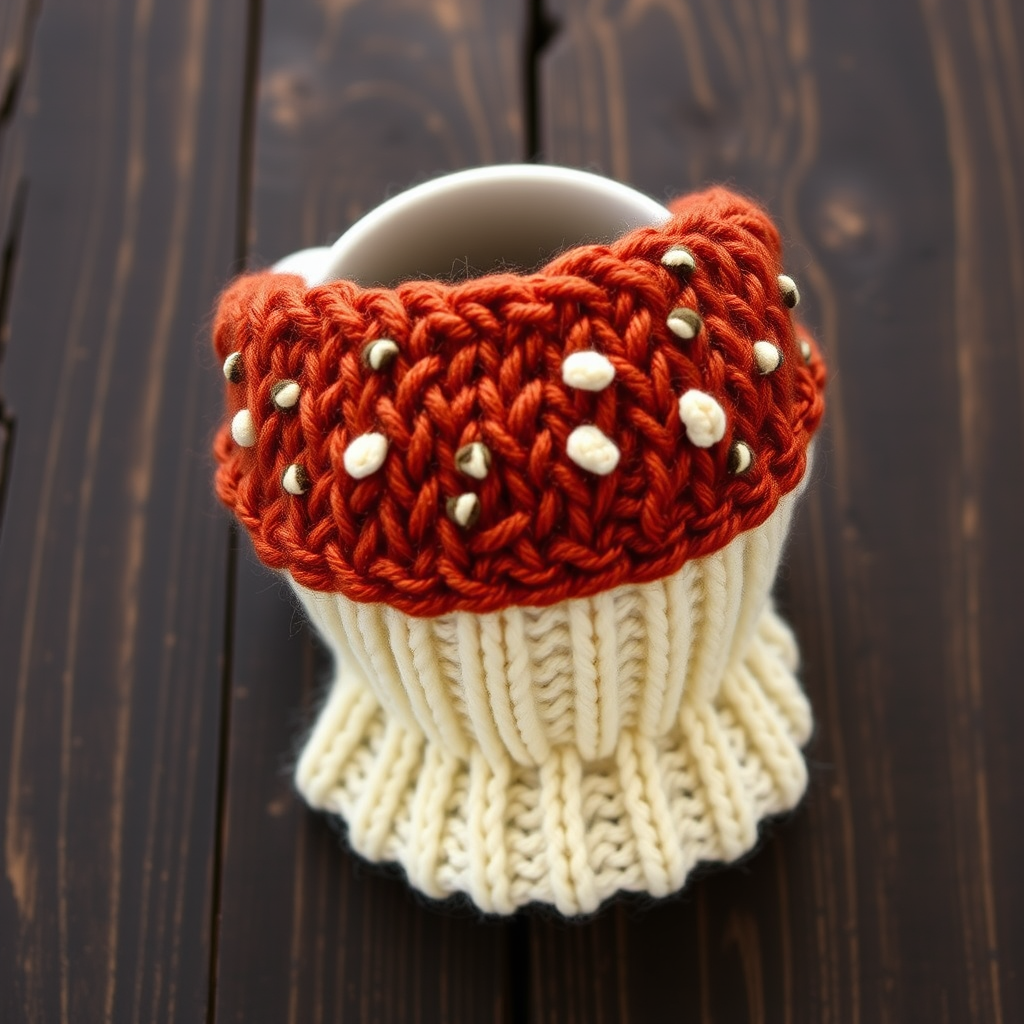
Enchanted Forest Mug Cozy Free Pattern
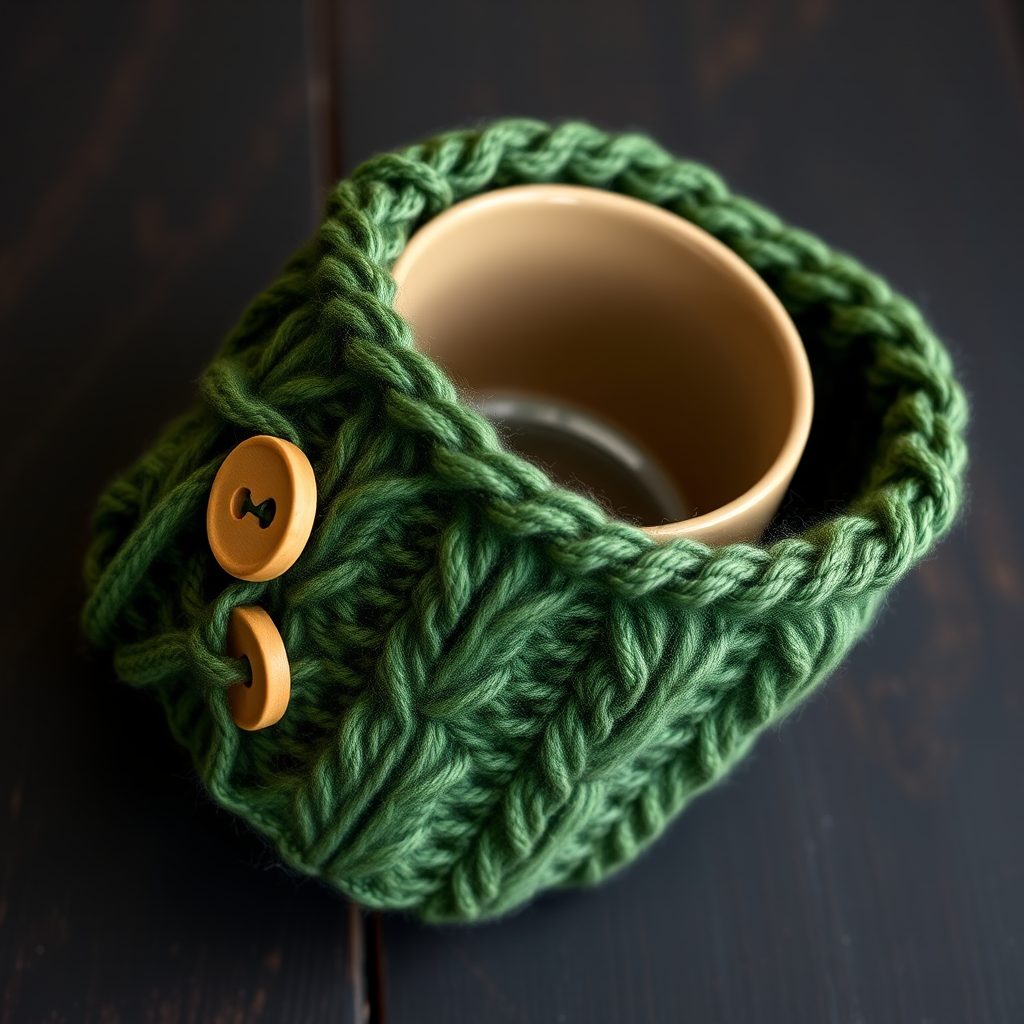
Enchanted Forest Mug Cozy: A Free Knitting Pattern for Cozy Mornings
Imagine wrapping your hands around a warm mug, the steam rising to meet your face, and the earthy, textured knit of a forest floor cradling your favorite brew. This Enchanted Forest Mug Cozy is more than just a practical accessory—it's a small, meditative project that brings a touch of woodland whimsy to your daily ritual. Designed with beginners in mind, this quick knit uses simple knit and purl stitches to create a subtle, repeating leaf motif. It’s the perfect handmade gift for a tea lover, a housewarming token, or a little treat for yourself. Let’s cast on and bring a bit of nature’s warmth to your cup.
Materials Needed
Before you begin, gather your supplies. This project is wonderfully portable and requires minimal materials, making it an ideal on-the-go project.
- Yarn: Worsted weight yarn in two colors. You will need a small amount of each.
- Main Color (MC): Forest Green (approx. 50-60 yards)
- Contrast Color (CC): Mushroom Brown (for embroidery details)
- Needles: US Size 7 (4.5 mm) knitting needles. Straight needles are perfect for this flat-knit project.
- Notions: A tapestry needle for weaving in ends and sewing the button, a 1-inch (25 mm) wooden or natural-toned button, and scissors.
- Gauge: 20 stitches and 26 rows = 4 inches in stockinette stitch. Note: Gauge is important for a snug fit, but this cozy is quite forgiving. If your mug is slightly larger or smaller, you can adjust the length by adding or removing a repeat of the leaf pattern.
Step-by-Step Instructions
This cozy is knitted flat from the bottom up, then seamed and secured with a button. The pattern is structured to be simple to follow, with a clear rhythm. Let's break it down.
Abbreviations
- K = Knit
- P = Purl
- K2tog = Knit two stitches together (decrease)
- YO = Yarn over (increase, creates a hole for the button)
- St(s) = Stitch(es)
- RS = Right Side (the front of the work)
- WS = Wrong Side (the back of the work)
Getting Started: The Base
With your Main Color (MC), cast on 36 stitches using your preferred method (long-tail cast on works well).
We'll begin with a simple garter and stockinette border to create a clean, stable edge.
- Row 1 (RS): Knit all stitches.
- Row 2 (WS): Purl all stitches.
- Row 3: Knit all stitches.
- Row 4: Purl all stitches.
You have now created a small stockinette base. This will be the bottom edge of your cozy.
The Enchanted Leaf Pattern
Now we begin the main body of the cozy. This pattern creates vertical leaf shapes using a combination of knit and purl stitches. The purl stitches on a knit background will naturally recede, forming the leaf outlines.
Work the following 8-row pattern:
- Row 5 (RS): K4, P1, K3, P1, K3, P1, K3, P1, K3, P1, K3, P1, K4. (Total: 36 sts)
- Row 6 (WS): P4, K1, P3, K1, P3, K1, P3, K1, P3, K1, P3, K1, P4.
- Row 7 (RS): K4, P1, K3, P1, K3, P1, K3, P1, K3, P1, K3, P1, K4.
- Row 8 (WS): P4, K1, P3, K1, P3, K1, P3, K1, P3, K1, P3, K1, P4.
- Row 9 (RS): K4, P1, K3, P1, K3, P1, K3, P1, K3, P1, K3, P1, K4.
- Row 10 (WS): P4, K1, P3, K1, P3, K1, P3, K1, P3, K1, P3, K1, P4.
- Row 11 (RS): K4, P1, K3, P1, K3, P1, K3, P1, K3, P1, K3, P1, K4.
- Row 12 (WS): P4, K1, P3, K1, P3, K1, P3, K1, P3, K1, P3, K1, P4.
Repeat Rows 5-12 once more to create a second set of leaves. This will give your cozy a nice, tall height to wrap around a standard mug.
Top Border and Buttonhole
After completing the second repeat of the leaf pattern, we'll create a clean top border and a buttonhole.
- Row 13 (RS): Knit all stitches.
- Row 14 (WS): Purl all stitches.
- Row 15 (RS): Knit all stitches.
- Row 16 (WS): Purl all stitches.
Now, we create the buttonhole. This row is worked on the Right Side.
- Row 17 (RS - Buttonhole row): K15, K2tog, YO, K2, K2tog, YO, K15. (You will still have 36 stitches on your needle. The YO creates a new stitch, and the K2tog removes one, keeping the count even.)
Finish with a few more rows of stockinette to complete the top edge.
- Row 18 (WS): Purl all stitches.
- Row 19 (RS): Knit all stitches.
- Row 20 (WS): Purl all stitches.
Bind off all stitches loosely. A loose bind-off is crucial here so the top edge of the cozy isn't too tight. You can use a larger needle to bind off if you tend to knit tightly.
Finishing and Assembly
Your cozy is almost complete! Here’s how to bring it all together.
- Weave in all ends: Using your tapestry needle, carefully weave in the yarn tails from your cast-on and bind-off edges, as well as any color changes.
- Add Forest Floor Details: Thread your tapestry needle with the Contrast Color (CC) yarn. At the base of each leaf (where the purl stitch column begins), embroider a few small French knots or straight stitches. These will resemble little mushrooms or forest floor details, adding to the enchanted theme. You can also add a few scattered stitches between the leaves for texture.
- Sew on the Button: Overlap the two ends of the cozy so the buttonhole is on top. Position the button on the bottom layer, directly under the buttonhole. Sew the button securely in place with the CC yarn or a matching thread.
- Block Gently: To even out your stitches and give the cozy a professional finish, lightly block it. You can wet-block it by soaking it in lukewarm water, gently squeezing out the excess, and laying it flat to dry in the desired shape. Or, you can simply steam it with an iron (without touching the yarn directly) to relax the fibers.
Once dry, wrap your cozy around your favorite mug, button it up, and pour yourself a warm, comforting drink. You've just created a beautiful, functional piece of art that brings a little bit of the enchanted forest to your everyday life. Enjoy!