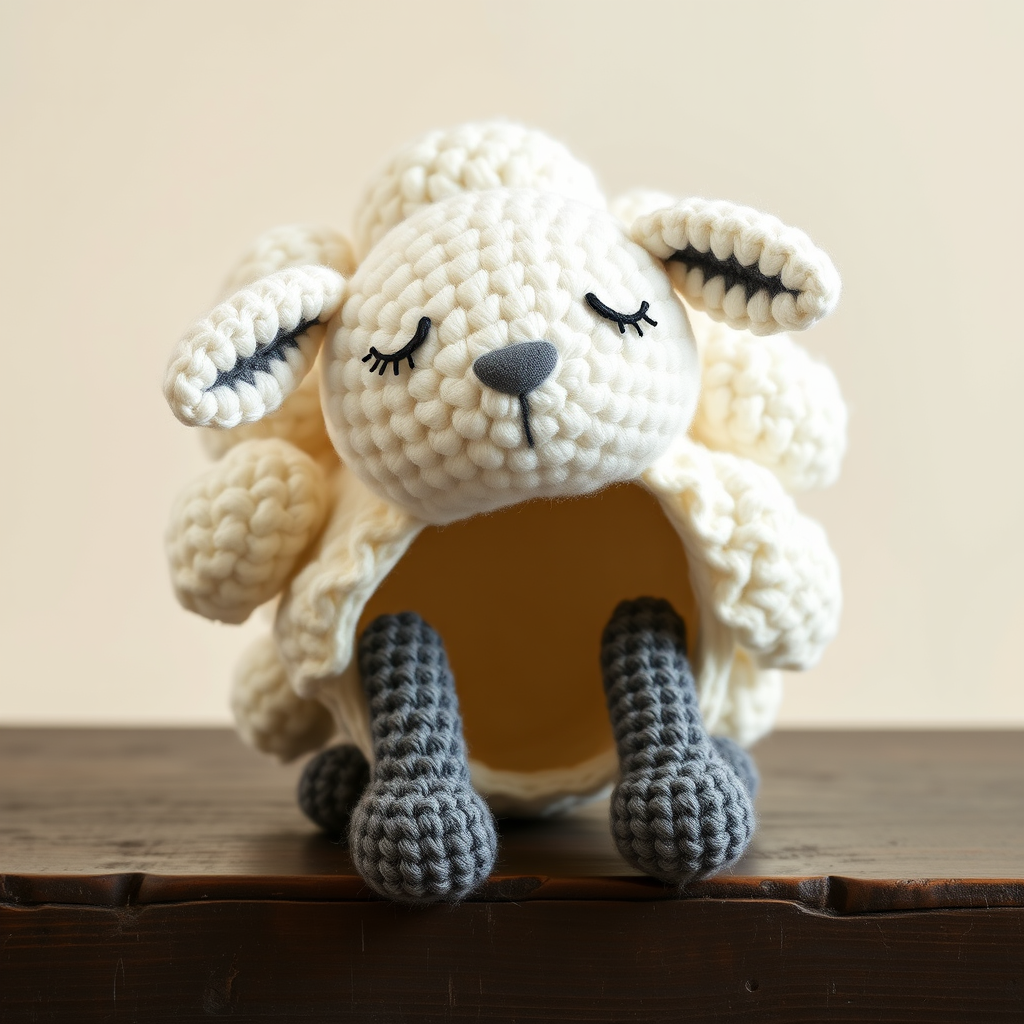
Whimsical Winterberry Mouse Ornament Free Pattern

Gauge
Gauge: 20 single crochet stitches x 22 rounds = 4 inches (10 cm) in single crochet.
Gauge simply means how big your stitches turn out. If your stitches are bigger than the pattern's, your mouse will come out larger than 3 inches; if they are smaller, it will come out smaller. For a small ornament like this, gauge is not critical — a slightly bigger or smaller mouse is still adorable — but it is still worth checking so your proportions stay pleasing.
How to make a gauge swatch: With your grey yarn and 4.0 mm hook, chain 22. Work 1 single crochet into the second chain from the hook and into each chain across (21 stitches). Work 22 rows of single crochet, turning at the end of each row. Lay the swatch flat and measure a 4-inch (10 cm) square in the middle. Count how many stitches fit across 4 inches and how many rows fit in 4 inches. If you have about 20 stitches and 22 rows, you are right on target. If you have fewer stitches (your stitches are big), try a smaller hook; if you have more stitches (your stitches are tight), try a larger hook. You can unravel the swatch and use that yarn for the mouse.
Beginner Tips Before You Start
- Use a stitch marker to track your rounds. Amigurumi is worked in a continuous spiral, so there is no seam telling you where a round begins. Place your stitch marker in the very first stitch of each round. When you reach the marker again, you know you have finished one full round and can move the marker up to the new first stitch.
- Do not pull your yarn too tight. Beginners often tug every stitch snug, which makes the fabric stiff and hard to work into. Keep your tension relaxed and even — the stitches should be firm but still easy to insert your hook into.
- Count your stitches at the end of every round. The number in parentheses at the end of each round tells you exactly how many stitches you should have. If you are off by one or two, fix it right away by adding or removing a stitch — small errors grow quickly in amigurumi.
- If the magic ring feels hard, use the "chain 2" start instead. Chain 2, then work all 6 single crochet stitches of Round 1 into the very first chain. Pull the starting tail tight to close the hole. The result is nearly identical.
- Stuff firmly but not rock-hard. Add stuffing in small pinches. The head and body should hold their round shape but still feel soft and squishy. Overstuffing stretches the stitches and shows the filling through the gaps.
- Keep your starting tail long. When you fasten off each piece, leave a tail about 8 inches (20 cm) long. You will use these tails to sew the pieces together, so you will not need separate sewing yarn.
Step-by-Step Instructions
All pieces are worked in continuous rounds (a spiral) unless the pattern says "row." Do not join rounds with a slip stitch and do not turn your work — just keep spiraling around. Move your stitch marker to the first stitch of each new round.
Head (make 1 with light grey)
Round 1: Make a magic ring (MR). Work 6 sc into the ring. Pull the tail tight to close the center hole. (6 sts)
Round 2: Work 1 inc in each st around — that is 2 sc in every stitch, 6 times total. (12 sts)
Round 3: [sc, inc] repeat 6 times — that means (1 sc, then 2 sc in the next stitch) six times around. (18 sts)
Round 4: [2 sc, inc] repeat 6 times — that means (2 sc, then 2 sc in the next stitch) six times around. (24 sts)
Round 5: sc in each st around — one single crochet in every stitch, no increases. (24 sts)
Round 6: sc in each st around. (24 sts)
Round 7: sc in each st around. (24 sts)
Round 8: sc in each st around. (24 sts)
Round 9: [2 sc, dec] repeat 6 times — that means (2 sc, then 1 decrease over the next 2 stitches) six times around. (18 sts)
Round 10: [sc, dec] repeat 6 times — that means (1 sc, then 1 decrease over the next 2 stitches) six times around. (12 sts)
Stuff the head firmly with small pinches of polyester fiberfill. Fill it until it holds a round ball shape but still feels soft.
Round 11: dec in each st around — work 1 decrease over every pair of stitches, 6 times total. (6 sts)
Fasten off, leaving a long tail about 8 inches (20 cm). Thread the tail onto your tapestry needle, pass it through the front loop of each of the remaining 6 stitches, and pull gently to close the hole completely. Set the head aside.
Ears (make 2 with light grey)
Round 1: Make a magic ring (MR). Work 6 sc into the ring. Pull the tail tight to close the center hole. (6 sts)
Round 2: Work 1 inc in each st around — 2 sc in every stitch, 6 times total. (12 sts)
Round 3: sc in each st around — one single crochet in every stitch. (12 sts)
Fasten off, leaving a long tail about 8 inches (20 cm) for sewing. Do not stuff the ears. Flatten each ear gently between your fingers so it becomes a soft, slightly oval disc. Make a second ear exactly the same way.
Body (make 1 with light grey)
Round 1: Make a magic ring (MR). Work 6 sc into the ring. Pull the tail tight to close the center hole. (6 sts)
Round 2: Work 1 inc in each st around — 2 sc in every stitch, 6 times total. (12 sts)
Round 3: [sc, inc] repeat 6 times — that means (1 sc, then 2 sc in the next stitch) six times around. (18 sts)
Round 4: sc in each st around. (18 sts)
Round 5: sc in each st around. (18 sts)
Round 6: sc in each st around. (18 sts)
Round 7: sc in each st around. (18 sts)
Round 8: [sc, dec]