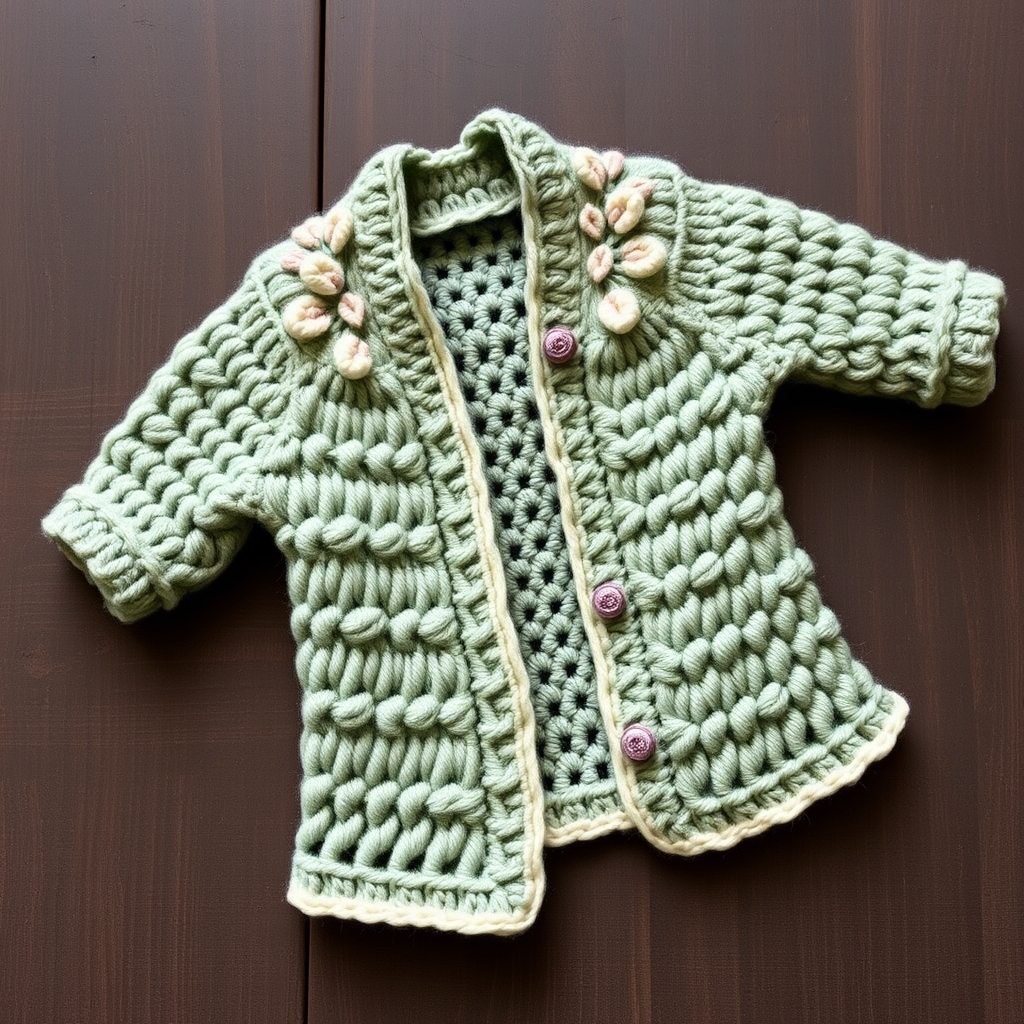
The Timberline Cardigan: A Rugged Crochet Sweater Free Pattern

The Timberline Cardigan: Your New Favorite Cozy Crochet Project
Imagine wrapping yourself in the warmth of a crackling campfire, the scent of pine in the air, and the comfort of a well-loved, handmade garment. That's the magic of the Timberline Cardigan. This oversized, textured crochet sweater is more than just a piece of clothing; it's a wearable hug designed for chilly evenings, quiet mornings, and everything in between. With its deep, functional pockets and a chunky, fold-over collar, this cardigan is the ultimate cozy companion. Its rugged, nubby texture and earthy, two-tone color scheme evoke the spirit of the great outdoors, making it a stunning and practical addition to any wardrobe. Best of all, this is a free pattern designed for both men and women, offering a relaxed, unisex fit that's perfect for layering.
This project is a rewarding journey into textured crochet. The pattern stitch, a simple cluster of double crochets, creates a dense, warm, and visually interesting fabric that works up quickly. While it's a larger project, the repetitive stitch pattern makes it meditative and easy to memorize. Whether you're a seasoned crocheter looking for a new staple or an ambitious beginner ready for a challenge, the Timberline Cardigan is a fantastic project that will result in a garment you'll treasure for years.
Materials Needed: Gathering Your Gear
Before you embark on this crafting adventure, let's ensure you have all the necessary supplies. The quality of your materials will greatly impact the final look and feel of your cardigan, so choose yarns you love.
Yarn
- Main Color (MC): Worsted weight (4) yarn in a deep Forest Green. You will need approximately 1200 yards. This is the primary color for the body, sleeves, and pockets.
- Contrast Color (CC): Worsted weight (4) yarn in a warm Oatmeal. You will need approximately 300 yards. This beautiful neutral is used for the ribbed collar, pocket bands, and front edging, providing a stunning contrast.
Hooks & Notions
- 6 mm (J/10) Crochet Hook: This is your main hook for creating the body and sleeves.
- 5.5 mm (I/9) Crochet Hook: This smaller hook is essential for creating the neat, firm ribbing on the collar and edging.
- Yarn Needle: For seaming the pieces together and weaving in those inevitable loose ends.
- Scissors: A sharp pair is a must-have for any project.
- Stitch Markers: These will be incredibly helpful for marking the center front edge on the front panels and for keeping track of your sleeve increases.
- Tape Measure: To check your gauge and measure your pieces as you go.
Gauge & Sizing
Getting your gauge right is crucial for a perfect fit. Before you begin, always make a gauge swatch!
- Gauge: 14 double crochets (dc) x 8 rows = 4 inches in the pattern stitch using the 6 mm hook.
- Sizes: This pattern is written for sizes M (L, XL, XXL), with a finished chest measurement of 42 (46, 50, 54) inches. The instructions will provide numbers for all sizes in this format: M (L, XL, XXL).
Step-by-Step Instructions: Crafting Your Timberline
Now, let's get to the fun part! Follow these detailed instructions carefully, and you'll be snuggled up in your new cardigan in no time.
Stitch Abbreviations
- ch: chain
- sc: single crochet
- dc: double crochet
- fpdc: front post double crochet
- bpdc: back post double crochet
- sl st: slip stitch
- sk: skip
The Pattern Stitch
This is the foundation of the entire cardigan. It's a simple repeat that creates a beautiful, dense texture. The pattern is a multiple of 2 + 1 chains.
- Row 1: Dc in the 4th ch from the hook. *Sk 1 ch, 2 dc in next ch*; repeat from * to end, turn.
- Row 2: Ch 3 (counts as a dc), dc in the first st. *Sk 1 st, 2 dc in next st*; repeat from * across, ending with 1 dc in the top of the turning ch, turn.
- Repeat Row 2 for the entire pattern. The ch-3 at the beginning of each row counts as your first double crochet.
Back Panel (Make 1)
- Using your 6 mm hook and MC, chain 76 (84, 92, 100).
- Work in the established Pattern Stitch until the piece measures 26 (27, 28, 29) inches from the beginning. This will form the entire back of the cardigan.
- Fasten off and weave in the end.
Front Panels (Make 2)
Note: These instructions are for one panel. Repeat them to make a second, identical panel.
- Using your 6 mm hook and MC, chain 38 (42, 46, 50).
- Work in the established Pattern Stitch until the piece measures 20 (21, 22, 23) inches from the beginning. Place a stitch marker on the beginning edge of your work; this marks the center front of the cardigan.
- Shape Neck: On the next row, work across the first 30 (34, 38, 42) stitches only. Leave the remaining stitches unworked for the neck opening.
- Continue working on these 30 (34, 38, 42) stitches until the piece measures the same length as your Back Panel. Fasten off.
Sleeves (Make 2)
- Using your 6 mm hook and MC, chain 34 (36, 38, 40).
- Work in the established Pattern Stitch.
- Increase Row: To shape the sleeve, you will increase 1 stitch at each end of the row. The easiest way to do this is to work 2 dc into the first and last stitch of the row. Work an increase row every 6th row until you have a total of 54 (58, 62, 66) stitches in your row.
- Once you have reached the correct number of stitches, continue working even in the pattern stitch until the sleeve measures 20 (21, 22, 23) inches from the beginning.
- Fasten off.
Pockets (Make 2)
- Using your 6 mm hook and MC, chain 22.
- Work in the established Pattern Stitch for 20 rows.
- Fasten off.
Assembly: Bringing It All Together
- Shoulder Seams: With your yarn needle and a length of MC, sew the shoulder seams of the Front Panels to the Back Panel.
- Set in Sleeves: Find the center of the top edge of a sleeve. Pin it to the shoulder seam. Sew the sleeve top to the armhole opening of the body.
- Side and Sleeve Seams: With the right sides together, sew the side seams of the body from the bottom up to the underarm. Continue sewing down the sleeve seam from the underarm to the cuff. Repeat for the other side.
Collar
- With the right side of the sweater facing you, use your 5.5 mm hook and CC to join the yarn at the bottom of the right front neck edge.
- Work single crochet (sc) evenly around the entire neck opening. When you reach the corners where the neck shaping begins, work 2 sc together (a decrease) to help the collar lie flat and curve nicely.
- Once you have completed a round of sc, you will work in rows to create the ribbed collar. Do not join at the end of the round; work in continuous spirals or turn at the end of each row. For a chunky, folded collar, work in a ribbing pattern: *sc in the back loop only* for every stitch. Repeat this row until the collar measures 4 inches from the neckline.
- Fasten off and weave in the end.
Pocket Bands & Attachment
- Using your 5.5 mm hook and CC, join the yarn to the top edge of a pocket. Work one row of sc evenly across the top edge. Fasten off.
- Repeat for the second pocket.
- Position the pockets on the front panels. They should be placed 3 inches from the side seam and 4 inches from the bottom edge of the sweater.
- Using your yarn needle and MC, sew the sides and bottom of each pocket securely to the front panel, leaving the top edge open.
Edging
- Using your 5.5 mm hook and CC, join the yarn at the bottom corner of the right front panel.
- Work sc evenly up the right front opening, around the collar, and down the left front opening. Then, continue working sc evenly across the bottom edge of the sweater to the starting point. This creates a continuous border.
- Work 2 more rows of sc in the same manner, working 1 sc in each sc from the previous row. This creates a clean, sturdy edging.
- Fasten off and weave in the end.
Finishing Touches
- Weave in all ends: Use your yarn needle to carefully hide all loose yarn tails on the wrong side of the garment.
- Block to measurements: This is a crucial step for a professional finish. Lay the cardigan flat on a blocking mat or towel. Gently shape it to the correct measurements, paying special attention to the seams and collar. Pin it in place if needed and allow it to dry completely. This will even out your stitches and give your cardigan a polished, store-bought look.
Congratulations! You've just completed your very own rugged and cozy Timberline Cardigan. This versatile piece is perfect for everything from a hike in the woods to a casual night in. The textured stitch and beautiful color combination make it a true statement piece. We can't wait to see how yours turns out—happy crocheting!