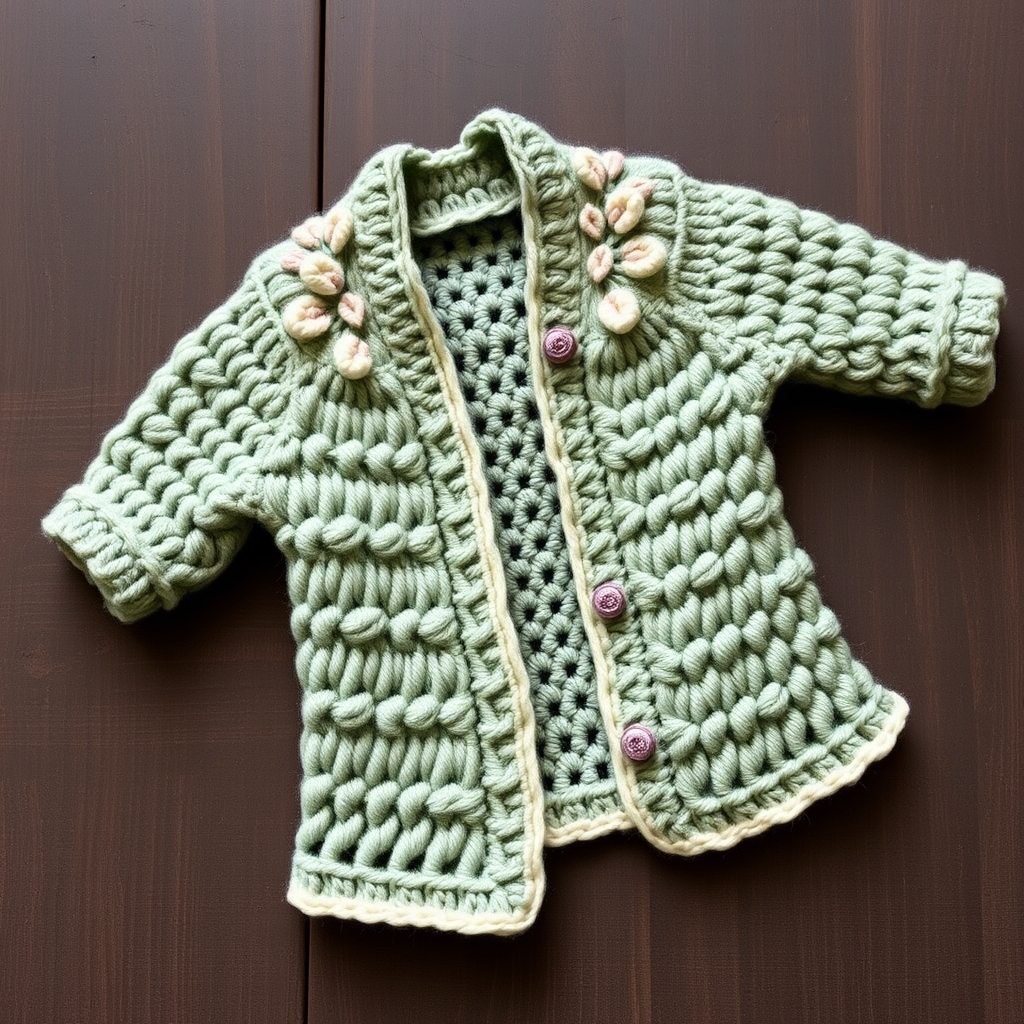
Breezy Linen Wrap Cardigan Free Pattern

Breezy Linen Wrap Cardigan: A Free Crochet Pattern for Effortless Summer Style
Are you dreaming of a light, airy layer that transitions beautifully from a cool morning breeze to a warm afternoon sun? Look no further than this Breezy Linen Wrap Cardigan. This open-front design is the ultimate layering piece for your summer wardrobe. With its simple, repetitive stitch pattern and relaxed, boxy fit, this project is as satisfying to create as it is to wear. Whether you're a seasoned crocheter looking for a quick make or a confident beginner ready for your first wearable, this free pattern will guide you through every step. Let's pick up your hook and create a beautiful, handmade staple that you'll reach for all season long.
Materials Needed
Before you begin, gather your supplies. This project uses simple, readily available materials to create a stunning result.
- Yarn: Worsted weight cotton or cotton blend yarn. You will need approximately 800-1000 yards for sizes S/M. The sample uses a soft cream color, but any light or vibrant shade will look lovely.
- Crochet Hook: Size H/8 (5.0 mm) hook, or whatever size is needed to achieve the correct gauge.
- Other Tools: Yarn needle for weaving in ends, scissors, and a measuring tape.
Gauge & Sizing
Getting your gauge right is crucial for a perfect fit. The pattern is designed for a relaxed, oversized look, but you want to ensure the proportions are correct.
- Gauge: 14 double crochet (dc) x 8 rows = 4 inches in the pattern stitch.
- Sizes: This pattern includes instructions for S/M and M/L. The instructions will list the S/M number first, with the M/L number in parentheses (e.g., 91 (101) chains).
Step-by-Step Instructions
This cardigan is cleverly constructed. You will work the back panel flat from the bottom up, then create the two front panels separately. The sleeves are worked flat and sewn in at the end. Don't worry—the process is straightforward, and we'll break it down into manageable sections.
Stitches and Pattern Notes
Familiarize yourself with these basic stitches and the repeating pattern stitch before you start.
- Stitches Used: ch (chain), dc (double crochet), sc (single crochet), sk (skip), st(s) (stitch(es)), sl st (slip stitch).
Pattern Stitch (Multiple of 2 + 1):
- Row 1: Dc in 4th ch from hook, *ch 1, sk 1 ch, dc in next ch* repeat across.
- Row 2: Ch 3 (counts as dc), turn, dc in next ch-1 space, *ch 1, dc in next ch-1 space* repeat across, dc in top of turning ch.
- Repeat Row 2 for the entire pattern. This creates a beautiful, lacy grid.
Creating the Back Panel
We'll start with the largest piece to establish the rhythm of the pattern.
- Foundation: Chain 91 (101) for S/M (M/L).
- Row 1: Work the pattern stitch across the row. You should have 90 (100) stitches.
- Body: Continue working in the pattern stitch (repeating Row 2) until the piece measures 22 inches from the beginning, or your desired length to the underarm.
Shaping the Armholes
- Next Row (Right Side): Slip stitch over the first 5 stitches to decrease for the armhole. Ch 3, then continue the pattern stitch across until 5 stitches remain at the other end. Turn, leaving those last 5 stitches unworked. You should now have 80 (90) stitches.
- Continue working in the pattern stitch on these remaining stitches until the armhole measures 8 inches. End after completing a wrong-side row.
Shaping the Neck and Shoulders
Now we will create the neckline and shoulder slopes.
- Right Shoulder: On the next row (right side), work the pattern stitch over the first 25 (30) stitches only. Turn, leaving the remaining stitches unworked for the neck and left shoulder.
- Decrease 1 stitch at the neck edge (the beginning of the row) every row, 3 times total. You will now have 22 (27) stitches.
- Work even on these stitches until the armhole measures 9 inches. Fasten off.
- Neck: Skip the center 30 (30) stitches for the back neck opening. Join your yarn with a slip stitch in the next stitch.
- Left Shoulder: Work the pattern stitch over the last 25 (30) stitches.
- Decrease 1 stitch at the neck edge (now the end of the row) every row, 3 times total. You will now have 22 (27) stitches.
- Work even on these stitches until the armhole measures 9 inches. Fasten off.
Creating the Front Panels
The front panels are worked separately and mirror each other. They are also worked from the bottom up.
Left Front Panel
- Foundation: Chain 46 (51) for S/M (M/L).
- Body: Work in the pattern stitch until the piece measures 22 inches (or the same length as your back panel).
Shaping the Armhole
- Next Row (Right Side): Slip stitch over the first 5 stitches to decrease for the armhole. Ch 3, then continue the pattern stitch across the row. You will now have 41 (46) stitches.
- Continue in the pattern stitch until the armhole measures 6 inches, ensuring you end on a row that finishes at the front edge (the side that will be the center of the cardigan).
Shaping the Neck
- To shape the neckline, you will decrease 1 stitch at the neck edge (the front edge) every row 4 times, and then every other row 4 times. You will now have 33 (38) stitches.
- Work even on these stitches until the armhole measures 9 inches. Fasten off.
Right Front Panel
- Work this panel exactly the same as the Left Front Panel, but with one crucial difference: shape the armhole on the wrong-side rows and the neck on the right-side rows. This ensures your decreases are mirrored correctly for a symmetrical fit.
Creating the Sleeves (Make 2)
The sleeves are worked flat from the cuff up, with increases to create a gentle flare.
- Foundation: Chain 46 (51) for S/M (M/L).
- Body: Work in the pattern stitch, increasing 1 stitch at each end of the row every 6th row. Continue this until you have a total of 60 (66) stitches.
- Work even in the pattern stitch until the sleeve measures 18 inches (or your desired length). Fasten off.
Finishing and Assembly
This is the most rewarding part—watching all your pieces come together!
- Seams: Use your yarn needle to sew the shoulder seams together.
- Sleeves: Pin the sleeve caps into the armholes, matching the center of the sleeve cap to the shoulder seam. Sew them in place securely.
- Sleeve Seams: Sew the underarm and sleeve seams closed.
Adding the Edging
A clean, simple border gives the cardigan a professional finish.
- With the right side facing, join your yarn with a slip stitch at the bottom right front corner.
- Work single crochet (sc) evenly up the right front edge, around the neckline, and down the left front edge.
- When you reach each corner (the bottom corners and the top corners of the neck), work 3 sc in the corner stitch to ensure the edging lies flat and turns nicely.
- Fasten off and weave in all loose ends with your yarn needle.
Blocking for a Perfect Finish
Blocking is a crucial final step for a garment like this. It evens out your stitches and helps the fabric drape beautifully.
- Soak the finished cardigan in cool water with a mild soap for about 15 minutes.
- Gently squeeze out the excess water (do not wring).
- Lay the cardigan flat on a clean towel, roll it up to remove more water, then lay it out on a blocking mat.
- Shape it to the final measurements and pin it in place. Allow it to dry completely before wearing.
Congratulations! You've just created a beautiful, breezy wrap cardigan that is perfect for layering. This pattern is a joy to make and an even greater joy to wear. The simple, repetitive stitches make it a perfect project for relaxing evenings, and the result is a chic, handmade garment that you'll be proud to say you made yourself. Happy crocheting!