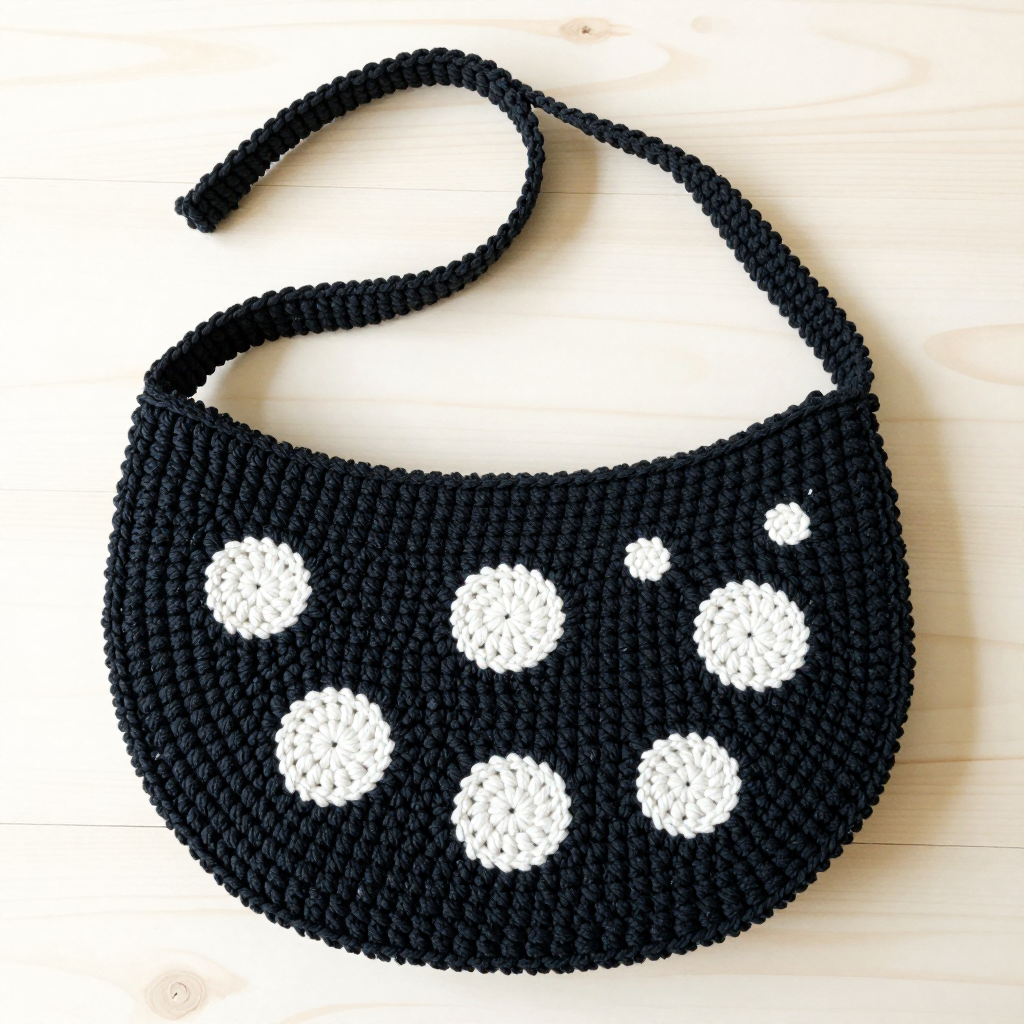
Terra Bobble Steering Grip Wrap Free Crochet Pattern
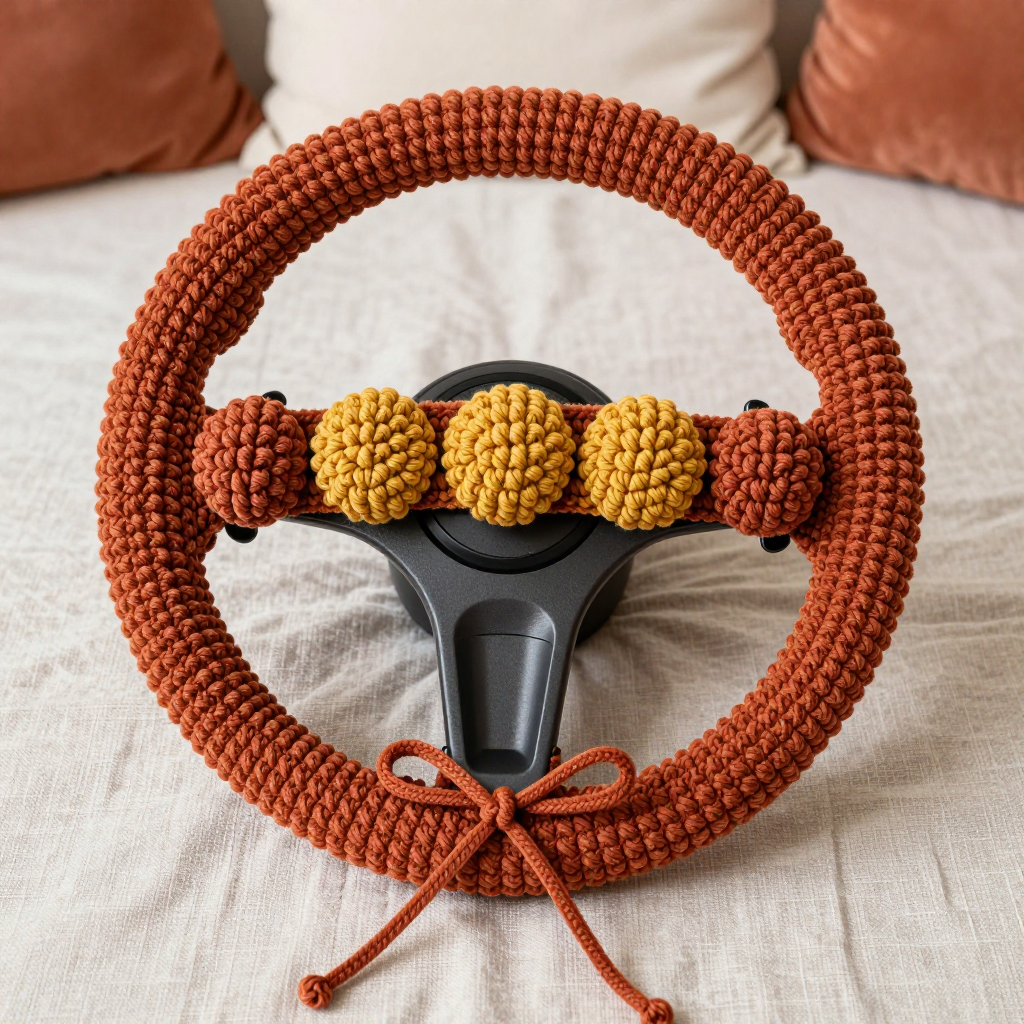
Terra Bobble Steering Grip Wrap — Free Beginner Crochet Pattern
Introduction
If you have never held a crochet hook before, this is the perfect very first project to make with your own hands. The Terra Bobble Steering Grip Wrap is a small, narrow rectangle of soft terracotta velvet yarn, dotted with a single row of mustard bobbles that pop up like little beads. It wraps around the lower spoke of your steering wheel and ties in a simple bow, so there is no shaping, no sewing, and no complicated counting to worry about. The finished wrap feels plush and velvety under your fingers, looks calm and modern in a warm Japandi palette, and turns an everyday car into a small, handmade comfort. Because it is only about 2.75 inches wide and 9.5 inches long, you can finish it in an evening or two while you learn the two stitches that make up the whole pattern.
Materials Needed
- Yarn (main color): Bernat Velvet (100% polyester, bulky / weight 5, 300 g / 315 yd per skein) — 1 skein in Terracotta. You will use only a small part of the skein (roughly 60–70 yd).
- Yarn (accent color): Bernat Velvet in Mustard — a small amount, approximately 15 yd, for the bobble row and the tie cords.
- Crochet hook: 5.5 mm (US size I-9), or whatever size gives you the gauge below.
- Stitch marker: 1 (optional but helpful) to mark the bobble row.
- Tapestry needle: 1 blunt-tipped needle with a large eye, for weaving in yarn ends.
- Scissors: any sharp pair for trimming yarn.
- Steam iron or steamer: for gentle blocking at the end (do not press the velvet directly with a hot iron).
Finished size: Wrap body is 2.75 in (7 cm) wide x 9.5 in (24 cm) long, plus four tie cords, each about 8 in (20 cm) long — two cords at each short end. It fits around the lower steering wheel spoke with the cords tied at the back.
Abbreviations and Beginner Glossary
- ch — chain. Make a loop with the yarn, then pull a new loop through it. Each loop you pull through is one chain. Chains are the foundation you build on.
- sc — single crochet. Insert your hook into the stitch, yarn over (wrap yarn around the hook), pull up a loop (2 loops on hook), yarn over again, and pull through both loops. One loop remains. That is one single crochet.
- bo — bobble (also written "4-dc bobble"). A puffy cluster made of four partly finished double crochets worked into the same stitch, then joined at the top. Full instructions are in the pattern notes below.
- dc — double crochet. Yarn over, insert hook into stitch, yarn over, pull up a loop (3 loops on hook), yarn over, pull through 2 loops, yarn over, pull through last 2 loops.
- sl st — slip stitch. Insert hook into stitch, yarn over, and pull the yarn straight through both the stitch and the loop on your hook at the same time. It makes a tiny, flat joining stitch.
- st(s) — stitch(es). One completed loop or "V" in your fabric.
- yarn over — wrap the working yarn (the yarn coming from the ball) over your hook from back to front.
- turn — flip your work over so you can crochet back along the row you just made.
- fasten off — cut the yarn a few inches from your work, then pull the tail all the way through the last loop to lock it.
- join with sl st — attach a new strand of yarn to an existing stitch using a slip stitch.
- right side (RS) — the "front" or prettier face of your fabric, the side the bobbles pop out on.
- wrong side (WS) — the back face of your fabric.
Gauge
Gauge: 12 single crochet stitches x 14 rows = 4 in (10 cm) with the 5.5 mm (I-9) hook.
Why gauge matters: Gauge is simply how big your stitches come out. If your stitches are bigger than the gauge, your wrap will be too long and may not sit snugly on the spoke; if they are smaller, it may be too short to tie comfortably. Velvet yarn is slippery and stretchy, so it is especially worth checking.
How to make a gauge swatch: Chain 14. Single crochet in the second chain from the hook and in each chain across (13 sc). Work 15 rows of single crochet, turning at the end of each row. Lay the swatch flat and measure a 4 in (10 cm) square in the middle. Count how many stitches fit across 4 in and how many rows fit in 4 in. If you have more stitches than 12, switch to a larger hook; if you have fewer, switch to a smaller hook. Then begin the pattern.
Beginner Tips Before You Start
- Do not pull the yarn too tight. Velvet yarn has a short pile that can "grab." Keep your loops relaxed and even; tight stitches make the fabric stiff and hard to work into on the next row.
- Count every row. Each row of this wrap has exactly 9 stitches. Count them before you turn — it takes five seconds and prevents a wobbly, narrowing rectangle.
- Use a stitch marker. Place a removable marker in the first stitch of Row 6 (the bobble row) so you can find it again when you weave in the mustard ends.
- Push each bobble to the back. As you finish a bobble, poke it gently toward the wrong side of the fabric. That is what makes it pop out on the right side.
- Keep the mustard ends long. Leave 6 in (15 cm) tails when you change colors so you have plenty to thread onto the tapestry needle later.
- Work in good light. Velvet's pile hides stitch definition, so bright, direct light makes it much easier to see where to insert your hook.
Step-by-Step Instructions
Bobble Stitch Refresher
4-dc bobble (bo): Yarn over, insert hook into the indicated stitch, yarn over, pull up a loop, yarn over, draw through 2 loops (2 loops on hook). Repeat this three more times in the same stitch — you will have 5 loops on your hook. Yarn over and draw through all 5 loops at once. One bobble made. Push it to the back (wrong side) of your work.
Body
Worked flat in turned rows of single crochet. All rows have 9 stitches.
With Terracotta, ch 10.
Row 1: Sc in 2nd ch from hook and in each ch across. (9 sc)
Rows 2–5: Ch 1, turn. Sc in each st across. (9 sc)
Row 6 (bobble row): Ch 1, turn. Sc in first 2 sts, [bo in next st, sc in next st] 3 times, sc in last st. Fasten off Mustard and rejoin Terracotta. (9 sts; 3 bobbles)
Row 7: Ch 1, turn. Sc in each st across, working into the sc between bobbles and into the top of each bobble as a normal st. (9 sc)
Rows 8–26: Ch 1, turn. Sc in each st across. (9 sc) Do not fasten off.
Check your math: 26 rows total at 14 rows per 4 in gives about 7.4 in of fabric length; with the velvet's relaxed tension and gentle blocking this settles to the finished 9.5 in (24 cm) including the cord ties. If your row gauge is looser, simply stop at Row 24 — the wrap will still tie securely.
Tie Cords
Four cords total — two at each short end. Each cord is a small chain with a row of single crochet worked back along it.
First cord (starting edge): With right side facing, join Terracotta with sl st at the corner of the starting edge (Row 1). Ch 25, then sc in 2nd ch from hook and in each ch across (24 sc). Sl st into the same corner st to secure. Fasten off.
Second cord (starting edge): With right side facing, join Terracotta with sl st at the opposite corner of the starting edge. Ch 25, sc in 2nd ch from hook and in each ch across (24 sc). Sl st into the corner st to secure. Fasten off.
Third and fourth cords (finishing edge, Row 26): Repeat the two cords exactly as above, joining at each corner of the finishing edge. You now have four ties total, two at each end. (4 cords, 24 sc each)
Assembly and Finishing
Weave in ends: Thread each yarn tail onto the tapestry needle. Turn the wrap to the wrong side and pass the needle through the backs of 4–5 stitches, then back through 2 of them in the opposite direction to lock it. Snip the yarn close to the fabric. Do this for every tail, including the mustard ends from Row 6.
Blocking: Lay the wrap flat, right side up, on a towel. Hold a steam iron 1–2 in above the fabric and let the steam relax the stitches — never rest the hot iron directly on velvet, as it will crush the pile. Smooth the rectangle with your hands to 2.75 in x 9.5 in and let it dry completely. Keep the bobbles raised, not flattened.
Tying it on: Wrap the rectangle around the lower steering wheel spoke with the bobble row facing outward. Bring the cords around the back of the spoke and tie them in a simple bow. Trim the cord ends evenly so both sides match. Check that the wrap sits snugly but is not stretched.
Pro Tips and Variations
- Change the palette: Swap Terracotta for sage green or oatmeal and the Mustard bobbles for cream for an even softer Japandi look. Any two bulky weight 5 yarns of similar gauge will work.
- Adjust the length: For a thicker or thinner spoke, add or remove rows in the Rows 8–26 section in pairs. Each pair adds roughly half an inch. Keep the bobble row centered by counting your rows before and after Row 6.
- More bobbles: To make a bolder argyle line, work a bobble in every other stitch across Row 6 instead of every third stitch — just keep the total at 9 stitches and adjust the plain sc between bobbles.
- Yarn substitution: If velvet is hard to find, a smooth bulky (weight 5) acrylic or cotton blend works beautifully and is easier to see while you learn. Always re-check your gauge swatch, since velvet behaves differently from smooth yarns.