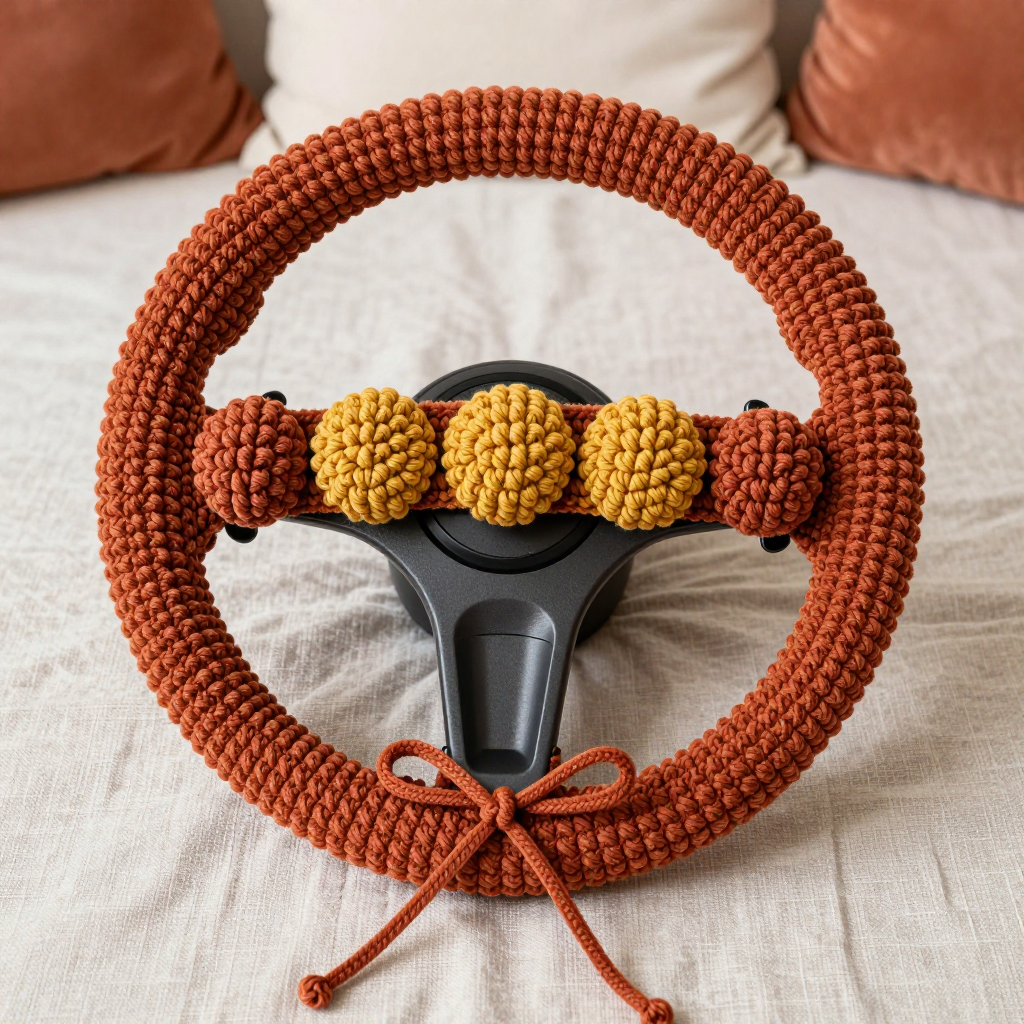
Retro Ocean Waves Waffle Stitch Crochet Dashboard Mat Free Pattern

Retro Ocean Waves Waffle Stitch Crochet Dashboard Mat
If you have never held a crochet hook before, this is the perfect first "real" project for you. This little dashboard mat is a flat rectangle, so there is no shaping, no sleeves, and nothing to sew together at the end — you simply work back and forth in rows until it is done. The waffle stitch makes a raised, puffy grid of little squares that looks wonderfully retro (hello, 1990s ocean blues!) and actually grips your dashboard so small items stop sliding around. Finished, it feels thick, squishy, and satisfyingly textured, like a tiny ribbed bath mat for your car. Because it is small and forgiving, mistakes are easy to spot and easy to fix, which makes it a wonderfully encouraging first project.
Materials Needed
- Yarn: Worsted weight (#4) acrylic, approximately 220 yards total, split into four colors:
- Color A (deep ocean navy): 70 yds
- Color B (teal): 55 yds
- Color C (aqua): 50 yds
- Color D (pale seafoam): 45 yds
- Crochet hook: 5.0 mm (US size H-8), or whatever size gets you the gauge below.
- Stitch markers: at least 4 (for marking corners and color changes).
- Tapestry needle: a blunt, large-eyed needle for weaving in yarn ends.
- Scissors for cutting yarn.
- Finished size: 20 inches (51 cm) wide x 8 inches (20 cm) tall — a flat rectangle that lies across a standard dashboard.
Abbreviations and Beginner Glossary
Every pattern is written in shorthand. Here is every abbreviation used in this pattern, explained as if you have never crocheted before.
- ch – chain. Make a loop of yarn on your hook, then pull the yarn through the loop. Each loop you pull through is one chain. Chains are the foundation you build on.
- st(s) – stitch(es). One completed unit of crochet. "Sts" just means more than one.
- sc – single crochet. Insert your hook into the stitch, pull up a loop (2 loops on hook), then pull the yarn through both loops. One loop remains. This is the shortest, tightest basic stitch.
- dc – double crochet. Yarn over (wrap yarn around hook), insert hook into stitch, pull up a loop (3 loops on hook), yarn over and pull through 2 loops, yarn over and pull through the last 2 loops. This is a taller stitch than sc.
- FPdc – front post double crochet. Instead of working into the top of the stitch, you work a double crochet around the vertical body (the "post") of the stitch below, inserting your hook from front to back so the post pushes forward toward you. This is what creates the raised waffle ridges.
- sl st – slip stitch. Insert hook, pull up a loop, and pull it straight through the loop already on your hook. Used to join a round closed.
- rep – repeat. Do the instruction again.
- RS – right side. The "good" side of the fabric that faces out.
- WS – wrong side. The back side of the fabric.
- Rnd – round. A row that goes all the way around the edge of the piece (used in the border).
- yarn over – wrap the working yarn around your hook once, from back to front.
- fasten off – cut the yarn, pull the tail all the way through the last loop, and tighten to lock it.
Gauge
14 stitches x 8 rows = 4 inches (10 cm) in the waffle stitch pattern (the dc/FPdc grid), measured after light blocking.
Why gauge matters: Gauge is how big your stitches come out. If your stitches are bigger than the pattern expects, your mat will be too wide for the dashboard; if they are smaller, it will be too narrow. Matching gauge means the finished size comes out right.
How to make a gauge swatch: With your hook and yarn, chain 26. Work Row 1 as written below, then work Rows 2–3 of the waffle grid until your swatch is about 5 inches tall. Lay it flat (a light press with your hand is fine). Measure a 4-inch square in the middle and count the stitches across and the rows up. If you have more than 14 stitches in 4 inches, your stitches are too tight — try a larger hook. If you have fewer, try a smaller hook. Repeat until it matches.
Beginner Tips Before You Start
- Count your chains carefully. The foundation chain sets your width. Count the 72 chains twice before you start Row 1 — it is much easier than ripping out later.
- Use stitch markers at every color change. Place a marker in the first stitch of each new color band so you always know which row you are on.
- Do not pull your yarn too tight. Tension is the number one beginner struggle. Keep your loops relaxed and even; tight stitches make the waffle ridges disappear.
- Remember the turning chain. The "ch 2" at the start of each row does not count as a stitch. Your first real stitch goes into the very first stitch of the row.
- Change color on the last stitch of the row. To change color, work the final dc of the row but finish it by pulling the new color through the last two loops. Then chain 2 with the new color.
- It is okay to frog. "Frogging" means pulling out your work to fix a mistake. Every crocheter does it. This mat is small, so a fix costs you only a few minutes.
Step-by-Step Instructions
All instructions use US crochet terms. The waffle stitch grid is a multiple of 3 stitches + 2, and our panel is worked over 70 stitches.
Part 1: The Panel
With Color A, ch 72.
Row 1 (RS): Dc in the 4th ch from hook and in each ch across. (70 sts)
Row 2 (WS): Ch 2 (does not count as a st), turn. Dc in first st, *FPdc around next st, dc in each of next 2 sts; rep from * to last 2 sts, FPdc around next st, dc in last st. (70 sts)
Row 3 (RS): Ch 2, turn. Dc in first st, *dc in next st, FPdc around next st, dc in next st; rep from * to last 2 sts, dc in next st, dc in last st. (70 sts)
Rows 4–16: Repeat Rows 2–3, alternating, for a total of 16 rows. (70 sts on every row)
Work the rows above in the following Stripe Sequence, changing color at the end of the last stitch of the row before the new color begins:
- Rows 1–2: Color A
- Rows 3–4: Color B
- Rows 5–6: Color C
- Rows 7–8: Color D
- Rows 9–10: Color A
- Rows 11–12: Color B
- Rows 13–14: Color C
- Rows 15–16: Color D
Do not fasten off after Row 16. Keep Color D on your hook for the border. Each stripe band is 2 rows (about 1 inch tall), giving the wavy ocean-blue look.
Part 2: The Border
Work this plain single crochet border around the entire panel. "Evenly" means spacing your stitches so they sit at a comfortable, even distance apart — do not cram them in or stretch them out.
Rnd 1: Ch 1, turn to work along the side edge. Sc evenly along the side edge (approx. 16 sc), 3 sc in corner, sc in each st across the top edge (70 sc), 3 sc in corner, sc evenly along the other side edge (approx. 16 sc), 3 sc in corner, sc in each st across the bottom edge (70 sc), 3 sc in corner, join with sl st to first sc. (approx. 184 sc) Fasten off.
Assembly and Finishing
There is nothing to sew together — the whole mat is one piece. Finishing is all about tidying and shaping.
- Weave in ends: Thread each yarn tail onto your tapestry needle. Turn the mat to the wrong side and weave the tail in and out through the backs of several stitches (about 2 inches of travel), then change direction once and weave back a little to lock it. Trim close to the fabric.
- Block lightly: Pin the mat flat to a towel or blocking mat, stretching it gently to exactly 20 x 8 inches. Pin the edges straight and pin the corners square. Spritz with cool water until damp, then let it dry completely (several hours or overnight).
- Do not press flat. Never iron the mat directly — heat flattens acrylic and crushes the waffle texture. Light steam held a few inches above the surface is fine if you must, but air-drying is best.
- Place it: The mat is reversible. Set it waffle-side up on the dashboard — the raised ridges give the grip.
Pro Tips and Variations
- Change the colorway: Swap the four blues for sunset oranges and pinks, or a classic black-and-white retro checker. Keep the same 2-row stripe rhythm and the wavy look stays intact.
- Adjust the size: To make it wider or narrower, add or remove chains in multiples of 3 (the waffle grid needs a multiple of 3 + 2). For a longer mat, simply add more 2-row stripe bands — each band adds about 1 inch.
- Substitute yarn: Cotton or a cotton-blend worsted works beautifully and grips even better in a hot car. Just check your gauge again, since cotton behaves differently from acrylic.
- Add a non-slip backing: For extra security, cut a piece of shelf liner or non-slip rug pad slightly smaller than the mat and stitch it to the wrong side with a few tacking stitches.