Sunset Ridge Twisted Ear Warmer Free Pattern
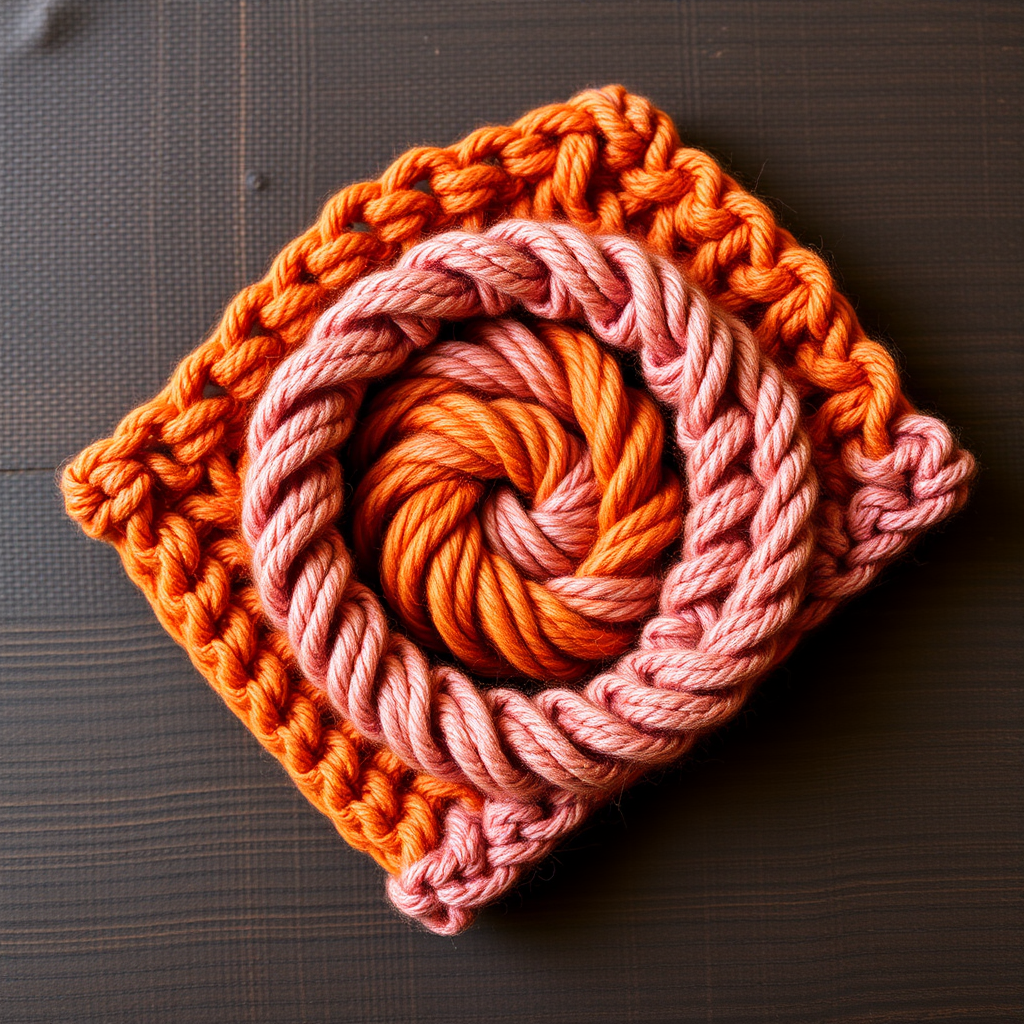
Sunset Ridge Twisted Ear Warmer: A Beginner-Friendly Knitting Pattern
Wrap yourself in the warm hues of a mountain sunset with this beautifully twisted ear warmer. The unique cable-like twist adds a modern touch to a classic cold-weather accessory, making it a standout piece in any winter wardrobe. This pattern is perfect for beginners who want to try something a little different—no complex cable needles required! Just simple stockinette stitch, a clever twist, and two gorgeous colors create a stunning faux-cable effect that looks far more complicated than it actually is.
Whether you're knitting for yourself or looking for a heartfelt handmade gift, this ear warmer is quick to complete and incredibly satisfying to make. The two-tone design—vibrant sunset orange meeting soft dusty rose—evokes the beauty of twilight skies, and the twisted center adds a dimensional, sculptural element that will draw compliments wherever you go.
Materials Needed
Before you begin, gather the following supplies. All items are readily available at your local yarn shop or online.
Yarn
- Worsted weight yarn in two colors: Color A (Sunset Orange) and Color B (Dusty Rose)
- Approximately 60 yards of each color (120 yards total)
Tip: Choose a soft, slightly stretchy worsted weight yarn for the most comfortable fit. Acrylic, wool blends, or superwash wool all work beautifully. The sample uses a smooth yarn with a subtle sheen to highlight the color contrast.
Needles
- US 8 (5.0 mm) knitting needles — straight or circular both work fine
Other Supplies
- Tapestry needle for seaming and weaving in ends
- Scissors
- Stitch markers (optional, but helpful)
Gauge
- 18 stitches and 24 rows = 4 inches in stockinette stitch
Important: Gauge is important for achieving the correct finished size. If your gauge is off, your ear warmer may be too loose or too tight. Always knit a small swatch first to check your tension.
Step-by-Step Instructions
This ear warmer is knit flat in two color sections, then twisted and seamed to create the signature faux-cable look. It fits most adults (approximately 20 inches around). Follow along carefully, and you'll have a beautiful finished piece in no time.
Abbreviations
- CO: cast on
- K: knit
- P: purl
- St(s): stitch(es)
- RS: right side
- WS: wrong side
Getting Started
With Color A (Sunset Orange), CO 12 stitches.
Use a simple long-tail cast-on for a neat, stretchy edge. If you're new to casting on, the long-tail method is ideal because it creates a flexible edge that will sit comfortably against your forehead.
Knit the First Section (Color A)
Row 1 (RS): K all stitches.
Row 2 (WS): P all stitches.
Repeat Rows 1-2 until the piece measures 10 inches from the cast-on edge. End with a WS row (meaning your last row should be a purl row).
Counting rows: Each knit row followed by a purl row equals one full repeat. You'll need approximately 60 rows total for 10 inches, but always measure to be sure—your tension may differ slightly.
Cut Color A, leaving a 6-inch tail. This tail will be woven in later.
Switch to Color B (Dusty Rose)
Attach Color B by simply starting to knit with the new yarn on the next RS row. There's no need to tie knots—just leave a 6-inch tail to weave in later.
Continue in stockinette stitch (K on RS, P on WS) for another 10 inches, ending with a WS row.
Cut Color B, leaving a long tail (at least 18-20 inches) for seaming. You'll use this tail to sew the ear warmer together, so make sure it's generous.
Finishing: The Magic Twist
Now comes the fun part—creating the twisted design that makes this ear warmer so special.
Step 1: Fold the piece in half so the two short ends meet. The Color A section and Color B section should be side by side, forming a long rectangle folded into a shorter one.
Step 2: Twist the piece once in the middle. Hold the folded piece with one hand on each end, then twist one end 180 degrees so the seam side is hidden and the twist creates a figure-eight shape. The two colored sections should now spiral around each other.
Visual check: You should see the orange and rose sections wrapping around each other in a beautiful spiral. The twist should sit naturally at what will become the front of the ear warmer.
Step 3: Sew the two short ends together. With the long tail from Color B, use a mattress stitch or whip stitch to seam the two short ends together, matching the stitches carefully. The mattress stitch creates an invisible seam, while a whip stitch is quicker and still looks neat. Either works well for this project.
Step 4: Weave in all loose ends. Use your tapestry needle to weave in the 6-inch tail from Color A and any other loose ends. Thread the needle and weave the tail through the wrong side of the work, following the path of the stitches. Trim any excess yarn.
Step 5: Position the twist. The twist will naturally sit at the front of the head, creating a beautiful twisted design that mimics a cable knit. Adjust it so the twist is centered and the colors flow smoothly.
Optional: Secure the Twist
For a more secure fit and to ensure the twist stays perfectly in place, you can add a few stitches at the twist point. Using a small piece of matching yarn (either color works), take a couple of discreet stitches through the center of the twist to hold it in place. This is especially helpful if you plan to wear the ear warmer frequently or if your yarn is particularly slippery.
Wearing and Caring for Your Ear Warmer
Your Sunset Ridge Twisted Ear Warmer is now complete! Slip it over your head and position the twist at the front for a stylish, modern look. The wide band covers your ears comfortably, and the two-tone design adds a pop of color to any winter outfit.
Care instructions: Hand wash in cool water with a gentle wool wash, then lay flat to dry. Reshape while damp to maintain the twist and prevent stretching.
Customization Ideas
Once you've mastered this pattern, feel free to make it your own:
- Color variations: Try different color combinations—cool blues and greens for a winter sky, or neutrals like cream and camel for a classic look.
- Width adjustment: Cast on more or fewer stitches to make a wider or narrower band. Each stitch adds about 0.22 inches to the width.
- Length adjustment: Knit each section longer or shorter to adjust the overall circumference. Measure your head and divide by 2 to determine how long each color section should be.
- Texture play: Substitute garter stitch (knit every row) for a bumpier, more textured fabric, or try a ribbed pattern for extra stretch.
This pattern is a wonderful introduction to color changes and seaming, and the dramatic twist result is sure to boost your knitting confidence. Enjoy your handmade creation, and don't be surprised if friends and family start requesting one of their own!


