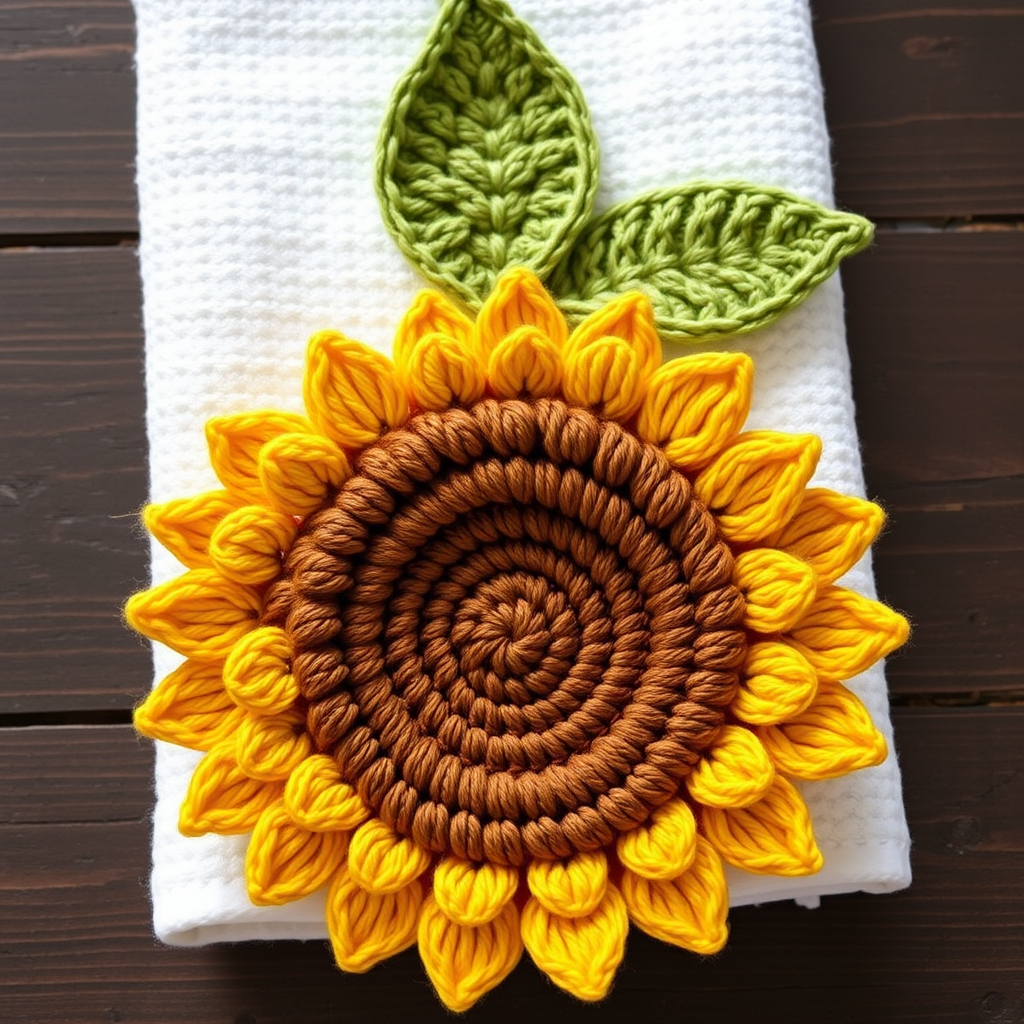
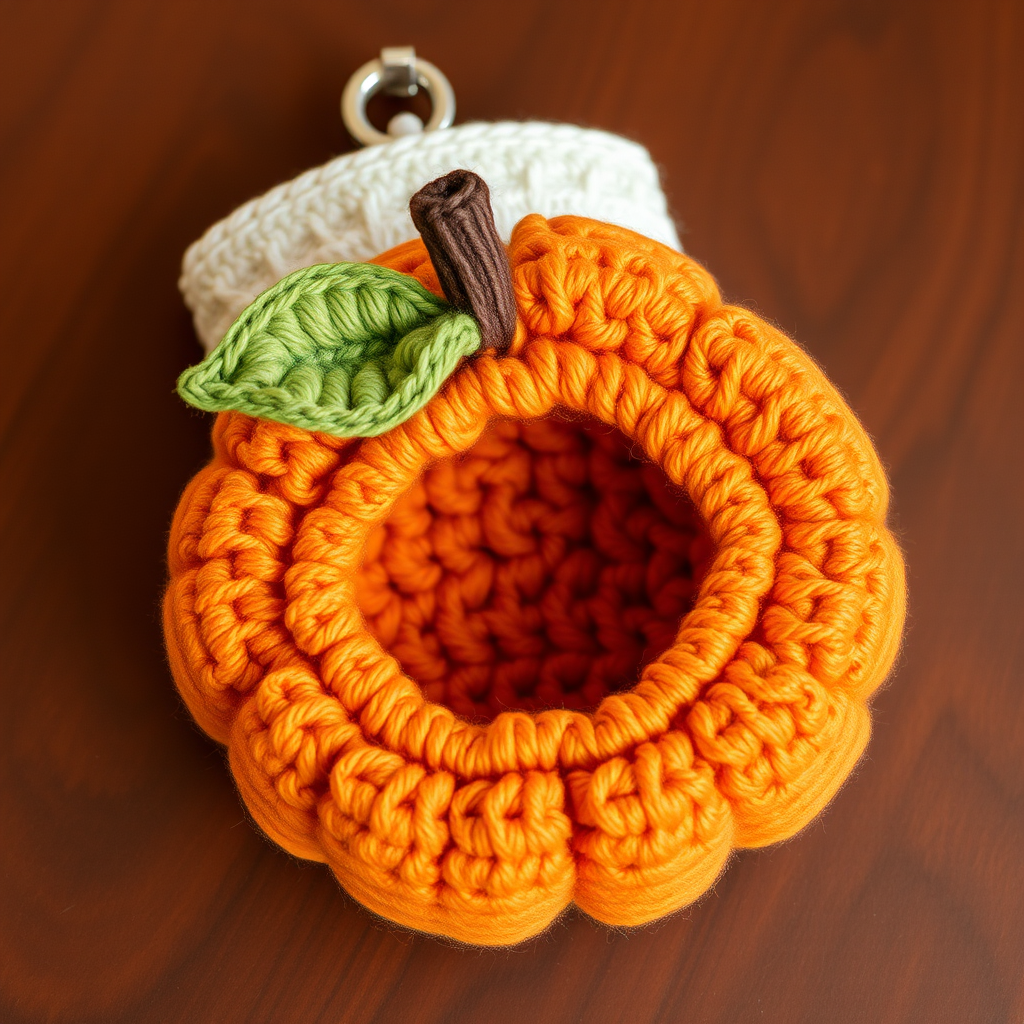
Sunny Citrus Coaster Set Free Pattern

Sunny Citrus Coaster Set Free Pattern
Brighten your table with these cheerful citrus slice coasters, crocheted in soft worsted weight yarn. Each coaster features a textured rind and juicy center, making them a delightful handmade addition to any kitchen. Whether you're sipping iced tea on a summer afternoon or enjoying a warm cup of coffee on a chilly morning, these vibrant coasters will add a pop of sunshine to your space. Perfect for beginners and experienced crocheters alike, this pattern is quick, satisfying, and uses simple stitches to create a stunning visual effect.
Materials Needed
Before you begin, gather the following supplies. All items are readily available at your local craft store or online.
- Yarn: Worsted weight cotton yarn in three colors:
- Yellow (for the rind)
- White (for the pith)
- Orange (for the flesh)
- Crochet Hook: 5.0 mm (H) crochet hook
- Yarn Needle: For weaving in ends and embroidering segment lines
- Scissors: For cutting yarn
Gauge: 4 rounds = 2 inches in single crochet (sc). Gauge is not critical for this project, but maintaining a consistent tension will ensure your coaster lies flat and measures approximately 4 inches in diameter.
Step-by-Step Instructions
Follow these detailed instructions to create your own citrus coasters. The pattern is written in rounds, and each round is joined with a slip stitch. Let's get started!
Abbreviations
- ch = chain
- sc = single crochet
- sl st = slip stitch
- hdc = half double crochet
- dc = double crochet
- rnd = round
Rind (Yellow Yarn)
We'll start with the outer yellow rind, which forms the base of your coaster.
- Rnd 1: Make a magic ring. Ch 1 (this does not count as a stitch), work 8 sc into the ring. Pull the tail to close the ring tightly. Sl st to the first sc to join. (8 sc)
- Rnd 2: Ch 1, work 2 sc in each sc around. Sl st to the first sc to join. (16 sc)
- Rnd 3: Ch 1, *sc in the next sc, 2 sc in the next sc* repeat from * to * around. Sl st to join. (24 sc)
- Rnd 4: Ch 1, *sc in the next 2 sc, 2 sc in the next sc* repeat from * to * around. Sl st to join. (32 sc)
- Rnd 5: Ch 1, *sc in the next 3 sc, 2 sc in the next sc* repeat from * to * around. Sl st to join. (40 sc)
Fasten off the yellow yarn and weave in the end temporarily (you can leave it to weave in at the end).
Pith (White Yarn)
Now we'll add the white pith layer, which gives the coaster its realistic citrus look.
- Rnd 6: Join the white yarn with a sl st in any sc from Rnd 5. Ch 1, *sc in the next 4 sc, 2 sc in the next sc* repeat from * to * around. Sl st to join. (48 sc)
- Rnd 7: Ch 1, sc in each sc around. Sl st to join. (48 sc)
Fasten off the white yarn and weave in the end.
Flesh (Orange Yarn)
Next, we'll create the juicy orange center of the citrus slice.
- Rnd 8: Join the orange yarn with a sl st in any sc from Rnd 7. Ch 1, *sc in the next 5 sc, 2 sc in the next sc* repeat from * to * around. Sl st to join. (56 sc)
- Rnd 9: Ch 1, sc in each sc around. Sl st to join. (56 sc)
- Rnd 10: Ch 1, *sc in the next 6 sc, 2 sc in the next sc* repeat from * to * around. Sl st to join. (64 sc)
- Rnd 11: Ch 1, sc in each sc around. Sl st to join. (64 sc)
Fasten off the orange yarn and weave in all loose ends using your yarn needle.
Segment Lines (Optional but Recommended)
To give your coaster that authentic citrus slice appearance, we'll add subtle segment lines radiating from the center.
- Thread a yarn needle with a contrasting color (white or yellow works beautifully).
- Starting from the center of the coaster, use a backstitch to embroider straight lines outward to the edge of the orange flesh.
- Space the lines evenly around the circle—aim for 6 to 8 lines to mimic natural citrus segments.
- Keep the stitches neat and consistent for a polished look.
Finishing Touches
- Weave in all remaining loose ends securely using your yarn needle. Be sure to weave them through the back of the work so they are invisible from the front.
- Block the coaster lightly to flatten it if needed. To block, mist the coaster with water and gently press it flat with your hands, then allow it to dry completely. This will help the coaster lie perfectly flat on your table.
And there you have it—a beautiful, handmade citrus coaster! Make a set of four or six to brighten up your kitchen or to give as a thoughtful, handmade gift. The vibrant colors and textured stitches are sure to bring a smile to anyone's face. Happy crocheting!