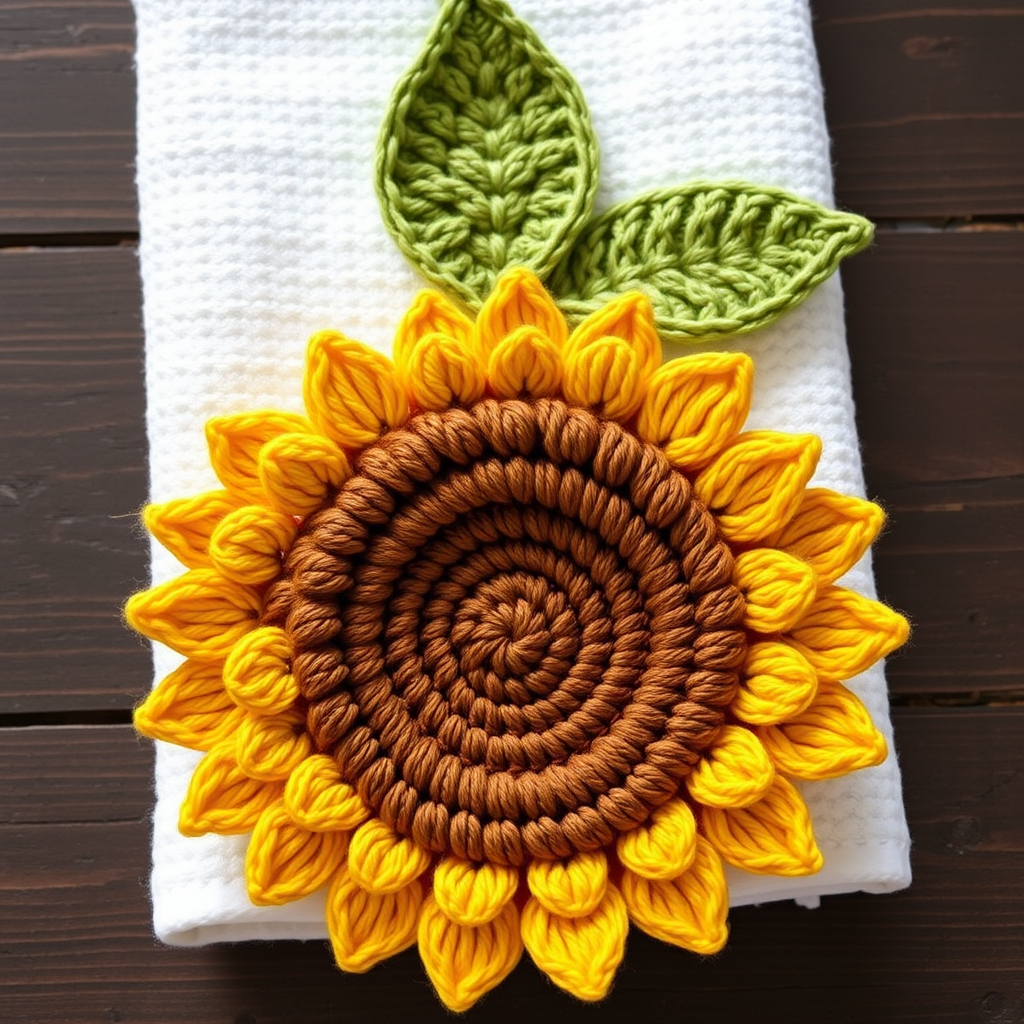
Cozy Autumn Harvest Towel Topper Free Pattern
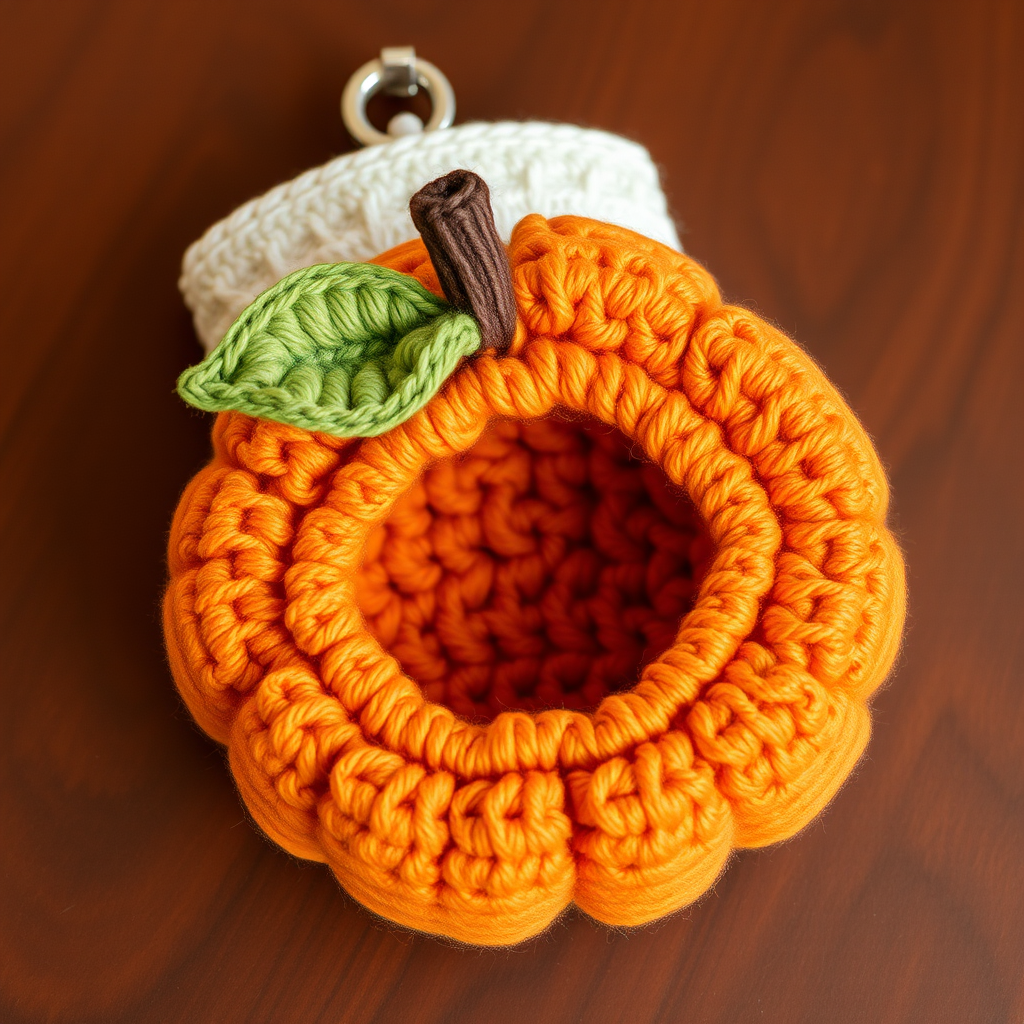
Cozy Autumn Harvest Towel Topper: A Free Beginner Crochet Pattern
Bring the warmth of fall into your kitchen with this charming pumpkin-inspired towel topper! This quick and easy crochet project is perfect for adding rustic, handmade charm to your home—whether you're decorating for autumn or embracing country style year-round. Designed with beginners in mind, this pattern uses simple stitches and clear instructions to create a plump, three-dimensional pumpkin that's both functional and adorable. Hang it on your oven handle, cabinet, or towel rack for an instant seasonal upgrade!
Materials Needed
Before you begin, gather these simple supplies. The gauge is not critical for this project, so don't worry about perfect tension—just enjoy the process!
- Yarn: Worsted weight cotton yarn in three colors:
- Orange (main color for the pumpkin body)
- Green (for the leaf)
- Brown (for the stem)
- Crochet Hook: J/10 (6.0 mm) hook
- Other Supplies: Stitch marker, yarn needle, polyester fiberfill (stuffing), scissors
Step-by-Step Instructions
Note: This pattern is worked in continuous rounds unless otherwise stated. Use a stitch marker to keep track of your rounds—this is essential for maintaining the pumpkin's shape!
Pumpkin Body (Make 2 Pieces)
You'll create two identical pumpkin halves, which will be sewn together and stuffed for a plump, dimensional look.
With orange yarn:
Round 1: Make a magic ring. Chain 2 (counts as your first double crochet), then work 11 double crochet (dc) into the ring. Join with a slip stitch (sl st) to the top of the chain-2. (12 dc total)
Round 2: Chain 2 (counts as dc), double crochet in the same stitch (this creates your increase), then work 2 dc in each stitch around. Join with a sl st to the top of the chain-2. (24 dc)
Round 3: Chain 2 (counts as dc), dc in the same stitch, then dc in the next stitch. *Work 2 dc in the next stitch, dc in the next stitch.* Repeat from * to * around. Join with a sl st. (36 dc)
Round 4: Chain 2 (counts as dc), dc in the same stitch, then dc in the next 2 stitches. *Work 2 dc in the next stitch, dc in the next 2 stitches.* Repeat from * to * around. Join with a sl st. (48 dc)
Rounds 5–9: Chain 2 (counts as dc), then dc in each stitch around. Join with a sl st at the end of each round. (48 dc each round) — These even rounds build the height of the pumpkin.
Round 10 (Decrease Round): Chain 2 (counts as dc), work a double crochet decrease (dc2tog) over the next 2 stitches, then dc in the next 2 stitches. *Work dc2tog, dc in the next 2 stitches.* Repeat from * to * around. Join with a sl st. (36 dc)
Round 11: Chain 2 (counts as dc), work dc2tog over the next 2 stitches, then dc in the next stitch. *Work dc2tog, dc in the next stitch.* Repeat from * to * around. Join with a sl st. (24 dc)
Round 12: Chain 2 (counts as dc), then work dc2tog across the round. *Work dc2tog.* Repeat from * to * around. Join with a sl st. (12 dc)
For the first pumpkin piece: Fasten off, leaving a long tail (about 18 inches) for sewing. Stuff this piece firmly with polyester fiberfill.
For the second pumpkin piece: Do NOT fasten off after Round 12. Instead, continue directly to Round 13.
Round 13: Chain 1, then single crochet (sc) in each stitch around. Join with a sl st. (12 sc) Fasten off, leaving a long tail for sewing.
Assembly
Now it's time to bring your pumpkin together!
- Place the two pumpkin pieces together with wrong sides facing (the right sides—the nicer-looking sides—should be on the outside).
- Using the long tail from the second piece, thread it onto your yarn needle.
- Sew the pieces together around the edge using a whip stitch or mattress stitch, working through both layers. Leave a small opening (about 2 inches) along the edge.
- Through this opening, stuff the pumpkin lightly to give it a plump, rounded shape. Don't overstuff—you want it soft and squeezable!
- Continue sewing the opening closed. Weave in the end securely.
Leaf (Make 1)
With green yarn:
- Chain 10.
- Row 1: Single crochet (sc) in the 2nd chain from the hook. Half double crochet (hdc) in the next chain. Double crochet (dc) in the next chain. Treble crochet (tr) in the next chain. Double crochet in the next chain. Half double crochet in the next chain. Single crochet in the next chain. Slip stitch (sl st) in the last chain.
- Fasten off, leaving a tail (about 8 inches) for sewing.
This creates a simple, slightly curved leaf shape that mimics a pumpkin vine leaf.
Stem (Make 1)
With brown yarn:
- Chain 6.
- Row 1: Single crochet (sc) in the 2nd chain from the hook and in each chain across. (5 sc)
- Fasten off, leaving a tail (about 8 inches) for sewing.
This creates a small, sturdy rectangle that curls slightly—perfect for a pumpkin stem.
Finishing Touches
- Attach the leaf and stem: Position the leaf and stem at the top center of the pumpkin. The stem should sit slightly above the leaf. Sew both securely in place using their tails. Weave in all ends.
- Create a hanging loop: To make your towel topper functional, you need a loop to attach it to a towel ring or cabinet handle. With orange yarn (or any color you prefer), chain 10. Fasten off, leaving a tail. Fold the chain into a loop and sew both ends securely to the back of the pumpkin at the top. Make sure it's firmly attached—this will hold the weight of a towel.
- Weave in all remaining ends with your yarn needle to give your project a clean, professional finish.
Your Cozy Creation Awaits!
And there you have it—a delightful, handmade pumpkin towel topper that adds instant autumn charm to any kitchen. The ribbed texture, created by the increases and decreases, gives it that classic pumpkin look, while the soft stuffing makes it a joy to handle. Whether you gift it to a fellow crafter or keep it for your own home, this pattern is sure to become a seasonal favorite. Happy crocheting!