Sunlit Meadow Tapestry Crochet Wall Hanging Free Pattern

Bring the Outdoors In: Crafting the Sunlit Meadow Tapestry Wall Hanging
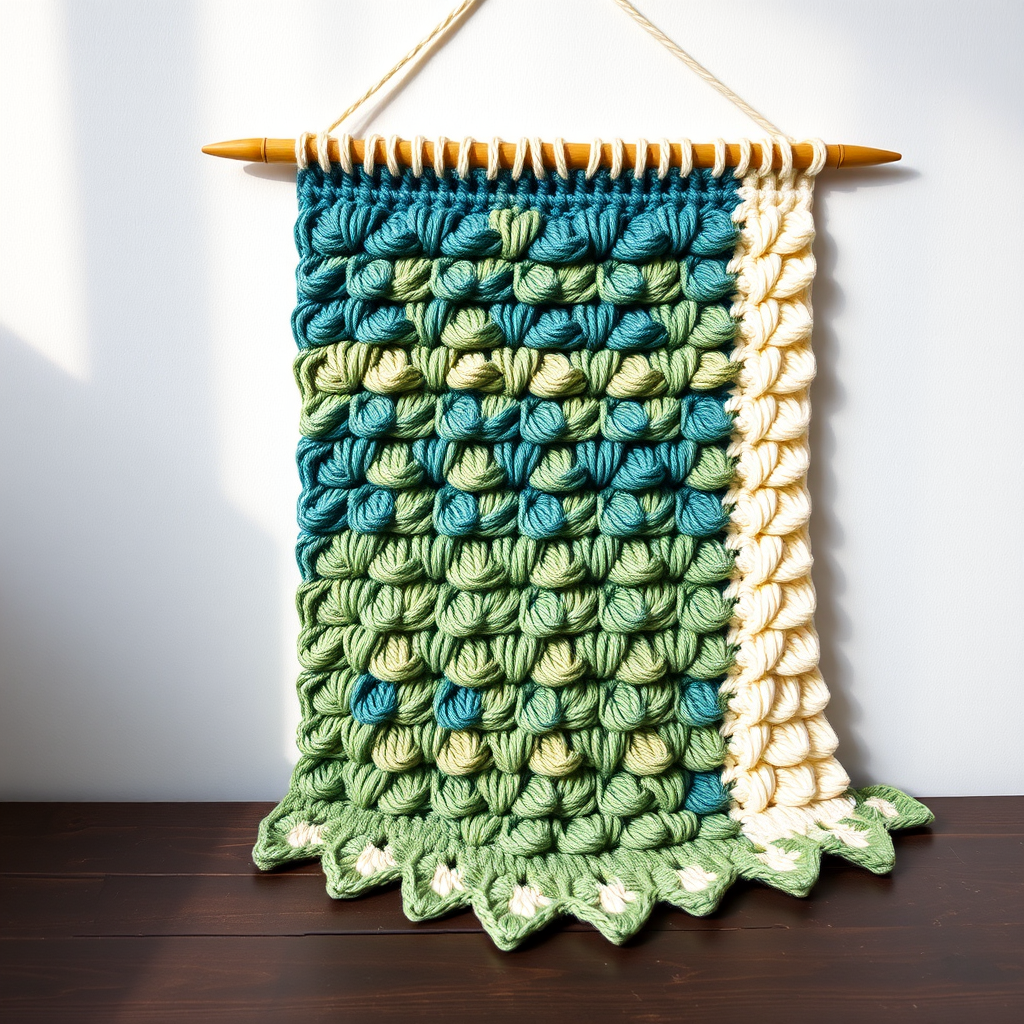
Imagine a sun-drenched field captured in fiber, bringing warmth and texture to your living space. The Sunlit Meadow Tapestry Crochet Wall Hanging is more than just a craft project—it's a piece of impressionist art you create with your own hands. Using simple crochet stitches and thoughtful color blocking, this boho-modern wall decor mimics the brushstroke feel of a painting, with subtle ridges and waves that add depth and visual interest.
This pattern is perfect for intermediate beginners ready to explore color changes and texture. The design is worked flat from the bottom up, using a combination of single crochet (sc), half double crochet (hdc), and double crochet (dc) stitches. The result is a stunning, gallery-worthy textile that measures approximately 24 inches wide and 17 inches tall—ideal for a cozy reading nook, above a bed, or as a statement piece in your entryway.
Materials Needed
Before you begin, gather your supplies. This project uses worsted weight yarn, which is easy to work with and shows stitch definition beautifully. Here's your complete shopping list:
Yarn Colors & Yardage
- Color A (Golden Yellow): Approximately 200 yards
- Color B (Burnt Orange): Approximately 150 yards
- Color C (Terracotta): Approximately 100 yards
- Color D (Sage Green): Approximately 100 yards
- Color E (Olive Green): Approximately 100 yards
- Color F (Cream): Approximately 50 yards
- Color G (Soft Blue): Approximately 50 yards
Pro tip: Choose cotton or a cotton-blend for a crisp stitch definition, or acrylic for a softer, more affordable option. Both work beautifully for this pattern.
Tools & Notions
- Size G/6 (4.0 mm) crochet hook
- Tapestry needle for weaving in ends
- Wooden dowel or branch (approximately 24 inches long) for hanging
- Scissors
- Yarn or twine for hanging loops (optional)
Gauge
14 sc x 16 rows = 4 inches square in single crochet. Gauge is important for achieving the correct finished size, so take a moment to check your tension with a small swatch before starting.
Step-by-Step Instructions
This wall hanging is worked flat from the bottom up. The design uses a combination of single crochet (sc), half double crochet (hdc), and double crochet (dc) to create a woven, textured effect. Color changes are made at the end of each row; do not cut yarn until instructed—carry unused colors loosely up the side or work over them.
Getting Started: Foundation & First Rows
Foundation Row: With color A (Golden Yellow), chain 86. (Your foundation chain should measure approximately 24 inches.)
Row 1: Sc in the 2nd ch from the hook and in each ch across. Turn. (85 sc)
Row 2: With A, ch 1, sc in each st across. Turn.
Creating the Texture Pattern
Now you'll begin the textured wave pattern that gives this piece its woven, brushstroke-like feel. The repeat is simple: *hdc in next st, dc in next st, hdc in next st*, then sc in the next 15 sts. This creates subtle bumps and ridges across the surface.
Row 3: Switch to B (Burnt Orange). Ch 1, sc in first 10 sts, *hdc in next st, dc in next st, hdc in next st*, sc in next 15 sts; repeat from * to * across, ending with sc in last 10 sts. Turn.
Row 4: With B, ch 1, sc in each st across. Turn.
Row 5: Switch to C (Terracotta). Ch 1, sc in first 5 sts, *hdc in next st, dc in next st, hdc in next st*, sc in next 15 sts; repeat from * to * across, ending with sc in last 5 sts. Turn.
Row 6: With C, ch 1, sc in each st across. Turn.
Building the Color Blocks
Continue following the color sequence below. Notice how the textured rows shift position—sometimes starting with 10 sc, sometimes 5, 15, or 20—creating an organic, undulating pattern across the piece.
Rows 7-8: Switch to A. Ch 1, sc in each st across. Turn. (Repeat for both rows)
Row 9: Switch to D (Sage Green). Ch 1, sc in first 20 sts, *hdc in next st, dc in next st, hdc in next st*, sc in next 15 sts; repeat from * to * across, ending with sc in last 20 sts. Turn.
Row 10: With D, ch 1, sc in each st across. Turn.
Row 11: Switch to E (Olive Green). Ch 1, sc in first 15 sts, *hdc in next st, dc in next st, hdc in next st*, sc in next 15 sts; repeat from * to * across, ending with sc in last 15 sts. Turn.
Row 12: With E, ch 1, sc in each st across. Turn.
Rows 13-14: Switch to D. Ch 1, sc in each st across. Turn. (Repeat for both rows)
Row 15: Switch to F (Cream). Ch 1, sc in first 10 sts, *hdc in next st, dc in next st, hdc in next st*, sc in next 15 sts; repeat from * to * across, ending with sc in last 10 sts. Turn.
Row 16: With F, ch 1, sc in each st across. Turn.
Rows 17-18: Switch to G (Soft Blue). Ch 1, sc in each st across. Turn. (Repeat for both rows)
Row 19: Switch to F. Ch 1, sc in first 5 sts, *hdc in next st, dc in next st, hdc in next st*, sc in next 15 sts; repeat from * to * across, ending with sc in last 5 sts. Turn.
Row 20: With F, ch 1, sc in each st across. Turn.
Continuing the Pattern
You're now in the rhythm of the pattern. Continue following this sequence, always remembering: textured rows alternate with smooth single crochet rows in the same color.
Rows 21-22: Switch to A. Ch 1, sc in each st across. Turn. (Repeat for both rows)
Row 23: Switch to B. Ch 1, sc in first 20 sts, *hdc in next st, dc in next st, hdc in next st*, sc in next 15 sts; repeat from * to * across, ending with sc in last 20 sts. Turn.
Row 24: With B, ch 1, sc in each st across. Turn.
Row 25: Switch to C. Ch 1, sc in first 15 sts, *hdc in next st, dc in next st, hdc in next st*, sc in next 15 sts; repeat from * to * across, ending with sc in last 15 sts. Turn.
Row 26: With C, ch 1, sc in each st across. Turn.
Rows 27-28: Switch to A. Ch 1, sc in each st across. Turn. (Repeat for both rows)
Row 29: Switch to D. Ch 1, sc in first 10 sts, *hdc in next st, dc in next st, hdc in next st*, sc in next 15 sts; repeat from * to * across, ending with sc in last 10 sts. Turn.
Row 30: With D, ch 1, sc in each st across. Turn.
Rows 31-32: Switch to E. Ch 1, sc in each st across. Turn. (Repeat for both rows)
Row 33: Switch to D. Ch 1, sc in first 5 sts, *hdc in next st, dc in next st, hdc in next st*, sc in next 15 sts; repeat from * to * across, ending with sc in last 5 sts. Turn.
Row 34: With D, ch 1, sc in each st across. Turn.
Upper Section & Final Rows
As you move into the upper portion of the piece, the colors shift to represent the sky and distant hills. Keep your tension consistent and enjoy watching the landscape emerge.
Rows 35-36: Switch to F. Ch 1, sc in each st across. Turn. (Repeat for both rows)
Rows 37-38: Switch to G. Ch 1, sc in each st across. Turn. (Repeat for both rows)
Rows 39-40: Switch to F. Ch 1, sc in each st across. Turn. (Repeat for both rows)
Rows 41-42: Switch to A. Ch 1, sc in each st across. Turn. (Repeat for both rows)
Rows 43-44: Switch to B. Ch 1, sc in each st across. Turn. (Repeat for both rows)
Rows 45-46: Switch to C. Ch 1, sc in each st across. Turn. (Repeat for both rows)
Rows 47-48: Switch to A. Ch 1, sc in each st across. Turn. (Repeat for both rows)
Rows 49-50: Switch to D. Ch 1, sc in each st across. Turn. (Repeat for both rows)
Rows 51-52: Switch to E. Ch 1, sc in each st across. Turn. (Repeat for both rows)
Rows 53-54: Switch to D. Ch 1, sc in each st across. Turn. (Repeat for both rows)
Rows 55-56: Switch to F. Ch 1, sc in each st across. Turn. (Repeat for both rows)
Rows 57-58: Switch to G. Ch 1, sc in each st across. Turn. (Repeat for both rows)
Rows 59-60: Switch to F. Ch 1, sc in each st across. Turn. (Repeat for both rows)
Rows 61-62: Switch to A. Ch 1, sc in each st across. Turn. (Repeat for both rows)
Rows 63-64: Switch to B. Ch 1, sc in each st across. Turn. (Repeat for both rows)
Rows 65-66: Switch to C. Ch 1, sc in each st across. Turn. (Repeat for both rows)
Rows 67-68: Switch to A. Ch 1, sc in each st across. Turn. (Repeat for both rows)
Row 68 complete: Fasten off and weave in all ends securely.
Finishing & Hanging
Your tapestry is complete! Now it's time to transform it into a beautiful wall hanging.
Step 1: Weave in all loose ends using your tapestry needle. Take your time here—neat ends mean a professional finish.
Step 2: Fold the top edge over your wooden dowel or branch. The dowel should be slightly wider than your piece (about 24 inches) so it extends beyond the edges.
Step 3: Sew the folded edge down securely, creating a casing for the dowel. Use matching yarn and small, invisible stitches.
Step 4: Add a hanging loop of yarn or twine to each end of the dowel. Make sure they're securely attached and can support the weight of the piece.
Step 5: Trim any loose threads and give your piece a gentle steam block if desired (check your yarn label first).
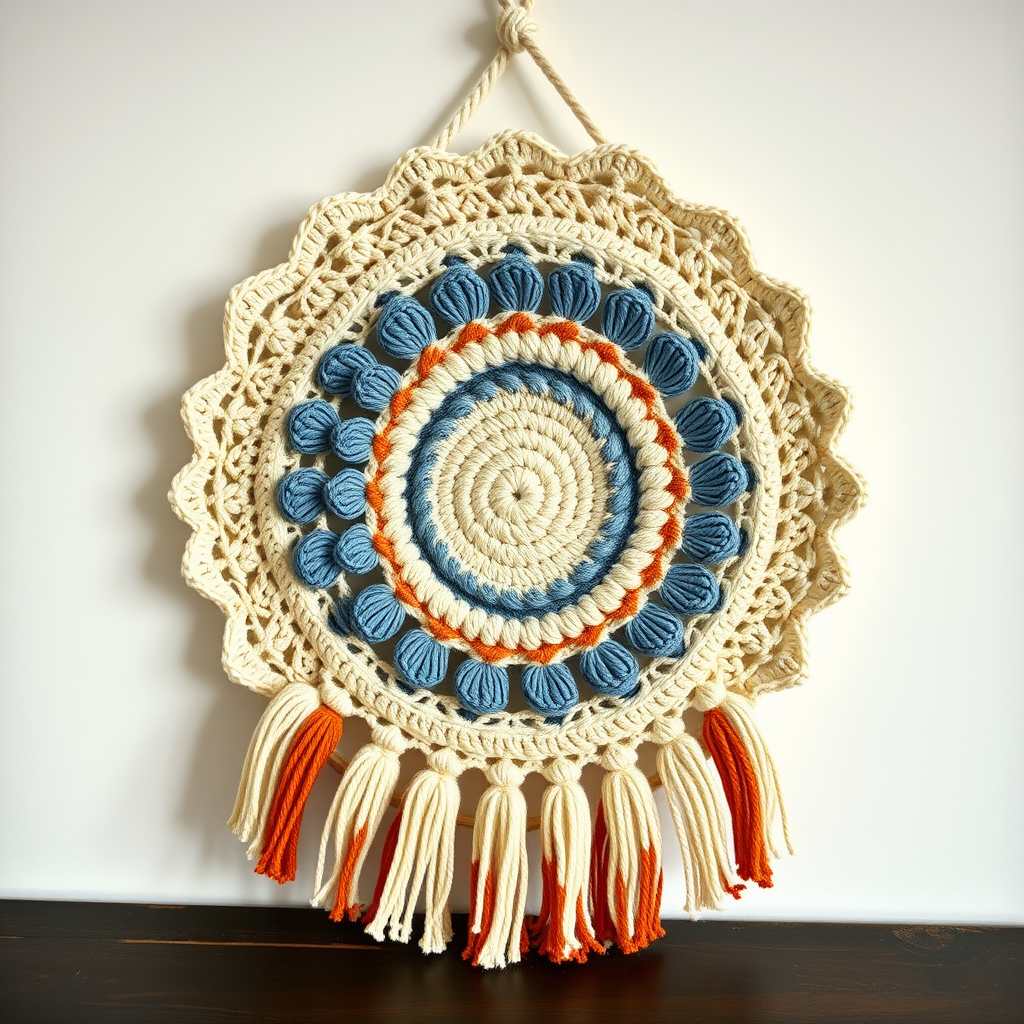
Optional: Add a row of fringe along the bottom edge using leftover yarn in coordinating colors. Cut 6-inch strands, fold in half, and pull through the bottom edge with your hook. This adds a beautiful boho touch.
Displaying Your Masterpiece
Your Sunlit Meadow Tapestry is now ready to grace your walls. The warm golden yellows and burnt oranges evoke a sunset sky, while the sage and olive greens suggest rolling hills, and the soft blue and cream at the bottom create the feeling of a gentle stream or path. The textured rows catch the light differently throughout the day, giving your piece a living, changing quality.
Hang it in a spot where it can be admired—above a console table, in a reading corner, or as part of a gallery wall. This piece makes a thoughtful handmade gift too, perfect for housewarmings or weddings.
Remember, crochet is a journey. Don't rush the process—enjoy each row, each color change, and the satisfaction of watching your landscape come to life. Happy crocheting!