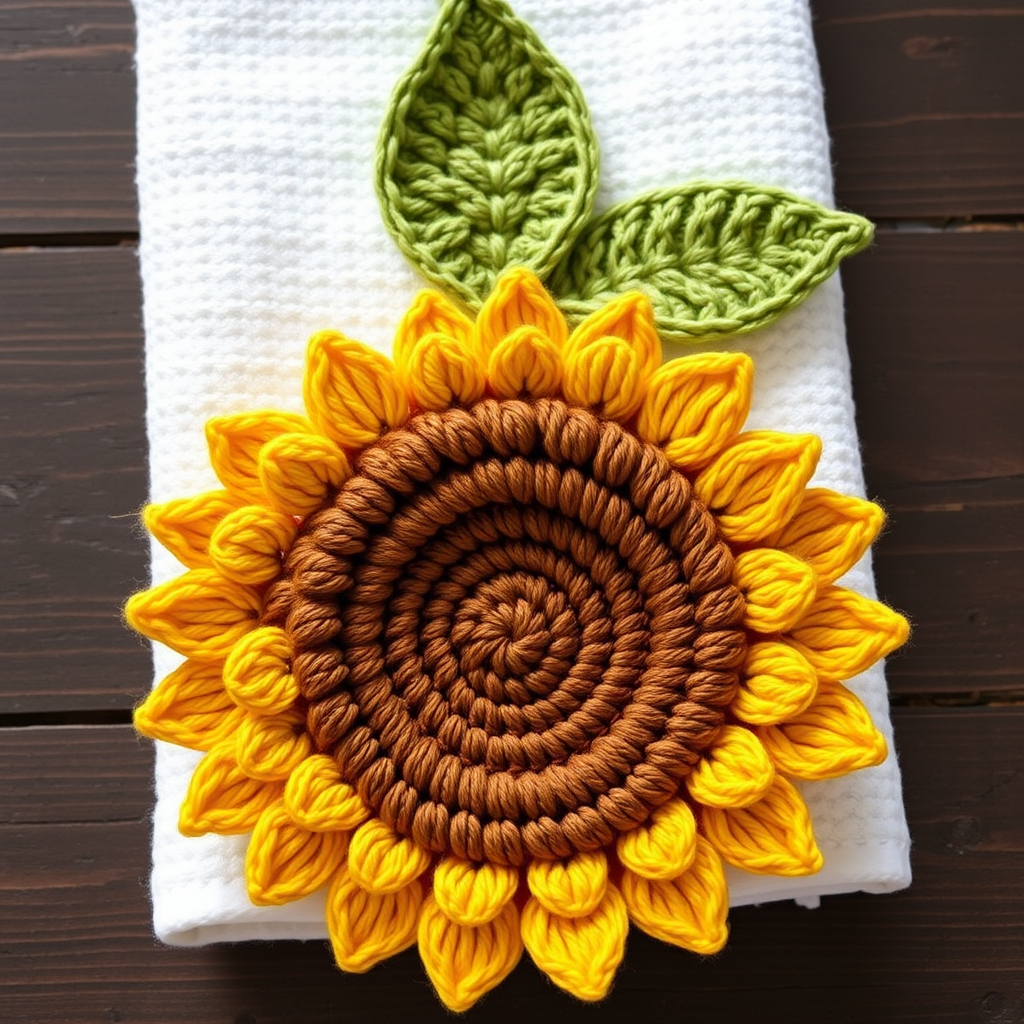
Sunburst Kitchen Apron Free Crochet Pattern – Radiant Granny Square Harvest

Bring Sunshine to Your Kitchen: The Sunburst Granny Square Apron
Imagine stepping into your kitchen wearing a piece of handmade sunshine. That's exactly what this radiant Sunburst Kitchen Apron brings to your daily routine. Built from twelve cheerful granny squares in golden honey, peach, and cream, this apron transforms simple cotton yarn into a cozy, farmhouse-style centerpiece that makes every meal prep feel like a celebration.
Whether you're a seasoned crocheter looking for a satisfying project or a beginner ready to tackle your first garment, this pattern is designed to guide you through every step. The granny square construction means you work in manageable pieces before joining them into a stunning whole—perfect for building confidence while creating something truly special. Let's dive into this delightful project that combines the nostalgia of classic crochet with the fresh charm of summer colors.
Materials Needed
Before you begin, gather these supplies to ensure a smooth crocheting experience:
- Yarn: Worsted weight cotton yarn (e.g., Lion Brand Kitchen Cotton) in 4 colors:
- Color A: Sunny Yellow (approx. 150g)
- Color B: Peach (approx. 150g)
- Color C: Cream (approx. 150g)
- Color D: Sage Green (approx. 150g)
- Hook: 5.0 mm (H-8) crochet hook
- Notions: Yarn needle for weaving in ends and sewing pieces together, sharp scissors
Gauge: One granny square should measure 4 inches x 4 inches (10 cm x 10 cm) after blocking. If your squares come out larger or smaller, adjust your hook size accordingly to achieve the correct gauge.
Step-by-Step Instructions
Understanding the Pattern Structure
This apron is constructed from 12 sunburst granny squares—6 for the bib (upper portion) and 6 for the skirt (lower portion). You'll work each square in the round, then join them together, add a waistband, ties, and a decorative pocket. All rounds are joined with a slip stitch unless otherwise specified.
Sunburst Granny Square (Make 12)
Round 1: With Color A (Sunny Yellow), make a magic ring. Work 12 double crochet (dc) into the ring. Join with a slip stitch to the top of the first dc. You should have 12 dc stitches.
Round 2: Chain 3 (counts as your first dc), work 1 dc in the same stitch, then work 2 dc in each stitch around. Join with a slip stitch to the top of the chain-3. You'll now have 24 dc stitches.
Round 3: Change to Color B (Peach). Chain 1, single crochet (sc) in the same stitch. *Chain 3, skip the next stitch, sc in the next stitch.* Repeat from * to * around, ending with chain 3, skip the last stitch, and join with a slip stitch to the first sc. You should have 12 chain-3 loops.
Round 4: Slip stitch into the first chain-3 loop. Chain 3, work 2 dc, chain 2, 3 dc in the same loop—this creates your first corner. *In the next chain-3 loop: 3 dc, chain 2, 3 dc.* Repeat from * to * around. Join with a slip stitch to the top of the chain-3. You'll have 12 corner clusters.
Round 5: Change to Color C (Cream). Chain 1, sc in the same stitch. *Chain 5, skip to the next corner cluster, sc in the chain-2 space.* Repeat from * to * around, ending with chain 5, and join with a slip stitch to the first sc. You should have 12 chain-5 loops.
Round 6: Slip stitch into the first chain-5 loop. Chain 3, work 4 dc, chain 2, 5 dc in the same loop—this forms your corner. *In the next chain-5 loop: 5 dc, chain 2, 5 dc.* Repeat from * to * around. Join with a slip stitch to the top of the chain-3. Fasten off and weave in all loose ends. You'll have 12 corner clusters, and your square is complete.
Pro Tip: Block your squares before joining to ensure they're all the same size and lie flat. This makes the assembly process much easier and gives your apron a professional finish.
Joining the Squares
Arrange your 12 completed squares in a rectangle: 3 squares wide by 4 squares tall. This layout creates the bib (top 2 rows) and the skirt (bottom 2 rows) of your apron.
Using Color D (Sage Green) and your yarn needle, whip stitch the squares together through the back loops only. Match the corners carefully to ensure your seams are straight and neat. Continue joining all squares until you have one large panel measuring approximately 12 inches wide by 16 inches tall.
Edging the Panel
With Color D, single crochet evenly around the entire outer edge of your joined panel. Work 3 sc in each corner to help the corners lie flat and turn nicely. After completing the full round, work one more round of reverse single crochet (also called crab stitch) for a clean, finished edge. To work crab stitch, simply sc in the opposite direction (left to right if you're right-handed). Fasten off and weave in ends.
Creating the Waistband
With Color D, chain 8. Single crochet in the 2nd chain from the hook and across—you'll have 7 sc. Chain 1 and turn. Work sc in each stitch across until the band measures 30 inches (76 cm) or your desired waist size. Fasten off.
Center the waistband along the top edge of your apron panel and sew it securely in place using your yarn needle and Color D yarn. Make sure it's attached evenly so the apron hangs straight when worn.
Adding the Ties
Create two chains of 60 inches (152 cm) each using Color D. Attach one chain to each end of the waistband securely. For a more polished look, you can crochet an i-cord instead of a simple chain—just work several rows of sc in the round for a thicker, sturdier tie.
Alternative: If you prefer adjustable ties, make them longer and tie them in a bow at the back.
Making the Pocket
With Color A (Sunny Yellow), chain 20. Single crochet in the 2nd chain from the hook and across—you'll have 19 sc. Chain 1 and turn. Work sc in each stitch across for 12 rows total. Then change to Color B (Peach) and work 2 more rows. Fasten off and weave in ends.
Position the pocket on the front of your apron, approximately 4 inches below the waistband and centered horizontally. Sew it in place along the bottom and sides, leaving the top edge open to create a functional pocket. For extra durability, reinforce the corners with a few extra stitches.
Finishing Touches
Weave in any remaining loose ends throughout your project. Give your finished apron a gentle hand wash and lay it flat to dry, reshaping as needed. The cotton yarn will soften beautifully with use, and the sunburst colors will brighten your kitchen for years to come.
This apron makes a thoughtful handmade gift for a fellow cooking enthusiast, a lovely addition to your own farmhouse-style kitchen, or a charming piece to sell at craft fairs. The granny square construction means you can easily customize the colors to match any kitchen decor—try navy and white for a nautical theme, or deep reds and greens for a cozy winter look.
We'd love to see your finished Sunburst Kitchen Apron! Share your creation on social media with the hashtag #SunburstApron and inspire other crocheters with your beautiful work. Happy crocheting!