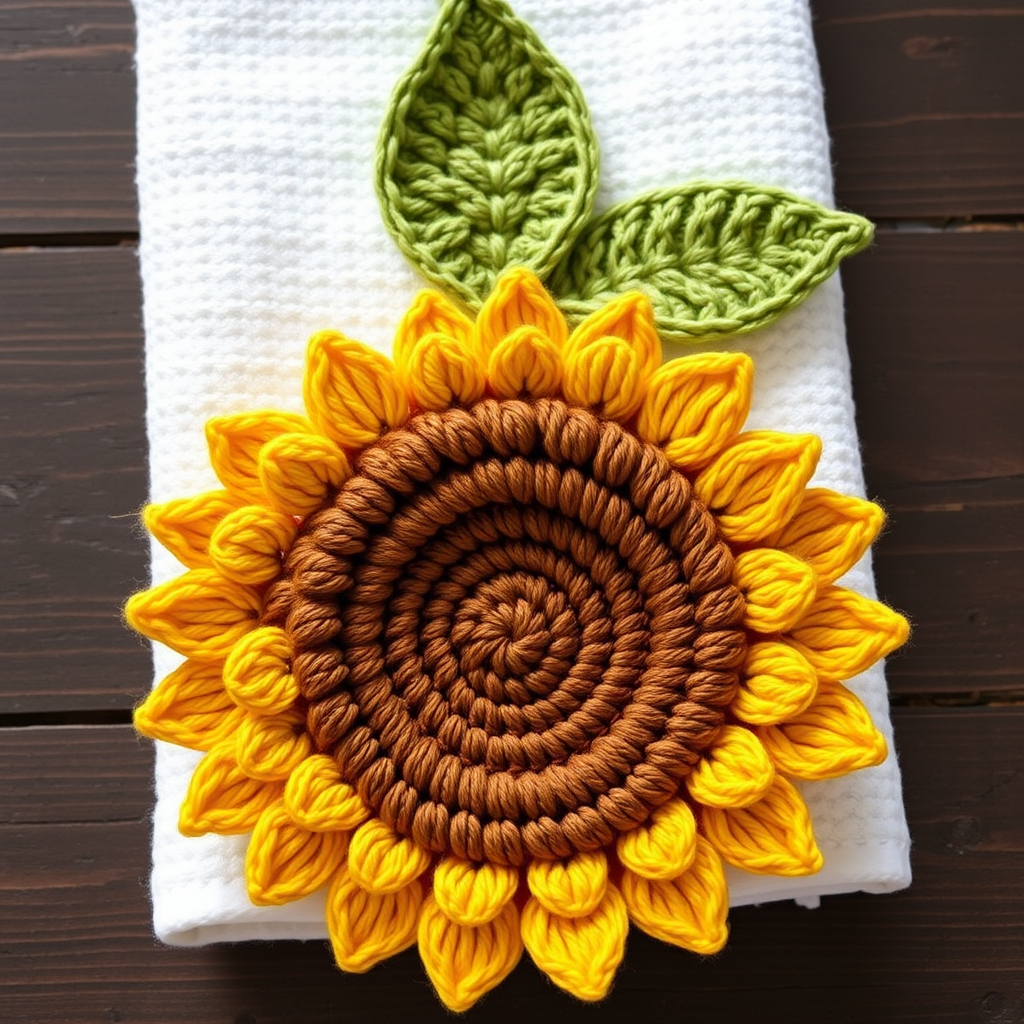
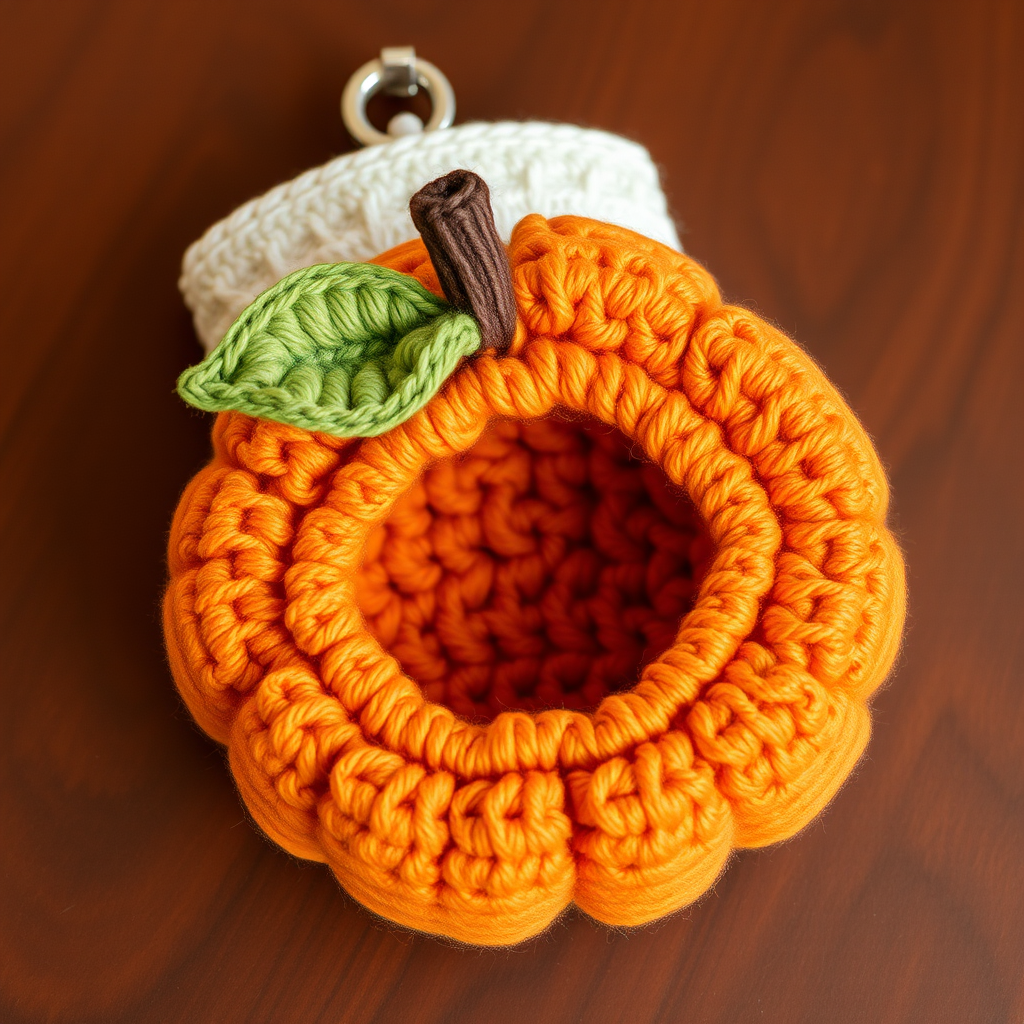
Sunburst Citrus Scrubby Set Free Pattern – Textured Crochet Dishcloths

Sunburst Citrus Scrubby Set Free Pattern – Textured Crochet Dishcloths
Brighten up your kitchen sink with these cheerful, textured citrus scrubby sets that are as functional as they are adorable. Each scrubby features a raised center and a scalloped edge, perfect for tackling tough messes while adding a pop of sunshine to your daily chores. This free crochet pattern is beginner-friendly, works up quickly, and makes a wonderful handmade gift for housewarmings, hostess gifts, or simply to treat yourself to a more joyful dishwashing experience.
In this comprehensive guide, I'll walk you through every step to create a complete set of three vibrant scrubby pads: a lemon, an orange, and a lime. The dense, textured double crochet center provides excellent scrubbing power, while the soft cotton yarn is gentle on your dishes and hands. Let's dive in and add some citrus sunshine to your kitchen!
Why You'll Love This Pattern
These scrubby pads are not just practical—they're a joy to make and use. The pattern uses simple stitches (single crochet, half double crochet, double crochet, and treble crochet) and works up in just a couple of hours per scrubby. The two-layer construction gives them a nice thickness that feels substantial in your hand, and the scalloped petal edge adds a charming, finished look. Plus, they're made with 100% cotton yarn, which is naturally absorbent, durable, and machine-washable.
Materials Needed
Before you begin, gather the following supplies. All items are readily available at craft stores or online.
- Yarn: Worsted weight cotton yarn (e.g., Lily Sugar'n Cream) in the following colors:
- Lemon yellow (for the lemon scrubby)
- Deep orange (for the orange scrubby)
- Lime green (for the lime scrubby)
- Small amounts of white yarn (for pith details and seeds)
- Crochet Hook: US G/6 (4.0 mm) crochet hook
- Other Tools: Yarn needle (for weaving in ends and assembly), stitch markers, scissors
Gauge: 4-inch square = 16 sc x 18 rows. Gauge is not critical for this project, but consistent tension will help your scrubby lay flat and look neat.
Step-by-Step Instructions
Finished Size & Abbreviations
Finished Size: Approximately 6 inches in diameter per scrubby.
Abbreviations:
- ch = chain
- sl st = slip stitch
- sc = single crochet
- hdc = half double crochet
- dc = double crochet
- tr = treble crochet
- rnd = round
- st(s) = stitch(es)
Pattern Notes:
- Worked in continuous rounds unless otherwise stated; use a stitch marker to track the beginning of each round.
- The scrubby is made in two layers: a solid base and a textured top, then joined together.
- Each scrubby uses approximately 1 ounce (28 grams) of yarn for the main color.
LEMON SCRUBBY (Yellow)
Base Layer (make 1)
This solid, flat layer forms the back of your scrubby and provides stability.
- Rnd 1: With yellow yarn, make a magic ring. Ch 2 (counts as hdc), work 11 hdc into the ring. Sl st to the top of the ch-2 to join. (12 hdc)
- Rnd 2: Ch 2, hdc in the same st (this creates an increase). Work 2 hdc in each st around. Sl st to join. (24 hdc)
- Rnd 3: Ch 2, hdc in the same st, hdc in the next st. *2 hdc in the next st, hdc in the next st* repeat from * to * around. Sl st to join. (36 hdc)
- Rnd 4: Ch 2, hdc in the same st, hdc in the next 2 sts. *2 hdc in the next st, hdc in the next 2 sts* repeat from * to * around. Sl st to join. (48 hdc)
- Fasten off and weave in ends securely.
Textured Top Layer (make 1)
This is the star of the show—the dense, bumpy surface that gives your scrubby its scrubbing power.
- Rnd 1: With yellow yarn, make a magic ring. Ch 3 (counts as dc), work 11 dc into the ring. Sl st to the top of the ch-3 to join. (12 dc)
- Rnd 2: Ch 3, dc in the same st. Work 2 dc in each st around. Sl st to join. (24 dc)
- Rnd 3: Ch 3, dc in the same st, dc in the next st. *2 dc in the next st, dc in the next st* repeat from * to * around. Sl st to join. (36 dc)
- Rnd 4: Ch 3, dc in the same st, dc in the next 2 sts. *2 dc in the next st, dc in the next 2 sts* repeat from * to * around. Sl st to join. (48 dc)
- Rnd 5: Ch 1, sc in the same st. *Ch 3, skip 2 sts, sc in the next st* repeat from * to * around, ending with ch 3, sl st to the first sc. (16 ch-3 loops)
- Rnd 6: Sl st into the first ch-3 loop. Ch 1, work (sc, hdc, 3 dc, hdc, sc) in each ch-3 loop around. Sl st to the first sc. (16 petals)
- Fasten off, leaving a long tail (about 18 inches) for sewing the layers together.
Assembly
- Place the textured top layer on top of the base layer, with the wrong sides facing each other. The textured side should face up.
- Thread your yarn needle with the long tail from the top layer.
- Using a whip stitch, sew the two layers together around the outer edge. Insert your needle through the back loop of the base layer and the front loop of the top layer, working evenly around the entire circumference.
- When you reach the starting point, weave in the end securely and trim any excess yarn.
ORANGE SCRUBBY (Orange)
Repeat the exact same instructions as the Lemon Scrubby, but use orange yarn for both layers. For added detail, embroider small white seeds in the center of the textured top before assembly:
- Thread a yarn needle with white yarn.
- Working from the center of the textured top, make 6-8 small straight stitches radiating outward, like citrus seeds.
- Secure the yarn on the wrong side and weave in ends.
Then proceed with the assembly as described above.
LIME SCRUBBY (Green)
Repeat the same instructions as the Lemon Scrubby, but use lime green yarn for both layers. Add a small white star in the center using surface crochet or embroidery:
- Using white yarn and a yarn needle, create a five-pointed star in the center of the textured top.
- Make five straight stitches of equal length radiating from a central point, then connect the points with small diagonal stitches to form the star shape.
- Secure on the wrong side and weave in ends.
Then proceed with the assembly as described above.
Finishing Touches
- Blocking (optional): If your scrubby edges curl slightly, you can block them. Wet the scrubby, gently squeeze out excess water, and lay flat to dry, shaping it into a perfect circle.
- Hanging Loop (optional): To create a convenient hanging loop, attach yarn to the edge of the scrubby with a slip stitch. Chain 15, then slip stitch back into the same edge stitch to form a loop. Fasten off and weave in ends.
- Care Instructions: These scrubby pads are machine washable in cold water and can be tumble dried on low. They'll last for months with regular use.
Tips for Perfect Results
- Keep consistent tension: Try to maintain the same tightness throughout your rounds. If your tension varies, the scrubby may ripple or cup.
- Use a stitch marker: Since you're working in continuous rounds, a stitch marker at the beginning of each round is essential to keep your place.
- Count your stitches: After each round, count your stitches to ensure you haven't accidentally added or skipped any. This prevents the scrubby from becoming misshapen.
- Choose quality cotton: 100% cotton yarn is best for dishcloths because it's absorbent, durable, and gets softer with each wash. Avoid acrylic, which can melt or become scratchy.
Creative Variations
Once you've mastered the basic pattern, feel free to experiment! Try these fun variations:
- Grapefruit: Use pink or ruby red yarn, and add a few dark pink seeds in the center.
- Watermelon: Use light green for the base and dark green for the textured top, then add small black seeds.
- Color-blocked: Make the base one color and the top another for a two-tone effect.
- Mini version: Use sport weight yarn and a smaller hook to make coasters or face scrubby pads.
Conclusion
These Sunburst Citrus Scrubby Sets are the perfect combination of form and function. They're quick to make, use minimal yarn, and result in a beautiful, practical item that elevates your daily kitchen routine. Whether you're making them for yourself or as thoughtful handmade gifts, these cheerful citrus scrubby pads are sure to bring a smile to anyone's face.
I'd love to see your finished scrubby sets! Share your creations on social media using the hashtag #CitrusScrubbySet, and don't forget to tag me so I can admire your work. Happy crocheting, and may your kitchen always be filled with sunshine!