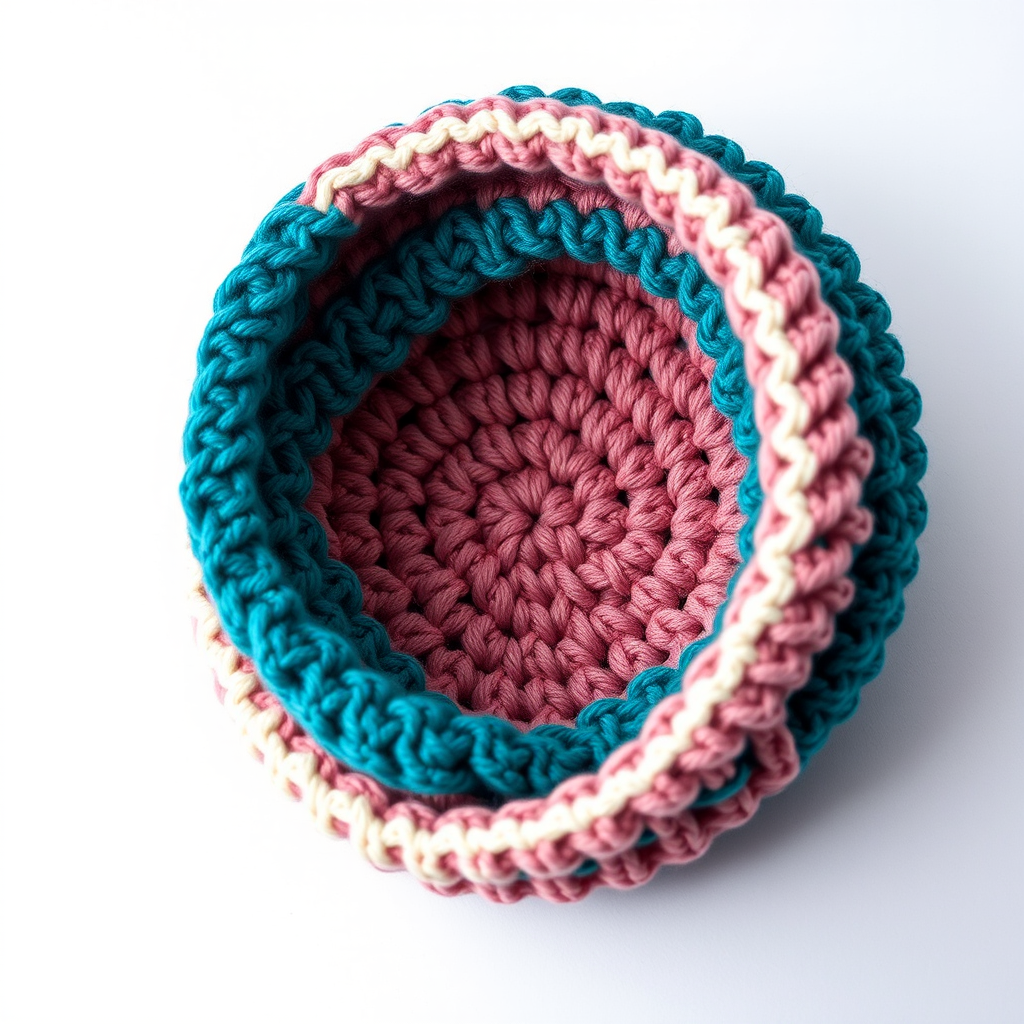
Strawberry Frost Bun Hat Free Crochet Pattern: A Y2K Messy Bun Beanie

Strawberry Frost Bun Hat: A Beginner-Friendly Messy Bun Beanie
If you have ever wanted to crochet something cute, wearable, and genuinely useful, this Strawberry Frost Bun Hat is the perfect first project. It is a messy bun beanie, which means it has a small open hole at the top so you can pull your hair through while the hat keeps your ears warm. The finished hat is a soft cream-and-pink striped cylinder with a cozy single crochet brim and a tiny red strawberry appliqué sewn onto the front. It looks sweet and a little bit Y2K, and it feels soft and stretchy against your head. Best of all, it is made almost entirely from one simple stitch repeated over and over, so you can absolutely make this even if you have never held a crochet hook before.
Materials Needed
- Yarn: Worsted weight (category 4) acrylic or cotton blend yarn, approximately 180–220 yards total: about 120 yards cream, 60 yards soft pink, and a small amount of red and green for the strawberry appliqué.
- Main hook: US K/10.5 (6.5 mm) crochet hook.
- Small hook: US G/6 (4.0 mm) crochet hook for the strawberry appliqué.
- Stitch marker (or a safety pin, or a scrap of contrasting yarn) to mark the first stitch of each round.
- Tapestry needle (a large blunt sewing needle with an eye big enough for yarn) for sewing on the strawberry and weaving in ends.
- Scissors.
- Finished size: 20 inch circumference, designed to fit a 22 inch head. Height from the crown band to the lower edge is approximately 8 inches. The open bun hole measures approximately 3 inches in diameter. The brim is about 1.5 inches deep.
Abbreviations and Beginner Glossary
Every pattern is written in shorthand. Here is every abbreviation used in this pattern, explained in plain English. All terms are US crochet terms.
- ch – chain. Make a loop of yarn on your hook, then pull the yarn through the loop. Each one you make is a "chain."
- sl st – slip stitch. Insert your hook into the stitch, wrap yarn over the hook, and pull it through both the stitch and the loop on your hook at the same time. It makes a nearly invisible joining stitch.
- sc – single crochet. Insert hook into stitch, pull up a loop (2 loops on hook), wrap yarn over, pull through both loops. (1 loop remains.)
- hdc – half double crochet. Wrap yarn over hook first, insert hook into stitch, pull up a loop (3 loops on hook), wrap yarn over, pull through all 3 loops at once.
- dc – double crochet. Wrap yarn over hook, insert hook into stitch, pull up a loop (3 loops on hook), wrap yarn over and pull through 2 loops, wrap yarn over and pull through the last 2 loops.
- hdc2tog – half double crochet two together (a decrease). This turns 2 stitches into 1. Wrap yarn over, insert hook into the first stitch, pull up a loop, then insert hook into the next stitch and pull up a loop (4 loops on hook), wrap yarn over and pull through all 4 loops.
- sc2tog – single crochet two together (a decrease). Insert hook into first stitch, pull up a loop, insert hook into next stitch, pull up a loop (3 loops on hook), wrap yarn over and pull through all 3 loops.
- st(s) – stitch or stitches.
- rnd – round. One complete circle of stitches worked around.
- magic ring – an adjustable loop of yarn you crochet into, then pull tight to close the center hole. If you prefer, you can chain 4 and join with a slip stitch to make a small ring instead.
- fasten off – cut the yarn, pull the tail all the way through the last loop, and tighten so it does not unravel.
- join with sl st – after working all the stitches of a round, slip stitch into the first stitch of that round to close the circle.
Gauge
Gauge: 11 hdc x 9 rounds = 4 inches (10 cm) with the 6.5 mm hook.
Gauge means how big your stitches come out. It matters because if your stitches are bigger or smaller than the pattern expects, your hat will not fit. To check your gauge, crochet a small square about 5 inches wide: make a magic ring, work 4 rounds of hdc increasing as in Rounds 1–4 below, then work 3 more rounds of plain hdc. Measure the middle 4 inches across and count your stitches and rounds. If you have more than 11 stitches in 4 inches, your stitches are too small — try a larger hook. If you have fewer, your stitches are too big — try a smaller hook. Do not skip this step; it takes ten minutes and saves you from a hat that does not fit.
Beginner Tips Before You Start
- Use your stitch marker every single round. Because this hat is worked in continuous rounds, it is very easy to lose track of where a round begins. Place the marker in the first stitch of each round and move it up as you go.
- Do not pull your yarn too tight. Beginners often crochet tightly out of nerves. Keep your loops relaxed and even so the hat stays soft and stretchy.
- Count your stitches at the end of every round. The pattern tells you the stitch count in parentheses, like (60 hdc). If your count is off, fix it right away by adding or removing a stitch — do not keep going.
- Leave long tails when you change colors. Leave about 6 inches of yarn when you fasten off a color, so you have enough to weave in later.
- Do not close the bun hole. The first few rounds create a small circle. It is supposed to stay open — that is where your hair goes through.
- Work loosely on the strawberry. The appliqué uses a much smaller hook, so keep your tension gentle or the strawberry will curl up.
Step-by-Step Instructions
Notes: Work from the top down in continuous rounds. Do not turn your work. The hat begins at the bun opening and widens outward, then the crown band is worked downward to the brim.
Bun Opening and Crown Band
With cream yarn and the 6.5 mm hook, make a magic ring.
Rnd 1: Ch 1 (does not count as a st), work 10 hdc into the ring, join with sl st to first hdc. (10 hdc)
Rnd 2: Ch 1, 2 hdc in each st around, join with sl st. (20 hdc)
Rnd 3: Ch 1, [2 hdc in next st, hdc in next st] around, join with sl st. (30 hdc)
Rnd 4: Ch 1, [2 hdc in next st, hdc in next 2 sts] around, join with sl st. (40 hdc)
Rnd 5: Ch 1, [2 hdc in next st, hdc in next 3 sts] around, join with sl st. (50 hdc)
Rnd 6: Ch 1, [2 hdc in next st, hdc in next 4 sts] around, join with sl st. (60 hdc)
The opening should now measure about 3 inches across. This is the bun hole; do not close it.
Striped Body
Change to soft pink yarn after Rnd 6.
Rnds 7–8: Ch 1, hdc in each st around, join with sl st. (60 hdc) Fasten off pink.
Rejoin cream.
Rnds 9–10: Ch 1, hdc in each st around, join with sl st. (60 hdc) Fasten off cream.
Rejoin pink.
Rnds 11–12: Ch 1, hdc in each st around, join with sl st. (60 hdc) Fasten off pink.
Rejoin cream.
Rnds 13–14: Ch 1, hdc in each st around, join with sl st. (60 hdc) Fasten off cream.
Rejoin pink.
Rnds 15–16: Ch 1, hdc in each st around, join with sl st. (60 hdc) Fasten off pink.
Rejoin cream.
Rnds 17–18: Ch 1, hdc in each st around, join with sl st. (60 hdc) Do not fasten off.
The body should measure approximately 6 inches from the bun opening to the last round.
Brim
Continue with cream.
Rnd 19: Ch 1, hdc in each st around, join with sl st. (60 hdc)
Rnd 20: Ch 1, sc in each st around, join with sl st. (60 sc)
Rnd 21: Ch 1, sc in each st around, join with sl st. (60 sc)
Fasten off and weave in all ends. The brim measures about 1.5 inches deep.
Strawberry Appliqué (make 1)
With red yarn and the 4.0 mm hook, make a magic ring.
Rnd 1: Ch 1, work 6 sc into the ring, join with sl st. (6 sc)
Rnd 2: Ch 1, 2 sc in each st around, join with sl st. (12 sc)
Rnd 3: Ch 1, [2 sc in next st, sc in next st] around, join with sl st. (18 sc)
Rnd 4: Ch 1, sc in each st around, join with sl st. (18 sc)
Rnd 5: Ch 1, [sc2tog, sc in next st] around, join with sl st. (12 sc)
Rnd 6: Ch 1, sc2tog around, join with sl st. (6 sc)
Stuff lightly with a tiny scrap of red yarn if desired, then close the opening by sewing through the front loops of the last 6 sts and pulling tight. Fasten off.
Leaves and Stem
With green yarn and the 4.0 mm hook, join to the top of the strawberry.
Leaf 1: Ch 4, sl st in 2nd ch from hook, sc in next ch, dc in next ch, sl st into the strawberry top.
Leaves 2–3: Repeat the leaf instructions 2 more times to make 3 small leaves total.
Stem: Ch 3 and sl st back down the chain, then fasten off. Weave in ends.
Seed Stitches
With a small length of cream yarn and a tapestry needle, embroider 6–8 tiny straight stitches over the front of the strawberry to resemble seeds. Do not pull tightly or the strawberry will pucker.
Assembly and Finishing
Sewing on the strawberry: Thread a tapestry needle with one of the red tails. Place the strawberry on the front of the crown band, centered just below the bun opening. Take small stitches around the edge of the strawberry, going through the hat fabric but not all the way to the inside, so the stitches do not show on the inside of the hat. Sew all the way around, then knot the yarn on the inside and trim.
Weaving in ends: Thread each yarn tail onto the tapestry needle and weave it back and forth through the inside of the hat for about 2 inches, following the path of the stitches. Then trim close to the fabric. Never tie a knot and cut right at the knot — it will work loose in the wash.
Blocking (shaping): Lightly steam the brim to help it hold its shape. Hold a steam iron or steamer about 2 inches above the fabric — do not press the iron directly onto the crochet. Pat the brim flat and let it dry completely. You can also gently stretch the hat over a bowl or a large jar to shape the crown.
How to wear it: The hat is worn with the bun opening at the top so your hair can be pulled through. Gather your hair into a bun or ponytail, pull it through the hole, and adjust the hat so the brim sits just above your ears.
Pro Tips and Variations
- Change the colors: Swap the cream and pink for any two colors you love — try sage green and white for a spring look, or black and hot pink for a bolder Y2K vibe. Keep the same stripe rhythm of 2 rounds per color.
- Adjust the size: To make the hat larger or smaller, add or remove one increase round before the body (each extra round adds 10 stitches, about 3.5 inches of circumference). To make it taller, add extra plain hdc rounds in the body before the brim.
- Substitute the yarn: Any worsted weight (category 4) yarn works. Cotton blend yarn gives a crisper, more structured hat; acrylic gives a softer, stretchier one. Always check your gauge again if you change yarn.
- Make the strawberry a brooch: Instead of sewing the strawberry on permanently, sew a small safety pin to the back so you can move it to different hats, bags, or jackets.