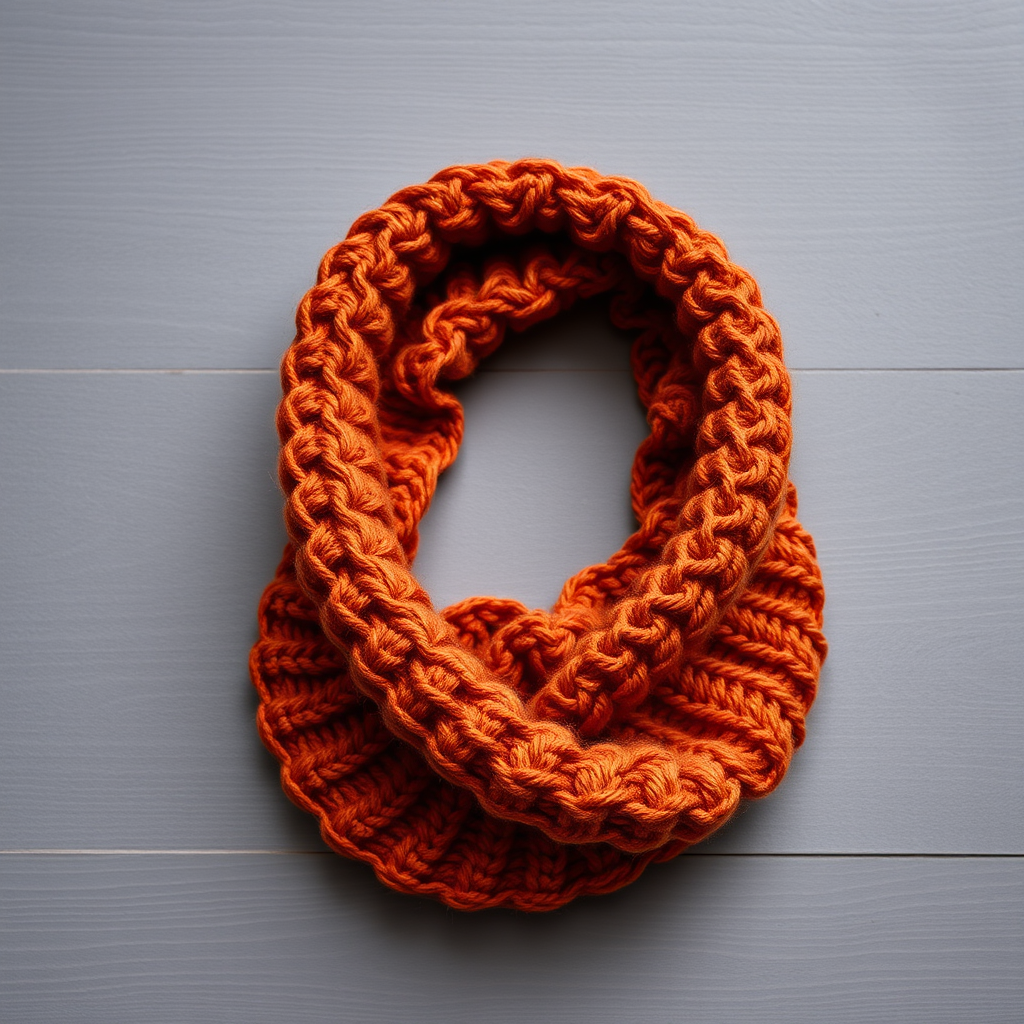
Starlit Serenade Cowl Free Pattern – Celestial Cable Knit Neck Warmer

Wrap Yourself in Celestial Warmth: The Starlit Serenade Cowl
There's something truly magical about a hand-knit accessory that carries a story. The Starlit Serenade Cowl is more than just a neck warmer—it's a wearable piece of the night sky, designed to wrap you in the quiet wonder of a midnight constellation. With its intricate cable motifs that mimic twinkling stars and a plush, cozy fit, this cowl is the perfect companion for crisp evening strolls, festive holiday gatherings, or simply curling up with a warm drink on a cold winter's night.
Knitted in a deep twilight blue, this seamless tube features a repeating pattern of celestial cables that stand out beautifully against a smooth stockinette background. The alternating C4F and C4B twists create a dimensional, textured look that's both sophisticated and inviting. Whether you're a seasoned knitter looking for a rewarding project or a confident beginner ready to tackle cables for the first time, this pattern offers a satisfying journey with a stunning result.
Let's dive into creating this celestial masterpiece together. With clear instructions and a bit of patience, you'll have a gorgeous, handmade cowl that's sure to become a winter favorite.
Materials Needed
Before we begin our celestial knitting adventure, let's gather all the necessary supplies. Having everything ready will make the process smooth and enjoyable.
Yarn
- Worsted weight yarn in deep midnight blue (e.g., Lion Brand Wool-Ease in Navy) – 220 yards (200 m)
The worsted weight yarn gives this cowl its plush, chunky feel while still allowing the cable details to shine. The deep midnight blue evokes the night sky perfectly, but feel free to choose any color that speaks to you—a rich burgundy or forest green would also be stunning.
Needles & Tools
- US 8 (5 mm) circular knitting needle, 16-inch (40 cm) length
- Cable needle
- Stitch markers (at least 1)
- Yarn needle for weaving in ends
- Scissors
Gauge
- 18 stitches and 24 rows = 4 inches (10 cm) in stockinette stitch
Be sure to check your gauge before starting. If your gauge is off, the finished cowl may be too tight or too loose. Adjust your needle size if needed to achieve the correct gauge.
Step-by-Step Instructions
Now that we have everything ready, let's begin our celestial knitting journey. Follow these instructions carefully, and you'll have a beautiful Starlit Serenade Cowl in no time.
Finished Measurements
- Circumference: 24 inches (61 cm)
- Height: 10 inches (25 cm)
Abbreviations
Before we start, let's review the abbreviations used in this pattern:
- CO: cast on
- K: knit
- P: purl
- C4F: slip 2 stitches to cable needle, hold in front, knit 2, knit 2 from cable needle
- C4B: slip 2 stitches to cable needle, hold in back, knit 2, knit 2 from cable needle
- PM: place marker
- SM: slip marker
- BO: bind off
Getting Started: Cast On and Ribbing
Step 1: Cast On
CO 120 stitches onto your circular needle. Place a marker to mark the beginning of the round, and join in the round, being very careful not to twist your stitches. This is crucial for a seamless tube. Take a moment to ensure all your stitches are lying flat and facing the same direction before joining.
Step 2: Ribbing Rounds 1-6
Work the ribbing as follows:
Rounds 1-6: *K2, P2; repeat from * to end of round.
This 2x2 ribbing creates a neat, stretchy border that will frame your cable pattern beautifully. Continue for all 6 rounds, maintaining the rib pattern consistently.
The Celestial Cable Body
Now we move into the main body of the cowl, where the magic happens. The pattern repeats every 24 stitches, and you'll have 5 repeats around the circumference.
Step 3: Set-Up Round (Round 7)
*K2, P2, K6, P2, K2, P2, K6, P2; repeat from * to end of round.
This round establishes the pattern. You'll notice the K6 sections are where your cables will form. Take a moment to count your stitches and ensure you have 5 complete repeats.
Step 4: Rounds 8-10 (Work Even)
Work even in pattern as established—knit the knits and purl the purls. This means if a stitch was knit in the previous round, knit it again; if it was purled, purl it. This creates the smooth stockinette background that will make your cables pop.
Step 5: First Cable Round (Round 11)
*K2, P2, C4F, C4B, P2, K2, P2, C4F, C4B, P2; repeat from * to end of round.
This is where the celestial magic begins! The C4F and C4B twists create the star-like cable motifs. Remember:
- C4F: Slip 2 stitches to cable needle, hold in front, knit 2, knit 2 from cable needle
- C4B: Slip 2 stitches to cable needle, hold in back, knit 2, knit 2 from cable needle
Take your time with these—the result is worth it!
Step 6: Rounds 12-18 (Work Even)
Work even in pattern as established. The cables you created will rest and settle into their twisted positions.
Step 7: Second Cable Round (Round 19)
*K2, P2, C4B, C4F, P2, K2, P2, C4B, C4F, P2; repeat from * to end of round.
Notice how we've reversed the order of the cables! This creates a beautiful mirrored effect, making the constellation pattern more dynamic and interesting.
Step 8: Rounds 20-26 (Work Even)
Work even in pattern as established. Let those beautiful twists shine.
Step 9: Third Cable Round (Round 27)
Same as Round 11: *K2, P2, C4F, C4B, P2, K2, P2, C4F, C4B, P2; repeat from * to end of round.
Step 10: Rounds 28-34 (Work Even)
Work even in pattern as established.
Step 11: Fourth Cable Round (Round 35)
Same as Round 19: *K2, P2, C4B, C4F, P2, K2, P2, C4B, C4F, P2; repeat from * to end of round.
Step 12: Rounds 36-42 (Work Even)
Work even in pattern as established. You're almost there!
Finishing Touches: Ribbing and Bind Off
Step 13: Ribbing Rounds 43-48
*K2, P2; repeat from * to end of round.
Work this ribbing for 6 rounds, matching the bottom edge of your cowl.
Step 14: Bind Off
BO loosely in pattern. This means if the next stitch is a knit, bind off as if to knit; if it's a purl, bind off as if to purl. Binding off loosely is essential to maintain the stretchiness of the edge—you don't want a tight, puckered top.
Step 15: Finishing
Weave in all ends carefully using your yarn needle. Take your time to ensure the ends are secure and invisible.
Step 16: Blocking
Block gently to open up the cables. Wet blocking or steam blocking will help the cable stitches relax and lay flat, revealing their full dimensional beauty. Lay flat to dry, shaping gently to the correct measurements.
Your Celestial Masterpiece Awaits
Congratulations! You've completed your Starlit Serenade Cowl. This beautiful, celestial-inspired accessory is now ready to keep you warm and stylish all winter long. The intricate cables and deep midnight blue color make it a versatile piece that pairs beautifully with everything from casual coats to elegant evening wear.
Remember, cables get easier with practice. If this is your first cable project, you'll find that by the end, you're working the C4F and C4B twists with confidence and ease. Each round brings you closer to a stunning finished piece that you'll be proud to wear or gift to someone special.
Happy knitting, and may your nights be filled with starlit warmth!