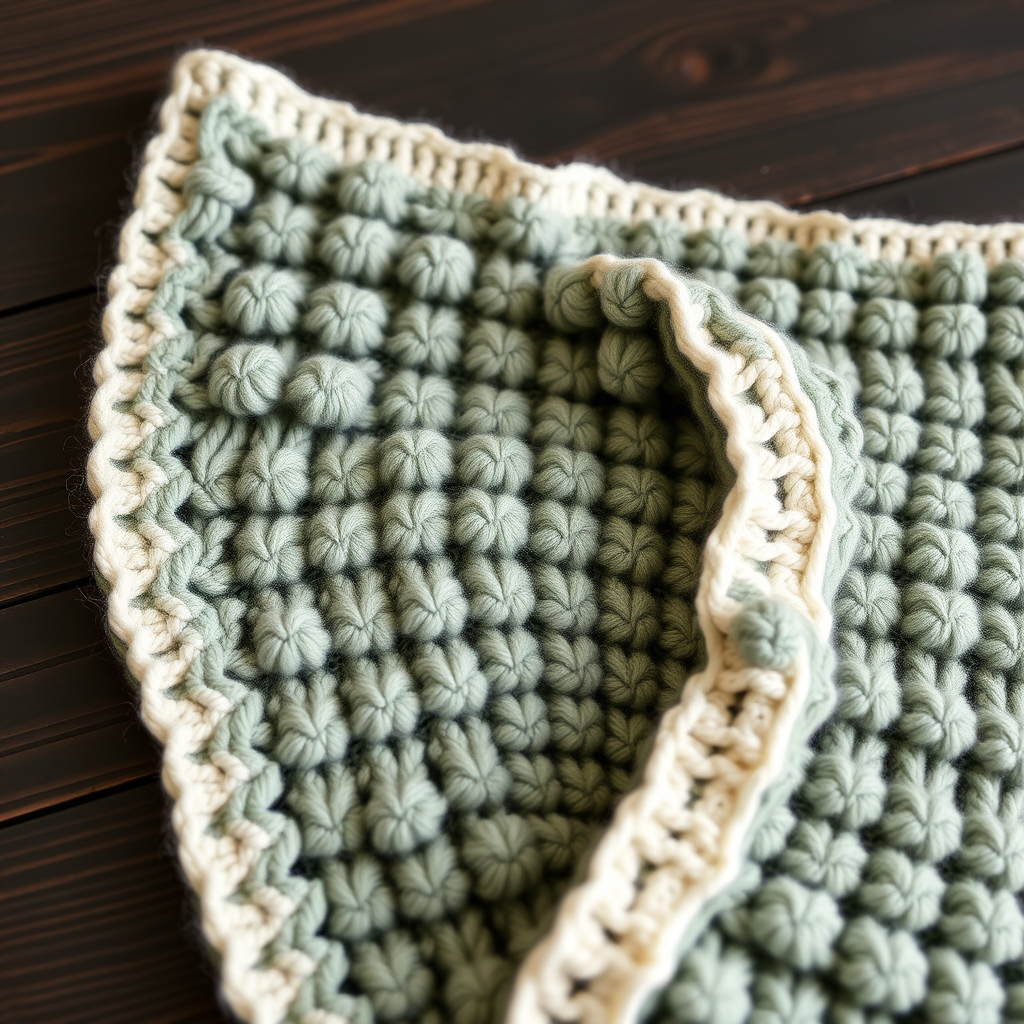
Savanna Snuggle Zebra Blanket Free Knitting Pattern – Textured Striped Baby Throw

Savanna Snuggle Zebra Blanket: A Beginner-Friendly Knitting Adventure
Wrap your little one in the cozy embrace of the savanna with this uniquely textured zebra-inspired blanket. Knitted in soft, chunky yarn with a clever twisted stitch pattern, it’s a modern heirloom piece that’s both playful and sophisticated. This pattern is perfect for adventurous beginners who want to move beyond basic garter stitch and create something truly special for their nursery. The bold stripes and rich texture make it a stunning, gender-neutral addition to any modern baby room.
This isn't just a blanket; it's a tactile experience. The twisted stitch pattern creates a subtle zigzag effect within each stripe, mimicking the irregular stripes of a zebra's coat. The chunky yarn ensures quick knitting, so you'll have this heirloom-quality piece finished in no time. Let's dive into this delightful project!
Materials Needed
Before you begin, gather these materials to ensure a smooth knitting session:
- Yarn: Super bulky weight yarn (size 6), approx. 800-900 yards total.
- Main Color (MC): Soft Ivory (e.g., 500 yds)
- Contrast Color (CC): Charcoal Black (e.g., 350 yds)
- Optional: A small amount of light grey for the muzzle (if you choose to embroider the face).
- Needles: US Size 11 (8.0 mm) circular knitting needles, 32-inch cable (or straight needles if you prefer).
- Notions: Tapestry needle for weaving ends, stitch markers (optional but helpful).
- Gauge: 10 stitches x 14 rows = 4 inches in stockinette stitch (after blocking). Always check your gauge to ensure the correct finished size!
Step-by-Step Instructions
This blanket is worked flat in one piece from the bottom up. The zebra stripes are created using a combination of color changes and a twisted stitch pattern that mimics the animal's unique coat texture. Follow these detailed instructions carefully, and you'll be amazed at the result.
Abbreviations
- CO: Cast on
- K: Knit
- P: Purl
- K2tog: Knit two stitches together
- M1: Make one (increase)
- St(s): Stitch(es)
- MC: Main Color (Ivory)
- CC: Contrast Color (Charcoal)
Pattern Stitch (Twisted Stripe Stitch)
This is the heart of the blanket's texture. It's worked over a multiple of 6 stitches + 2. Our pattern uses 120 stitches, which fits perfectly (120 = 6 x 19 + 6, so it's a multiple of 6).
- Row 1 (RS): *K2, P2, K2*, repeat from * to * across.
- Row 2 (WS): *P2, K2, P2*, repeat from * to * across.
- Row 3: *K2tog, K2, M1, K2*, repeat from * to * across. (This twists the stripe)
- Row 4: *P2, K2, P2*, repeat from * to * across.
- Row 5: *K2, P2, K2*, repeat from * to * across.
- Row 6: *P2, K2, P2*, repeat from * to * across.
Pro Tip: The M1 increase on Row 3 is key. To make a M1, pick up the horizontal bar between the stitch you just knit and the next stitch, place it on the left needle, and knit it through the back loop. This creates a neat, invisible increase that maintains the stitch count.
Foundation
CO 120 sts with MC (Ivory).
Border (worked in MC)
Rows 1-6: Knit every row (garter stitch). This creates a clean, sturdy edge for the blanket.
Body of Blanket
Now, begin the Twisted Stripe Stitch pattern. Work in the following color sequence, changing colors at the beginning of a RS row. When changing colors, simply drop the old color and pick up the new one, leaving a tail to weave in later. Don't cut the old color until you're sure you won't need it again, as this can save you from weaving in many ends.
- Rows 1-12: MC (Ivory) – Work Twisted Stripe Stitch.
- Rows 13-24: CC (Charcoal) – Work Twisted Stripe Stitch.
- Rows 25-36: MC (Ivory) – Work Twisted Stripe Stitch.
- Rows 37-48: CC (Charcoal) – Work Twisted Stripe Stitch.
- Rows 49-60: MC (Ivory) – Work Twisted Stripe Stitch.
- Rows 61-72: CC (Charcoal) – Work Twisted Stripe Stitch.
- Rows 73-84: MC (Ivory) – Work Twisted Stripe Stitch.
- Rows 85-96: CC (Charcoal) – Work Twisted Stripe Stitch.
- Rows 97-108: MC (Ivory) – Work Twisted Stripe Stitch.
- Rows 109-120: CC (Charcoal) – Work Twisted Stripe Stitch.
- Rows 121-132: MC (Ivory) – Work Twisted Stripe Stitch.
Important: When you change colors, make sure to twist the old and new yarns together on the wrong side to avoid holes. Just lay the new yarn over the old one before knitting the first stitch of the new color.
Zebra Face Motif (Optional but adds charm)
Instead of a plain border, you can add a simple zebra face at one end. To do this, after completing the body, work the border in a way that incorporates the face. The face is embroidered on after knitting, so you don't need to change your knitting technique.
Face Border (worked in MC)
Rows 1-6: Knit every row. This completes the top border of the blanket.
Face Details (embroidered after knitting)
Using CC (Charcoal), embroider the zebra's face onto the garter stitch border. This is a fun, creative step that brings the blanket to life.
- Eyes: Embroider two oval shapes for the eyes. Use a simple duplicate stitch or backstitch. To do a duplicate stitch, follow the path of a knitted stitch with your yarn and needle, creating a new stitch on top. For a backstitch, bring the needle up through the fabric, then go back down a few millimeters, and repeat, creating a continuous line.
- Nose: Embroider a small triangle for the nose, using a satin stitch (parallel stitches close together) to fill the shape.
- Mouth: Embroider a gentle curved line for the mouth using a backstitch.
Placement Tip: Center the face on the border. Place the eyes about 2 inches apart, the nose about 1 inch below the eyes, and the mouth just below the nose. You can use a stitch marker or a piece of contrasting thread to mark the center of the border.
Finishing
Bind off all stitches loosely in pattern. This is crucial to prevent the edge from being too tight. If you bind off too tightly, the blanket will pucker. Use a larger needle for binding off if needed.
Weave in all ends using your tapestry needle. Make sure to weave in ends on the wrong side of the blanket, following the path of the stitches to hide them completely.
Block the blanket gently to shape and enhance the stitch definition. To block, soak the blanket in lukewarm water with a little wool wash, gently squeeze out excess water (don't wring!), and lay it flat on a towel. Shape it to the correct dimensions and let it dry completely. This will even out the stitches and give your blanket a professional finish.
And there you have it—a stunning, textured zebra blanket that's sure to be a cherished keepsake. The combination of chunky yarn, bold stripes, and the unique twisted stitch pattern makes this a truly special project. Happy knitting!