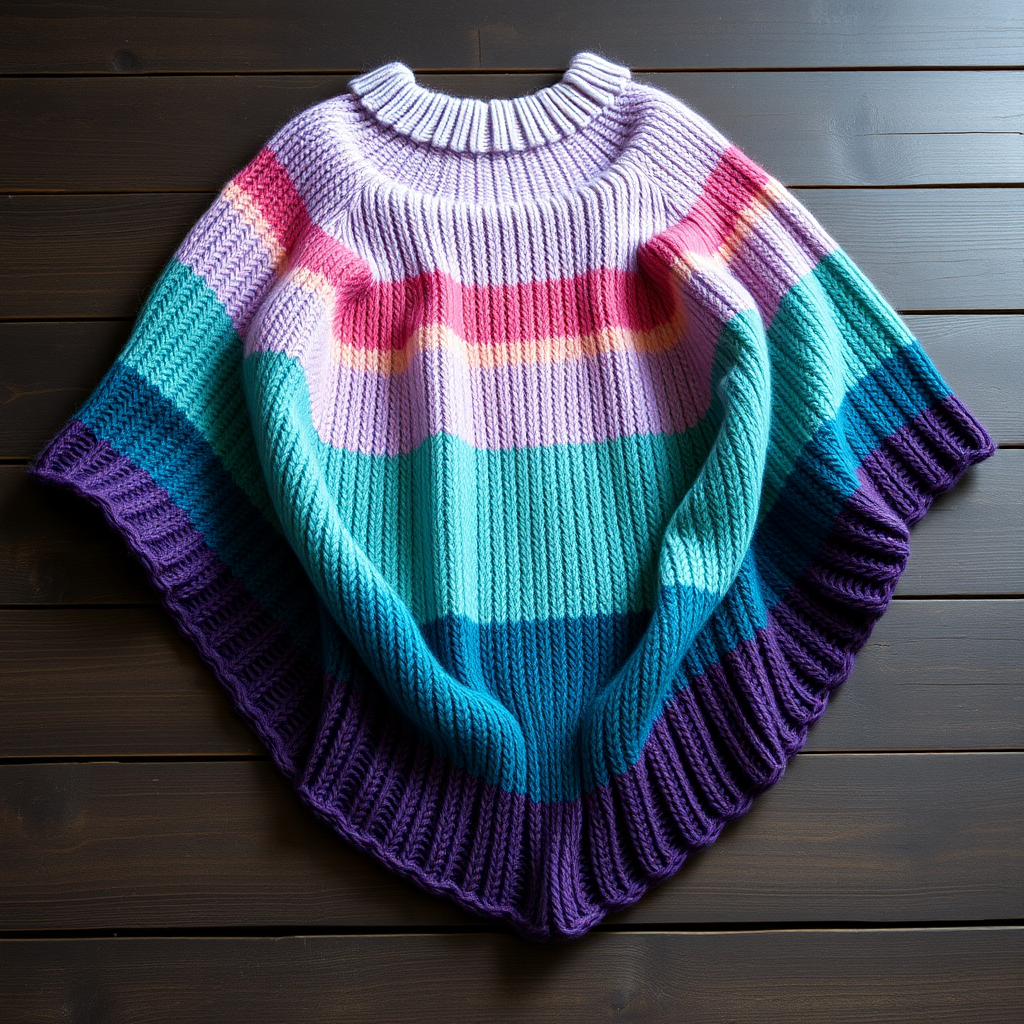
Rosewood Reverie Poncho Free Pattern – Knitted Textured Garden Wrap

Rosewood Reverie Poncho Free Pattern – Knitted Textured Garden Wrap
Wrap yourself in a hand-knitted garden of rose-inspired textures with this cozy, modern poncho. The blend of bobbles, cables, and seed stitch creates a lush, dimensional fabric that feels like a warm embrace. This free knitting pattern is perfect for intermediate knitters looking to expand their skills while creating a stunning, wearable piece. The dusty rose main color, accented with sage green and cream details, evokes a romantic, garden-inspired aesthetic that transitions beautifully from autumn into winter.
Whether you're curling up with a book on a chilly evening or heading out for a crisp morning walk, the Rosewood Reverie Poncho adds a touch of handcrafted elegance to any outfit. The relaxed, rectangular silhouette with a slight A-line drape flatters all body types, while the playful fringe adds a boho charm. Best of all, this pattern is worked in two identical flat panels, making it approachable even if you're new to garment construction.
Materials Needed
Before you begin, gather the following supplies to ensure a smooth knitting experience:
Yarn
- Main Color (MC) – Dusty Rose: Worsted weight yarn, approximately 800 yards
- Contrast A – Sage Green: Worsted weight yarn, approximately 200 yards
- Contrast B – Cream: Worsted weight yarn, approximately 150 yards
Tip: Choose a soft, woolen yarn with good stitch definition to showcase the textured patterns. A wool-acrylic blend works beautifully for both warmth and durability.
Needles and Notions
- US 8 (5.0 mm) circular knitting needles, 24-inch or longer
- Stitch markers (at least 4)
- Cable needle
- Tapestry needle for weaving in ends
- Crochet hook (for optional fringe attachment)
- Scissors
Gauge
18 stitches and 24 rows = 4 inches in stockinette stitch (after blocking)
Always knit a gauge swatch before starting to ensure your finished poncho matches the intended measurements. Adjust needle size if necessary to achieve the correct gauge.
Step-by-Step Instructions
This poncho is knitted flat in two identical panels, then seamed at the shoulders, leaving a neck opening. Each panel features a central cable panel flanked by rose bobble motifs and seed stitch borders. Take your time with the pattern repeats, and use stitch markers to keep track of each section.
Panel (Make 2)
Cast On
With Main Color (MC), cast on 80 stitches using your preferred method (long-tail cast on works well).
Border
Work 6 rows in seed stitch as follows:
- Row 1: *K1, P1* repeat to end of row.
- Row 2: *P1, K1* repeat to end of row.
- Repeat Rows 1 and 2 for a total of 6 rows, ending with a wrong-side row.
Set Up Pattern (Right Side)
Row 1 (RS): Work 8 stitches in seed stitch, place marker, work 12 stitches in bobble pattern (see below), place marker, work 40 stitches in cable pattern (see below), place marker, work 12 stitches in bobble pattern, place marker, work 8 stitches in seed stitch.
Your row should look like this: 8 seed + 12 bobble + 40 cable + 12 bobble + 8 seed = 80 stitches total.
Bobble Pattern (12 stitches, repeat over 12 rows)
This section creates the rosebud-like texture. Work the following 12 rows, then repeat as needed:
- Row 1 (RS): *K1, P1* repeat 6 times.
- Row 2 (WS): *P1, K1* repeat 6 times.
- Row 3 (RS): *K1, P1* repeat 6 times.
- Row 4 (WS): *P1, K1* repeat 6 times.
- Row 5 (RS): *K1, P1* repeat 6 times.
- Row 6 (WS): *P1, K1* repeat 6 times.
- Row 7 (RS): *K1, P1* repeat 6 times.
- Row 8 (WS): *P1, K1* repeat 6 times.
- Row 9 (RS): *K1, P1* repeat 6 times.
- Row 10 (WS): *P1, K1* repeat 6 times.
- Row 11 (RS): *K1, P1* repeat 6 times.
- Row 12 (WS): *P1, K1* repeat 6 times.
Note: This pattern is essentially a seed stitch worked over 12 stitches. The texture emerges as it interacts with the surrounding cable pattern.
Cable Pattern (40 stitches, repeat over 16 rows)
This central panel creates the beautiful braided cables. Follow these rows carefully:
Abbreviations:
- C4F: Slip 2 stitches to cable needle, hold in front, knit next 2 stitches, then knit 2 stitches from cable needle.
- C4B: Slip 2 stitches to cable needle, hold in back, knit next 2 stitches, then knit 2 stitches from cable needle.
Row 1 (RS): P2, C4F, P2, C4B, P2, C4F, P2, C4B, P2, C4F, P2, C4B, P2.
Row 2 and all WS rows: Knit the knit stitches and purl the purl stitches as they appear. This means: P2, K4, P2, K4, P2, K4, P2, K4, P2, K4, P2, K4, P2.
Row 3 (RS): P2, K4, P2, K4, P2, K4, P2, K4, P2, K4, P2, K4, P2.
Row 5 (RS): P2, C4B, P2, C4F, P2, C4B, P2, C4F, P2, C4B, P2, C4F, P2.
Row 7 (RS): P2, K4, P2, K4, P2, K4, P2, K4, P2, K4, P2, K4, P2.
Row 9 (RS): Same as Row 1.
Row 11 (RS): Same as Row 3.
Row 13 (RS): Same as Row 5.
Row 15 (RS): Same as Row 3.
Row 16 (WS): Same as Row 2.
Tip: Use a cable needle to keep your stitches organized. Always hold the cable needle to the front for C4F and to the back for C4B to create the proper twist direction.
Continue Pattern
Work Rows 1-16 of the cable pattern and Rows 1-12 of the bobble pattern until the piece measures approximately 22 inches from the cast-on edge, ending with a wrong-side row.
Keep track of your pattern repeats using a row counter or tally marks on paper. Consistency is key for a professional finish.
Shape Shoulders
Next row (RS): Work in pattern across the first 30 stitches, bind off the next 20 stitches (center neck), work in pattern across the remaining 30 stitches.
You will now have two separate sections of 30 stitches each. Work each shoulder separately.
Work Left Shoulder
Continue in pattern on the 30 stitches for the left shoulder for 4 more rows, then bind off all stitches loosely.
Work Right Shoulder
Attach yarn to the 30 stitches on the right side (the side closest to the neck opening). Work in pattern for 4 rows, then bind off all stitches.
Make sure both shoulders are worked identically so the panels match when seamed.
Finishing
Blocking
Block both panels to the following measurements: approximately 20 inches wide by 24 inches tall. Wet blocking or steam blocking will help even out the stitches and open up the cable patterns beautifully.
To wet block: Soak the panels in lukewarm water with a gentle wool wash, gently squeeze out excess water (never wring), lay flat on towels, and pin to measurements. Allow to dry completely before seaming.
Seaming
With right sides together, sew the shoulder seams from the outer edge to the neck opening, leaving about 8 inches open in the center for the neck. Use a mattress stitch or whip stitch for a secure, invisible seam.
Neck Edging
With the right side facing you, pick up and knit 60 stitches evenly around the neck opening. Work 4 rows in seed stitch (K1, P1 alternating as established), then bind off loosely.
Tip: Pick up stitches in a 3:4 ratio (3 stitches for every 4 rows) for a clean, even edge.
Fringe (Optional)
Cut strands of Contrast A (Sage Green) and Contrast B (Cream), each 12 inches long. Fold each strand in half and attach with a crochet hook along the bottom edge of the poncho, alternating colors every 2 inches.
To attach fringe: Insert hook through the edge stitch, pull the folded loop through, then pull the ends through the loop and tighten. Trim ends evenly for a polished look.
Weave in All Ends
Using a tapestry needle, weave in all loose yarn ends on the wrong side of the fabric. Trim any excess yarn carefully.
Final Thoughts
Your Rosewood Reverie Poncho is now complete! This textured garden wrap is a true labor of love, combining classic cable techniques with delicate seed stitch textures. The dusty rose base with sage green and cream accents creates a romantic, garden-inspired palette that will complement any wardrobe.
This poncho makes a thoughtful handmade gift for a loved one or a beautiful addition to your own collection. The relaxed fit and cozy warmth make it perfect for layering over sweaters or dresses during the cooler months. Pair it with jeans and boots for a casual boho look, or dress it up with a simple skirt and heels for evening elegance.
We'd love to see your finished creation! Share your Rosewood Reverie Poncho on social media using the hashtag #RosewoodReveriePoncho and tag us so we can admire your handiwork. Happy knitting!