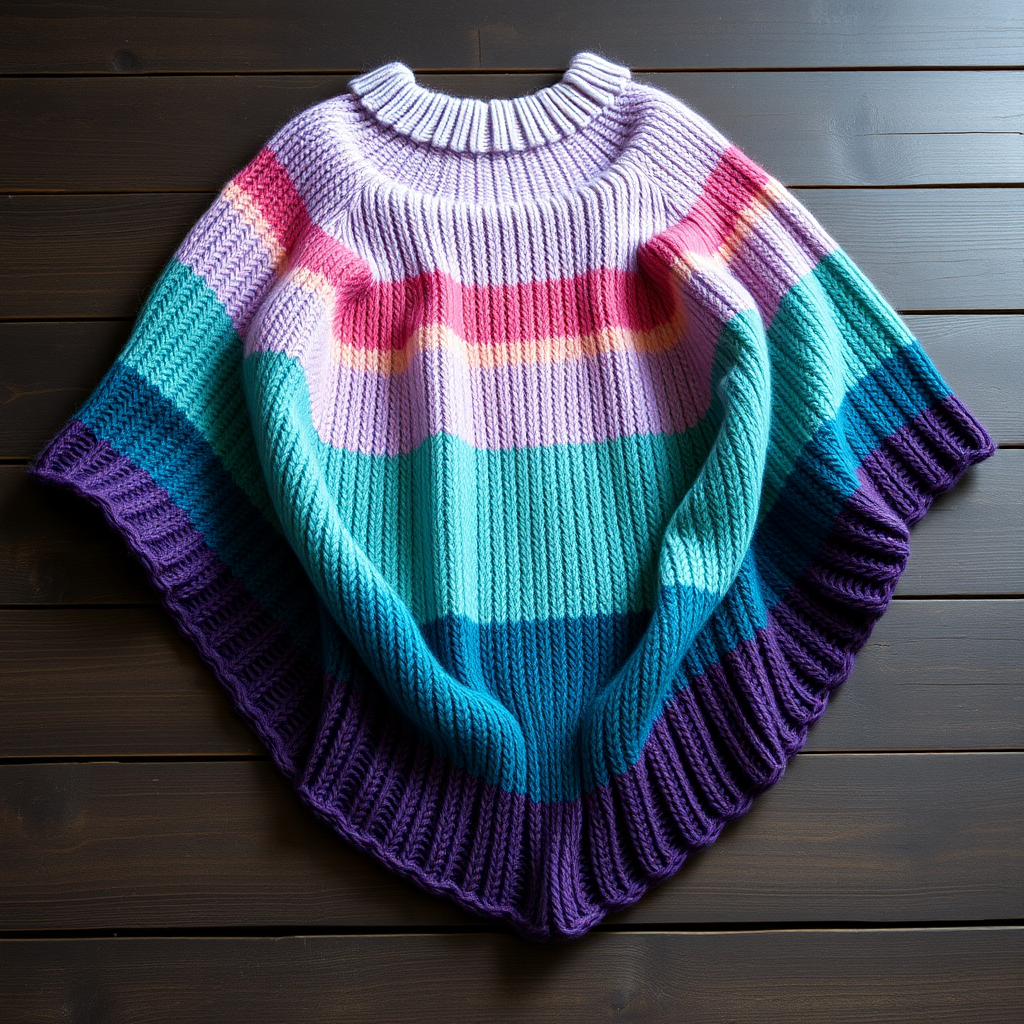
Mosaic Sunset Poncho Free Pattern – Knitted Gradient Wrap

Mosaic Sunset Poncho Free Pattern – Knitted Gradient Wrap
Wrap yourself in the warm hues of a setting sun with this stunning mosaic knit poncho. The gradient color shifts and textured mosaic stitches create a cozy, artistic statement piece that's perfect for cool evenings, artistic souls, and anyone who loves handmade texture. This free pattern is designed for adventurous beginners and intermediate knitters alike, offering a relaxing rhythm of slipped stitches and color changes that result in a truly breathtaking finished garment.
This poncho is knitted flat in two identical panels, then seamed at the shoulders, leaving an opening for the head. The mosaic pattern is worked using slipped stitches and two colors per row, creating geometric shapes that mimic a sunset sky. The result is a relaxed, flowing A-line shape that drapes elegantly over the shoulders, with a bohemian, artistic vibe reminiscent of a desert sunset.
Materials Needed
Before you begin, gather the following supplies. This project uses worsted weight yarn and simple tools, making it accessible for most knitters.
Yarn
Red Heart Super Saver (or any worsted weight yarn) in the following colors:
- 2 skeins of #320 (Cherry Red)
- 2 skeins of #254 (Pumpkin)
- 2 skeins of #362 (Sungold)
- 2 skeins of #316 (Soft White)
- 1 skein of #512 (Turqua) for edging
Needles & Hooks
- US 9 (5.5 mm) circular knitting needle, 32 inches or longer (for the body of the poncho)
- US 9 (5.5 mm) crochet hook (for the edging)
Other Supplies
- Stitch markers (optional, but helpful)
- Yarn needle for weaving in ends
- Scissors
- Measuring tape
Gauge
To ensure your poncho fits as intended, it's crucial to check your gauge. Work a swatch before starting.
- 18 stitches and 24 rows = 4 inches in stockinette stitch
- 18 stitches and 28 rows = 4 inches in mosaic pattern (after blocking)
If your gauge is off, adjust your needle size accordingly. A tighter gauge will make a smaller poncho; a looser gauge will make a larger one.
Step-by-Step Instructions
This pattern is worked flat in two identical panels. Take your time with the mosaic pattern—the slipped stitches create the magic, and the rhythm becomes intuitive after a few repeats.
Panel 1 (Make 2)
Cast On
With Cherry Red yarn, cast on 90 stitches using your preferred long-tail cast-on method. Leave a tail of at least 6 inches for weaving in later.
Bottom Border
Work in garter stitch (knit every row) for 8 rows. This creates a sturdy, non-curling edge that anchors the poncho. After the 8th row, you should be on the wrong side of your work, ready to begin the mosaic pattern.
Mosaic Pattern
The mosaic pattern is a 10-row repeat, worked over 90 stitches (a repeat of 10 stitches). You will be working with two colors per repeat, slipping stitches to create the geometric design. Follow the written instructions below carefully. On right-side rows, slipped stitches are carried on the wrong side of the work (yarn in back). On wrong-side rows, slipped stitches are carried on the right side of the work (yarn in front).
Row 1 (RS): With Cherry Red, knit all stitches.
Row 2 (WS): With Cherry Red, purl all stitches.
Row 3 (RS): With Pumpkin, knit 1, *slip 1 stitch purlwise with yarn in back, knit 9; repeat from * to last stitch, knit 1.
Row 4 (WS): With Pumpkin, purl 1, *slip 1 stitch purlwise with yarn in front, purl 9; repeat from * to last stitch, purl 1.
Row 5 (RS): With Cherry Red, knit all stitches.
Row 6 (WS): With Cherry Red, purl all stitches.
Row 7 (RS): With Sungold, knit 6, *slip 1 stitch purlwise with yarn in back, knit 9; repeat from * to last 4 stitches, knit 4.
Row 8 (WS): With Sungold, purl 6, *slip 1 stitch purlwise with yarn in front, purl 9; repeat from * to last 4 stitches, purl 4.
Row 9 (RS): With Cherry Red, knit all stitches.
Row 10 (WS): With Cherry Red, purl all stitches.
Repeat these 10 rows, but after every 10 repeats, switch the main color in the following order: Cherry Red, Pumpkin, Sungold, Soft White, then back to Cherry Red. This creates the beautiful gradient effect. Continue working until the panel measures 30 inches from the cast-on edge, ending with a wrong-side row. It's helpful to keep a row counter or tally marks to track your repeats and color changes.
Top Border
With Soft White yarn, work in garter stitch for 8 rows. Bind off loosely (use a needle one size up if your bind-off is tight) to ensure the top edge has plenty of stretch for the neck opening.
Make the Second Panel
Repeat the entire process to create a second identical panel. Ensure both panels are the same length and have the same color sequence.
Seaming
Place the two panels with right sides together. Using a yarn needle and a length of Cherry Red yarn (or a matching color), sew the shoulder seams using a mattress stitch or whip stitch. Leave a 10-inch opening in the center for the neck. Try the poncho on (or drape it over a willing friend) to adjust the opening size if needed—you want it to slip over your head comfortably but not gape.
Edging
With the crochet hook and Turqua yarn, work a round of single crochet around the neck opening. Join with a slip stitch. Then, work a round of reverse single crochet (crab stitch) for a neat, polished finish. This turquoise trim adds a pop of cool contrast to the warm sunset palette.
Finishing
Weave in all ends carefully with your yarn needle, making sure to secure them on the wrong side of the work. Block gently to shape—this will even out the mosaic stitches and give the poncho a professional drape. Lay it flat on a blocking mat, pin to the desired dimensions, and mist with water. Allow to dry completely before wearing.
Your Mosaic Sunset Poncho is now complete! Enjoy the cozy, artistic warmth of your handmade gradient wrap—a true statement piece that captures the beauty of a desert sunset in every stitch.