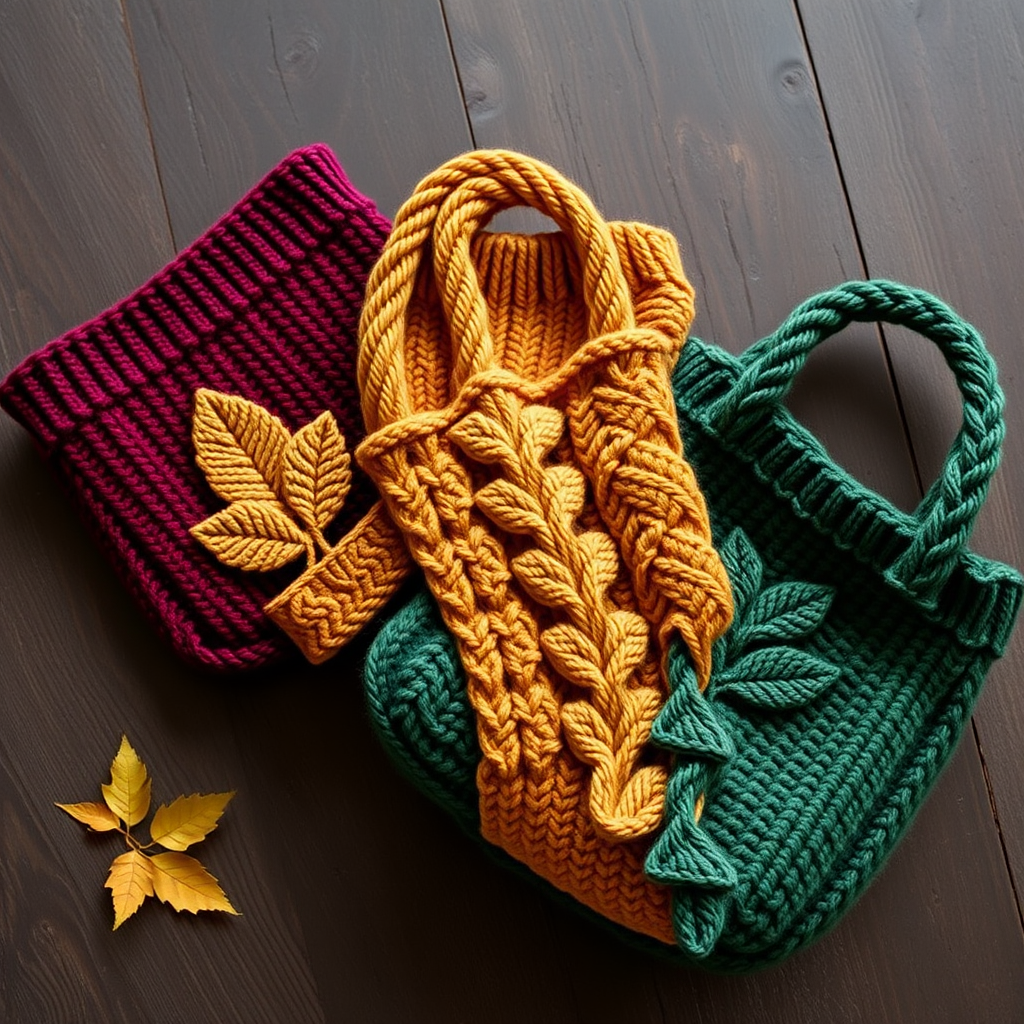
Meadowvale Market Tote Free Pattern – Textured Knitted Basket Bag

The Meadowvale Market Tote: A Beginner-Friendly Textured Knit Bag Pattern
There is something deeply satisfying about knitting your own carryall—especially one that’s as beautiful as it is practical. The Meadowvale Market Tote is a sturdy, hand-knitted basket bag with a rich basketweave texture and contrasting leather-look handles. Made from 100% mercerized cotton in warm oatmeal and terracotta tones, this tote is the perfect companion for farmers market hauls, library stacks, or beach days. Best of all, it’s an approachable project for beginners who want to practice knit/purl combinations while creating a timeless, eco-friendly accessory.
In this pattern, you’ll learn how to knit a flat panel with a beautiful woven effect, seam it into a roomy bag, and add durable I-cord handles. Let’s get started!
Materials Needed
Before you cast on, gather the following supplies. All items are readily available at most yarn shops or online retailers.
- Yarn: Lion Brand 24/7 Cotton (100% mercerized cotton, 100g/180yds) — 3 skeins in Oatmeal (MC) and 1 skein in Terracotta (CC). This yarn is smooth, durable, and machine-washable, making it ideal for a bag that gets daily use.
- Needle: US 7 (4.5mm) circular knitting needle, 24-inch length (or straight needles if preferred).
- Notions: Stitch markers (at least 2), tapestry needle for seaming and weaving in ends, scissors.
- Gauge: 20 stitches x 28 rows = 4 inches in stockinette stitch (after blocking). Be sure to check your gauge—this ensures your bag comes out the right size.
Step-by-Step Instructions
This pattern is worked flat in one piece, then seamed. The basketweave texture is created by alternating blocks of knit and purl stitches, which is easier than it looks! Follow along carefully, and you’ll have a gorgeous tote in no time.
Bag Body (Worked Flat, Then Seamed)
Foundation: With your main color (MC), cast on 80 stitches loosely. A long-tail cast-on works well here.
Rows 1–4 (Garter Stitch Border): Knit every stitch across all 4 rows. This creates a neat, non-curling edge at the top of your bag.
Row 5 (Right Side): Knit 4 stitches (this is your border), place a stitch marker. Now, repeat the following sequence until 4 stitches remain: *Knit 4, Purl 4*. After the last repeat, place another stitch marker, then knit the final 4 stitches (border).
Row 6 (Wrong Side): Knit 4 stitches, then repeat *Purl 4, Knit 4* until 4 stitches remain, and knit the last 4 stitches. (Notice how the purl bumps from Row 5 are now being knit over, and vice versa—this is what creates the woven look.)
Rows 7–12: Repeat Rows 5 and 6 three more times. You will have completed 8 total rows of basketweave (the first block).
Row 13 (Right Side): Knit 4 stitches, then repeat *Purl 4, Knit 4* until 4 stitches remain, knit 4. (This shifts the pattern so the blocks alternate.)
Row 14 (Wrong Side): Knit 4 stitches, then repeat *Knit 4, Purl 4* until 4 stitches remain, knit 4.
Rows 15–20: Repeat Rows 13 and 14 three more times. You’ve now completed the reverse basketweave block.
Continue the Pattern: Repeat Rows 5 through 20 until your piece measures 12 inches from the cast-on edge. Be sure to end with a wrong-side row (so the next row you work is a right-side row).
Top Border: Knit 4 rows of garter stitch (just like the beginning). Bind off all stitches loosely—this keeps the top edge stretchy enough to fit over your shoulder.
Seaming the Bag
Fold your knitted rectangle in half with the right sides together (the pretty basketweave facing inward). Using your tapestry needle and a length of MC yarn, sew the side seams using the mattress stitch. This creates an invisible, sturdy seam. Leave the top open—that’s where your goodies will go!
Turn the bag right side out. The bottom will naturally form a flat base, perfect for standing upright.
Handles (Make 2)
With your contrasting color (CC), cast on 8 stitches onto a double-pointed needle or use the circular needle with the magic loop method. Work in I-cord for 18 inches. If you’re new to I-cord, here’s a quick refresher:
- Knit across your 8 stitches.
- Slide the stitches to the other end of the needle (do not turn your work).
- Pull the yarn tightly across the back and knit across again.
- Repeat until the cord measures 18 inches. The tension creates a neat, round tube.
Bind off and weave in the ends. Repeat for the second handle.
Attaching the Handles
Position each handle on the inside of the bag, 3 inches from the side seams and 1 inch below the top edge. Using your tapestry needle and CC yarn, sew the ends of each handle securely to the inside of the bag. Make sure they’re evenly spaced and firmly attached—this bag will carry heavy loads!
Finishing Touches
Weave in all loose ends with your tapestry needle. To give your tote a professional shape, block it: lightly mist the bag with water, shape it to your desired dimensions, and let it dry flat. This helps the basketweave pattern relax and look its best.
Tips for Success
- Keep your tension even—especially when switching between knit and purl stitches. This ensures the basketweave blocks are crisp and uniform.
- Use stitch markers to separate the border stitches from the pattern. This prevents mistakes and makes counting easier.
- Block before seaming if you prefer—it can make the mattress stitch easier. Just be sure to re-measure after blocking.
- Customize the length of your handles by working more or fewer inches of I-cord. For a shoulder bag, 18–20 inches is ideal; for a handbag, try 12–14 inches.
Your Meadowvale Market Tote is now ready for its first adventure! Whether you’re strolling through a farmers market, heading to the beach, or simply running errands, this textured knit bag is sure to turn heads. The natural cotton yarn is kind to the environment, and the timeless design means you’ll reach for it season after season.
Happy knitting!