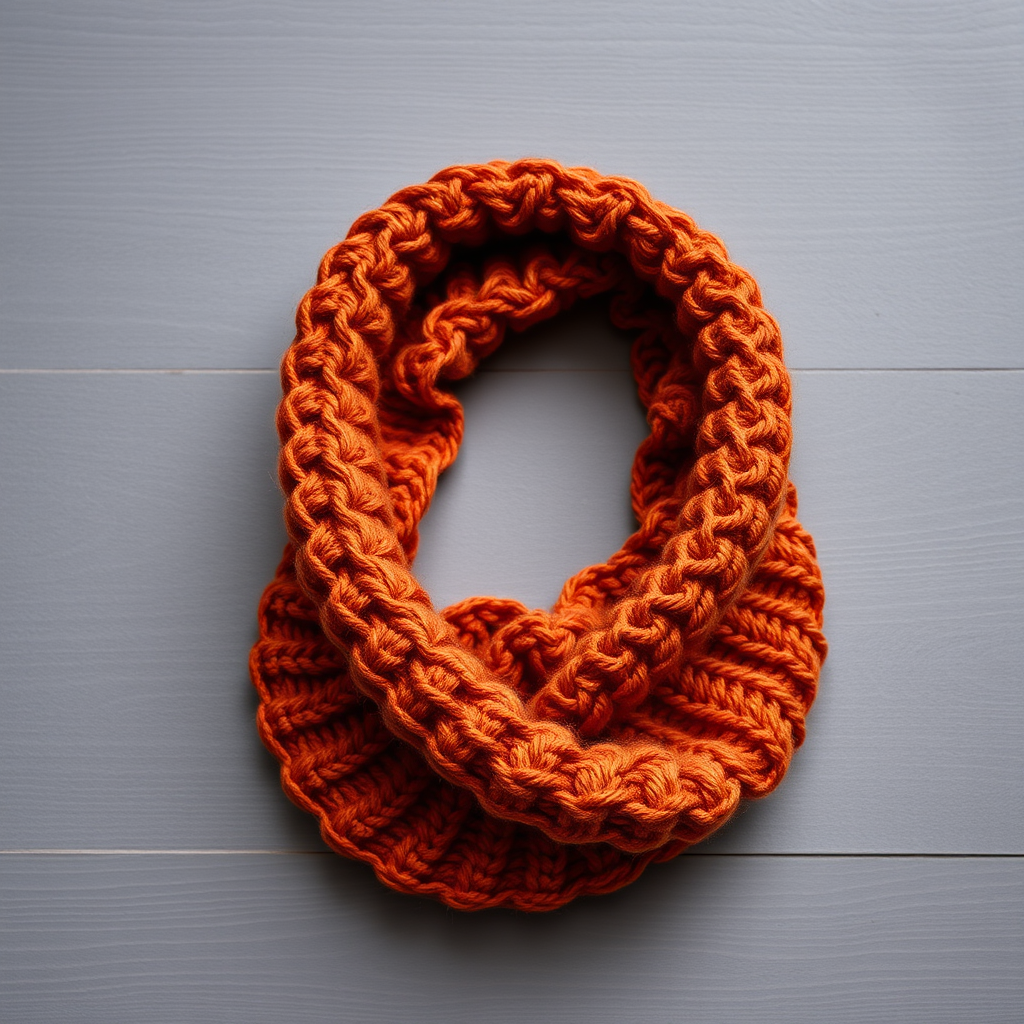
Meadowmist Woven Wrap Cowl Free Pattern – Knitted Honeycomb & Linen Stitch

Wrap Yourself in Texture: The Meadowmist Woven Wrap Cowl
There are certain knitting projects that feel like a deep breath of fresh air—and the Meadowmist Woven Wrap Cowl is exactly that. This modern, versatile piece combines the raised, honeycomb-like texture of the honeycomb stitch with the dense, woven elegance of the linen stitch. The result is a two-tone cowl that transitions effortlessly from crisp morning walks to cozy evening reads, adding a touch of handmade sophistication to any outfit.
Whether you're a seasoned knitter looking for a satisfying weekend project or a confident beginner ready to expand your stitch repertoire, this free pattern is designed to guide you through every step. With its simple repeat rounds and clear color changes, you'll be amazed at how quickly this beautiful fabric comes to life on your needles.
Materials Needed
Before you cast on, gather your supplies. This project is wonderfully portable and requires only a few essentials:
- Yarn: Worsted weight yarn in two complementary shades. You will need approximately 220 yards of your Main Color (MC) and 180 yards of your Contrast Color (CC). The pattern suggests a soft sage green for MC and a warm cream for CC, but feel free to choose any palette that speaks to you.
- Needles: US Size 8 (5.0 mm) circular knitting needle, 24 inches long. The circular needle is essential for working in the round.
- Notions: Stitch marker, tapestry needle for weaving in ends, and scissors.
Gauge: 18 stitches and 24 rows = 4 inches in stockinette stitch (blocked). While gauge is important for fit, this cowl is quite forgiving. The key is to knit consistently so your fabric is even.
Step-by-Step Instructions
This pattern is worked in the round, creating a seamless, cozy tube. Don't be intimidated by the number of rounds—the repeats are simple and rhythmic. Let's break it down.
Understanding Your Pattern
First, let's review the abbreviations you'll need:
- CO: Cast on
- K: Knit
- P: Purl
- K2tog: Knit two stitches together (decrease)
- Yo: Yarn over (increase)
- Sl: Slip stitch purlwise
- WYIF: With yarn in front
- Rep: Repeat
- St(s): Stitch(es)
Finished Measurements: Approximately 30 inches in circumference and 12 inches tall. This can be easily adjusted by casting on more or fewer stitches (in multiples of 2) or working more or fewer repeats.
Cast On and Setup
Let's get started! With your Main Color (MC), cast on 120 stitches using your preferred method. Place a stitch marker to mark the beginning of the round, and join in the round, being extremely careful not to twist your stitches.
Rounds 1–4: Knit all stitches. This creates a neat, rolled garter ridge base that gives the cowl a polished edge.
Honeycomb Section (MC)
Now we'll begin the beautiful honeycomb texture. This stitch pattern creates a raised, diamond-like lattice effect that is both airy and structured.
Round 5: *K2tog, yo; repeat from * to end of round. (This creates the eyelet base.)
Round 6: Knit all stitches.
Round 7: *Yo, K2tog; repeat from * to end of round. (This offsets the eyelets, creating the honeycomb effect.)
Round 8: Knit all stitches.
Rounds 9–12: Repeat Rounds 5–8 once more. You have now completed your first honeycomb band.
Linen Stitch Section (CC)
Time to switch to your Contrast Color (CC). This stitch creates a dense, woven fabric that contrasts beautifully with the airy honeycomb. Remember to carry the unused yarn up the inside of your work to avoid weaving in ends later.
Round 13: *Sl 1 WYIF, K1; repeat from * to end of round.
Round 14: *P1, Sl 1 WYIF; repeat from * to end of round.
Rounds 15–18: Repeat Rounds 13–14 twice more. You have now completed your first linen stitch band.
Building the Pattern
Now that you've mastered both stitch patterns, the rest is simply a beautiful rhythm of alternating sections. Follow this sequence carefully:
Honeycomb Section (MC): Rounds 19–26: Repeat Rounds 5–12.
Linen Stitch Section (CC): Rounds 27–32: Repeat Rounds 13–18.
Honeycomb Section (MC): Rounds 33–40: Repeat Rounds 5–12.
Linen Stitch Section (CC): Rounds 41–46: Repeat Rounds 13–18.
Honeycomb Section (MC): Rounds 47–54: Repeat Rounds 5–12.
Linen Stitch Section (CC): Rounds 55–60: Repeat Rounds 13–18.
Honeycomb Section (MC): Rounds 61–68: Repeat Rounds 5–12.
Finishing Touches
You're almost there! Now we'll create a matching edge to the base.
Rounds 69–72: Knit all stitches with MC. This creates a garter ridge top that mirrors the base.
Bind off loosely with MC. It's crucial to bind off loosely to maintain the stretch and drape of the cowl. Weave in all ends with your tapestry needle.
Blocking for Perfection
The final, magical step is blocking. Gently wet block your cowl by soaking it in lukewarm water with a bit of wool wash, then gently squeeze out excess water (never wring). Lay it flat on a towel, shape it to your desired dimensions, and let it dry completely. Blocking will open up the honeycomb pattern beautifully and even out the linen stitch, giving your Meadowmist Cowl that polished, professional look.
Once dry, your Meadowmist Woven Wrap Cowl is ready to wear. Drape it over your shoulders for a chilly morning, or wrap it snugly around your neck for an evening read. This piece is a testament to the beauty of texture and the joy of creating something truly special with your own hands. Happy knitting!