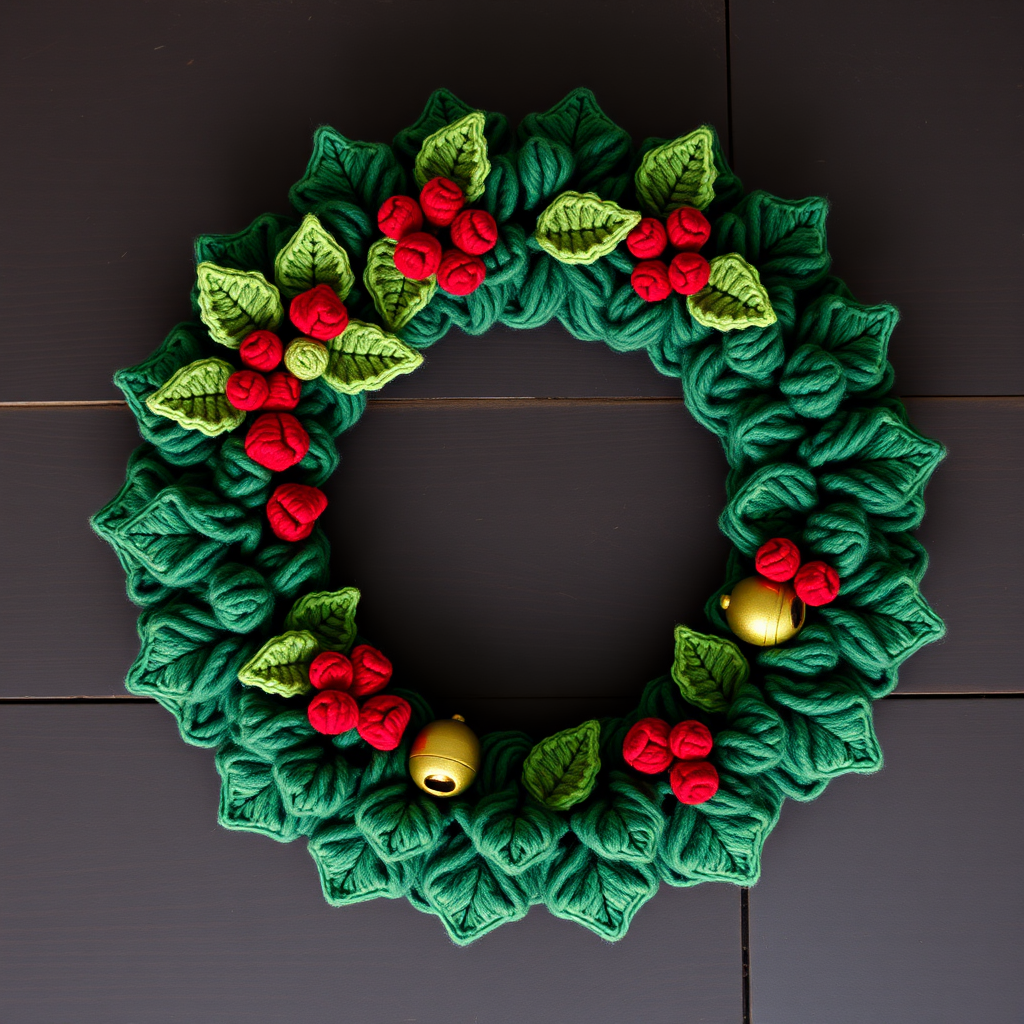
Jingle Bell Harvest Wreath Free Crochet Pattern

Jingle Bell Harvest Wreath: A Cozy Autumn Crochet Project
Bring the warmth of the harvest season to your front door with this charming Jingle Bell Harvest Wreath crochet pattern. Unlike traditional holiday wreaths that lean on reds and greens, this design embraces a rich autumn palette of cream, burnt orange, mustard yellow, and deep rust. The textured bells and rustic leaves create a handmade, cozy feel that welcomes guests with seasonal charm. Whether you're an experienced crocheter or a confident beginner looking for a rewarding project, this wreath is a delightful way to celebrate the beauty of fall.
Materials Needed
Before you begin, gather the following supplies. This project uses simple, readily available materials and is perfect for using up small amounts of worsted weight yarn from your stash.
- Yarn: Worsted weight yarn in the following colors:
- Cream (for the wreath base and hanging loop)
- Burnt orange (for the bells)
- Mustard yellow (for leaves)
- Deep rust (for leaves)
- Small amount of brown (for bell clappers and stems)
- Crochet Hook: G/6 (4.0 mm) crochet hook
- Other Tools: Yarn needle for sewing pieces together and weaving in ends, scissors
Note on gauge: 4 dc = 1 inch. Gauge is not critical for this project, so don't worry about being perfectly precise—just keep your tension consistent for a neat finish.
Step-by-Step Instructions
Follow these detailed instructions to create your own Jingle Bell Harvest Wreath. The project is broken into three main parts: the wreath base, the bell motifs, and the leaf motifs, followed by assembly.
Part 1: Wreath Base
The base forms a dense, circular ring that serves as the canvas for your decorations. Work this in continuous rounds for a smooth finish.
- Foundation: With cream yarn, chain (ch) 61. Carefully join with a slip stitch (sl st) to form a ring, being sure not to twist the chain.
- Round 1: Chain 3 (this counts as your first double crochet, dc). Work 1 dc in each chain around the ring. Join with a sl st to the top of the beginning ch-3. You should have 60 dc stitches.
- Round 2: Chain 3 (counts as dc). Work 1 dc in each dc around. Join with a sl st to the top of the ch-3.
- Rounds 3-6 (or until desired width): Repeat Round 2 until the ring measures approximately 2 inches wide. This typically takes about 6 rounds total. The ring should feel sturdy and dense.
- Finishing: Fasten off, leaving a 6-inch tail. Weave in the end securely using your yarn needle.
Part 2: Bell Motif (Make 5)
These textured bells are the star of the wreath. Each bell is worked in the round, starting from a magic ring for a seamless center.
- Start: With burnt orange yarn, create a magic ring.
- Round 1: Chain 3 (counts as dc). Work 11 dc into the magic ring. Pull the ring closed tightly. Join with a sl st to the top of the ch-3. (12 dc total)
- Round 2: Chain 3 (counts as dc). Work 2 dc in the same stitch (the base of the ch-3). Then, work 2 dc in each dc around. Join with a sl st to the top of the ch-3. (24 dc total)
- Round 3: Chain 3 (counts as dc). Work 1 dc in the next 2 dc. *Work 2 dc in the next dc, then 1 dc in the next 3 dc.* Repeat from * to * around the circle. Join with a sl st to the top of the ch-3. (30 dc total)
- Round 4 (Scallop Edge): Chain 1 (does not count as a stitch). Work 1 single crochet (sc) in the same stitch. *Skip the next dc. Work 5 dc in the next dc. Skip the next dc. Work 1 sc in the next dc.* Repeat from * to * around the circle, ending with a sl st to the first sc of the round. Fasten off, leaving a long tail (at least 12 inches) for sewing the bell to the wreath.
- Create the Clapper: With brown yarn, make a magic ring. Chain 2 (counts as a dc). Work 6 dc into the ring. Join with a sl st to the top of the ch-2. Fasten off. Use the yarn tail to sew this small brown circle to the center bottom of the bell, positioning it just below the scallop edge. Weave in the brown ends.
Part 3: Leaf Motif (Make 8)
These simple leaves add a rustic, organic touch. Alternate between mustard yellow and deep rust, making 4 of each color.
- Foundation: With your chosen leaf color (mustard yellow or deep rust), chain 10.
- Row 1: Work 1 sc in the 2nd chain from the hook. Work 1 half double crochet (hdc) in the next chain. Work 1 dc in each of the next 4 chains. Work 1 hdc in the next chain. Work 1 sc in the last chain. Chain 1 and turn your work.
- Row 2: Working in the back loops only (the loop farthest from you), work 1 sc in each stitch across the row. This creates a lovely ridged texture.
- Finishing: Fasten off, leaving a 10-inch tail for sewing. Gently shape the leaf with your fingers, allowing the natural curve to form.
Part 4: Assembly
Now it's time to bring all your pieces together to create the finished wreath. Take your time with placement to achieve a balanced look.
- Arrange the Bells: Lay your wreath base flat. Position the 5 bells evenly around the front of the ring, spacing them approximately 2 inches apart. Visualize a clock face: place one at 12, one at 2:30, one at 5, one at 7:30, and one at 10.
- Sew the Bells: Using the long tail from each bell and your yarn needle, securely sew each bell to the wreath base. Stitch through the back of the bell and into the wreath fabric, making several passes to ensure it's firmly attached. Weave in the ends.
- Place the Leaves: Position the 8 leaves between the bells, overlapping them slightly for a natural, layered look. Aim for 1-2 leaves between each bell. Sew each leaf in place by stitching through its base (the wide end) and into the wreath. The pointed tip can remain free for a dynamic look.
- Add a Hanging Loop: Cut a 6-inch piece of cream yarn. Fold it in half to create a loop. Insert the folded end through the top of the wreath (between stitches) from front to back. Thread the two loose ends through the loop and pull tight, creating a secure loop for hanging.
- Final Weave: Weave in all remaining loose ends with your yarn needle, trimming any excess yarn. Give your wreath a gentle shake and adjust the leaves and bells as needed.
Your Jingle Bell Harvest Wreath is now complete! Hang it on your door, above the mantel, or on a wall to add a touch of handmade autumn warmth to your home. This pattern is wonderfully customizable—try different color palettes to match your decor or add small wooden beads for extra embellishment. Happy crocheting!