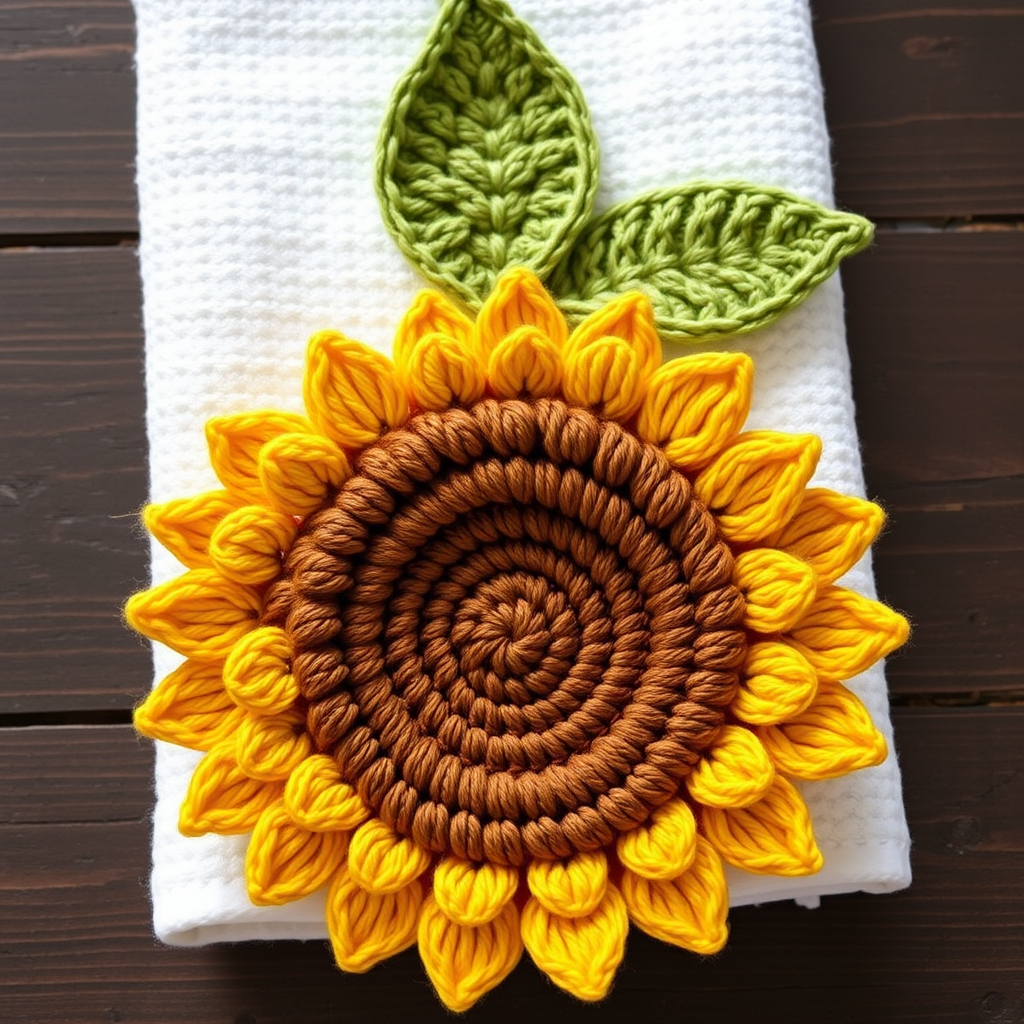
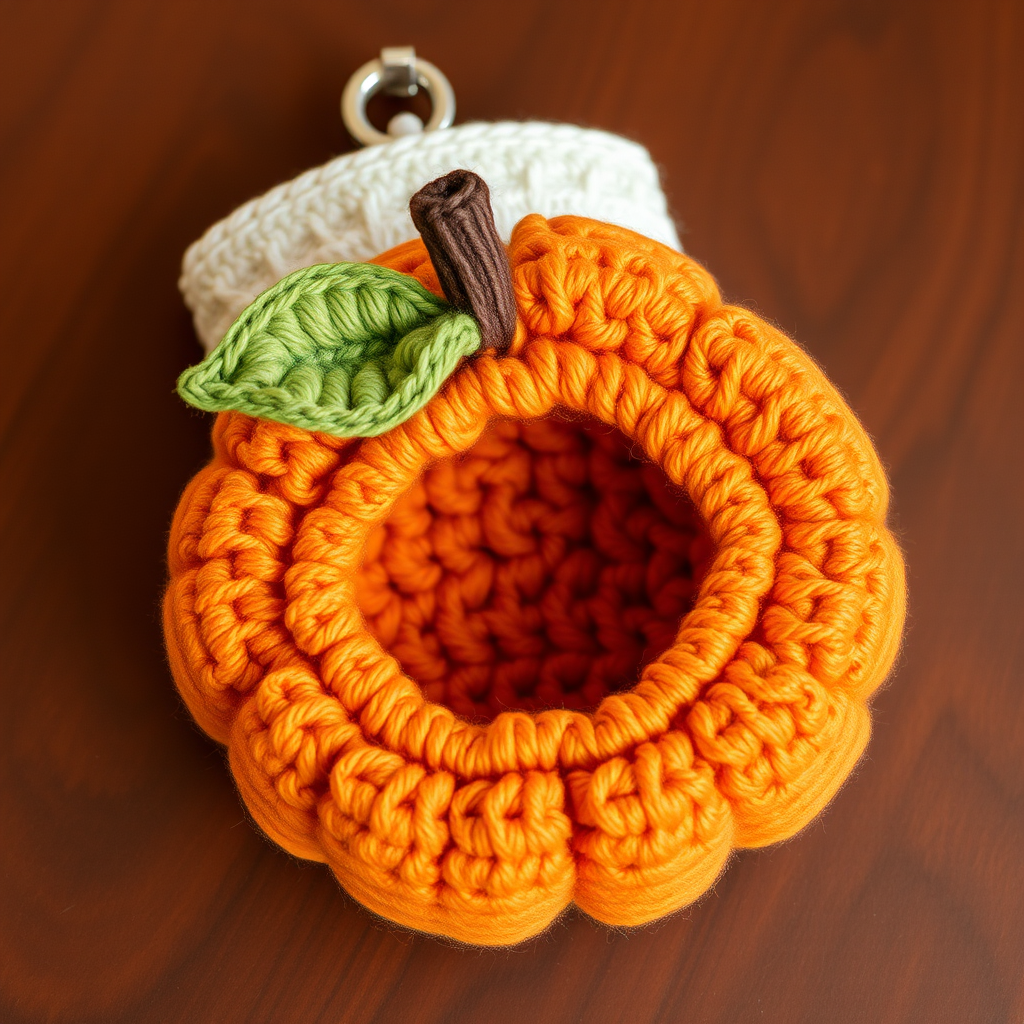
Harvest Moon Coasters Free Pattern

Harvest Moon Coasters: A Free Crochet Pattern for Autumn Charm
Bring the cozy warmth of autumn to your table with these delightful leaf-shaped coasters. This free crochet pattern is perfect for beginners and experienced makers alike, offering a quick and satisfying project that's ideal for using up scrap yarn. Each coaster features a beautifully textured circular center that tapers into a charming leaf point, complete with an optional brown stem for that extra touch of nature. Whether you're crafting for your own home or looking for a heartfelt handmade gift, these Harvest Moon Coasters are sure to add a seasonal touch to any gathering.
This pattern is designed to be approachable, using basic crochet stitches and simple shaping techniques. With just a few materials and a little bit of time, you'll have a beautiful set of coasters ready to protect your surfaces in style. Let's dive in and create something wonderful together!
Materials Needed
Before you begin, gather the following supplies. The beauty of this project is its simplicity—you likely already have most of these items in your craft stash.
- Yarn: Worsted weight cotton yarn in your favorite autumn colors. Think rust, mustard, olive, burgundy, or any warm hue that speaks to you. Cotton is ideal for coasters as it's absorbent and durable. You'll need a small amount of each color—perfect for using up leftovers!
- Crochet Hook: A 5.5 mm (I/9) crochet hook. This size works beautifully with worsted weight yarn to create a dense, sturdy fabric.
- Scissors: For cutting your yarn when finishing off.
- Yarn Needle: A tapestry needle with a large eye for weaving in ends and attaching the optional stem.
- Stitch Marker (optional): Helpful for keeping track of your rounds, especially if you're new to crocheting in the round.
Gauge: 4 dc = 1 inch. Gauge is not critical for this project, as coasters are forgiving. Just aim for a tight, even tension to ensure your coasters are sturdy and lie flat.
Step-by-Step Instructions: Leaf Coaster Pattern
This pattern is written in US crochet terms. Make 4 or more coasters to create a full set. Follow these detailed instructions carefully, and you'll have beautiful leaf coasters in no time.
Round 1: The Magic Ring Foundation
Start by making a magic ring. This technique creates a tight, adjustable center that eliminates any hole in the middle of your coaster.
- Wrap the yarn around your fingers to form a loop, leaving a tail of about 4-5 inches.
- Insert your hook into the loop, yarn over, and pull up a loop. Chain 3. This chain counts as your first double crochet (dc).
- Now, work 11 double crochets (dc) into the center of the magic ring. To do this, insert your hook into the ring, yarn over, pull up a loop, yarn over, and pull through two loops, yarn over, and pull through the remaining two loops. Repeat this 11 times.
- After completing your 12th double crochet (including the initial chain 3), pull the yarn tail gently to close the ring tightly.
- Join with a slip stitch (sl st) to the top of the beginning chain 3. You should have 12 double crochets in total.
Round 2: Increasing for a Flat Circle
In this round, you'll double the number of stitches to create a larger, flat circle.
- Chain 3 (counts as your first dc).
- Work 1 double crochet (dc) into the same stitch where you joined. This is your increase.
- Work 2 double crochets (dc) into each of the remaining 11 stitches around.
- Join with a slip stitch (sl st) to the top of the beginning chain 3. You should now have 24 double crochets.
Round 3: Continuing the Circle
This round adds more increases evenly spaced to keep your circle flat and growing.
- Chain 3 (counts as your first dc).
- Work 1 double crochet (dc) into the same stitch.
- Work 1 double crochet (dc) into the next stitch.
- Now, repeat the following sequence all the way around: *2 dc in the next stitch, 1 dc in the next stitch.*
- Continue this pattern until you reach the end of the round.
- Join with a slip stitch (sl st) to the top of the beginning chain 3. You should now have 36 double crochets.
Round 4: Single Crochet Border
This round switches to single crochet (sc) to create a neat, dense edge that will form the base of your leaf shape.
- Chain 1 (this does not count as a stitch).
- Work 1 single crochet (sc) into the same stitch.
- Work 1 single crochet (sc) into each of the next 2 stitches.
- Now, repeat the following sequence all the way around: *2 sc in the next stitch, 1 sc in each of the next 3 stitches.*
- Continue this pattern until you reach the end of the round.
- Join with a slip stitch (sl st) to the first single crochet. You should now have 45 single crochets.
Leaf Point Shaping: Creating the Tip
Now you'll work back and forth in rows to create the pointed leaf tip that extends from one edge of your circular coaster.
Row 1: Chain 1, then work 1 single crochet (sc) into the next 6 stitches. Turn your work. (6 sc)
Row 2: Chain 1, then work a single crochet decrease (sc2tog) over the first two stitches. To do this, insert your hook into the first stitch, yarn over, pull up a loop, insert your hook into the second stitch, yarn over, pull up a loop, yarn over, and pull through all three loops on your hook. Then work 1 sc in each of the next 2 stitches, and finish with another sc2tog over the last two stitches. Turn your work. (4 sc)
Row 3: Chain 1, then work a sc2tog over the first two stitches, and another sc2tog over the last two stitches. Turn your work. (2 sc)
Row 4: Chain 1, then work a sc2tog over the two remaining stitches. Fasten off, leaving a tail for weaving in. (1 sc)
Weave in all loose ends with your yarn needle to secure your work.
Stem (Optional): Adding a Natural Touch
This small detail elevates your coaster from a simple circle to a recognizable leaf.
- With a small piece of brown yarn, make a slip knot and chain 6.
- Slip stitch (sl st) into the 2nd chain from your hook, and then slip stitch into each of the remaining chains across.
- Fasten off, leaving a tail.
- Using your yarn needle, attach the stem to the base of the leaf point, where the shaping rows begin. Sew it securely and weave in the ends.
Repeat this entire process for each coaster you wish to make. Once all your coasters are complete, you can block them lightly if desired. To block, simply wet the coasters, gently press out excess water, and lay them flat to dry, shaping them as needed. This helps even out the stitches and ensures they lie perfectly flat.
Enjoy your beautiful, handmade Harvest Moon Coasters! They're perfect for sipping warm cider, hosting a fall dinner, or giving as a thoughtful, handmade gift.