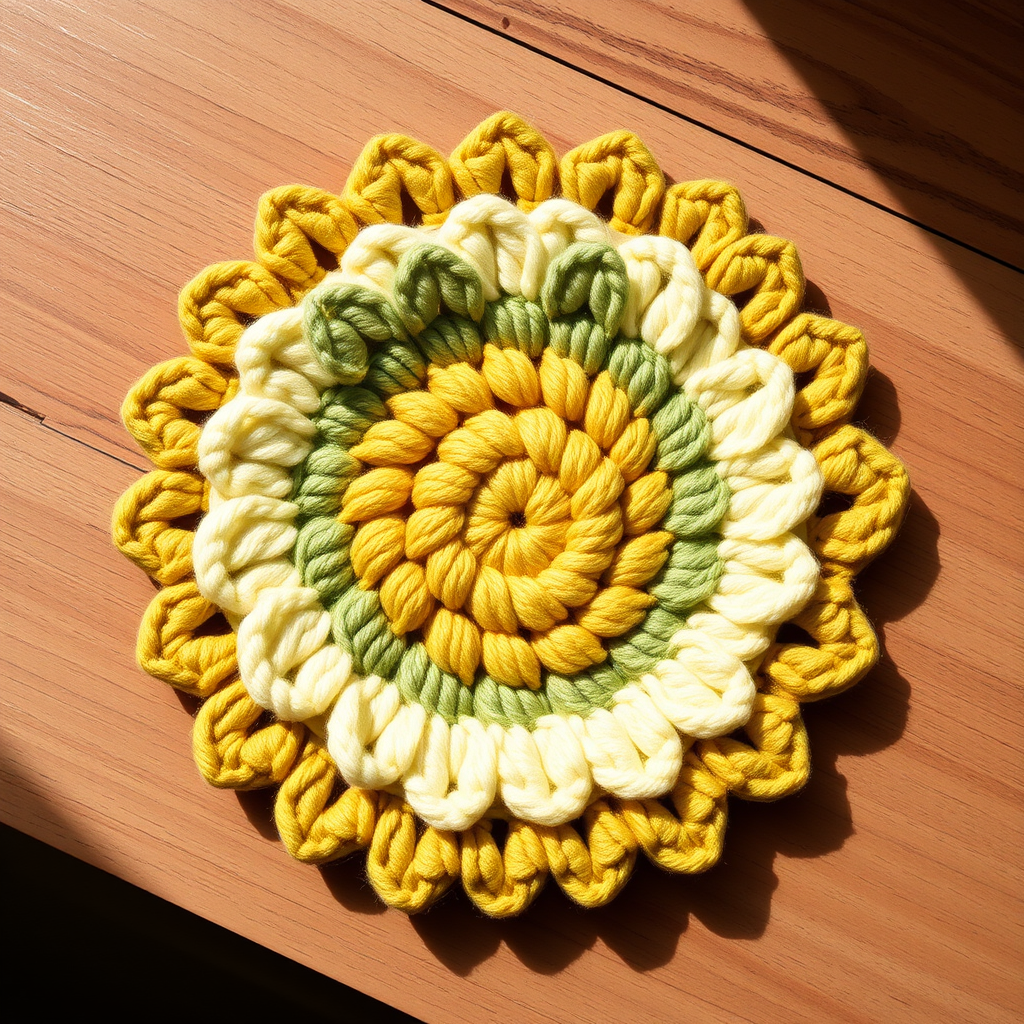
Harvest Moon Coaster Free Pattern

Bring Autumn to Your Table with the Harvest Moon Coaster
There's something magical about the transition to fall—the crisp air, the warm hues, and the desire to make our homes feel cozy. The Harvest Moon Coaster is the perfect way to capture that seasonal charm. This textured crochet coaster is shaped like a plump pumpkin, complete with a leafy stem, and it's surprisingly quick to make. Whether you're a seasoned crocheter or just picking up a hook for the first time, this project is designed to be beginner-friendly while still delivering a professional, handmade look that will elevate any table setting.
Imagine sipping your morning coffee or evening tea from a mug resting on this delightful pumpkin. It's not just a coaster; it's a conversation starter, a gift idea, and a small piece of autumn you can hold in your hand. Let's dive into this satisfying project that combines simple stitches with a touch of creative shaping.
Materials Needed
Before we begin, gather your supplies. This project uses basic materials that are easy to find at any craft store. The key is to use worsted weight cotton yarn, which is absorbent, durable, and perfect for coasters.
Yarn & Hook
- Yarn: Worsted weight cotton yarn in three colors:
- Orange (for the pumpkin body) – approximately 30 yards
- Green (for the leaf) – a small amount
- Brown (for the stem) – a small amount
- Crochet Hook: 5 mm (H/8) crochet hook
Additional Supplies
- Fiberfill: A small amount for light stuffing
- Yarn needle: For weaving in ends
- Scissors
Gauge & Size
- Gauge: 4 rounds of single crochet = 2 inches in diameter
- Finished Size: Approximately 4 inches in diameter
Note: Gauge is not critical for this project, but matching it will ensure your coaster is the perfect size for a standard mug.
Step-by-Step Instructions
Follow these detailed instructions carefully, and you'll have a beautiful Harvest Moon Coaster in no time. We'll work the pumpkin body in continuous rounds, then add the stem and leaf at the end.
Pumpkin Body (Make 1)
Round 1: With orange yarn, make a magic ring. Chain 1 (this does not count as a stitch), then work 6 single crochet (sc) into the ring. Pull the tail to tighten the ring closed. You should have 6 stitches. Place a stitch marker to track the beginning of your rounds.
Round 2: Chain 1, then work 2 single crochet into each stitch around. This is an increase round. You will now have 12 stitches.
Round 3: Chain 1, then *single crochet in the next stitch, 2 single crochet in the next stitch*. Repeat from * to * around. This creates a pattern of one sc, then an increase. You will now have 18 stitches.
Round 4: Chain 1, then *single crochet in the next 2 stitches, 2 single crochet in the next stitch*. Repeat from * to * around. You will now have 24 stitches.
Round 5: Chain 1, then *single crochet in the next 3 stitches, 2 single crochet in the next stitch*. Repeat from * to * around. You will now have 30 stitches.
Round 6: Chain 1, then *single crochet in the next 4 stitches, 2 single crochet in the next stitch*. Repeat from * to * around. You will now have 36 stitches. This completes the flat circular base of your pumpkin.
Round 7: Chain 1. Now, we will create the ribbed texture that makes this look like a pumpkin. Working in the back loops only (insert your hook only through the back loop of each stitch), single crochet in each stitch around. You will still have 36 stitches. This round creates the subtle ridge that defines the pumpkin's shape.
Round 8: Chain 1, then single crochet in each stitch around (working through both loops as normal). You will have 36 stitches.
Round 9: Chain 1, then *single crochet in the next 4 stitches, single crochet 2 together (sc2tog)*. Repeat from * to * around. This is a decrease round. You will now have 30 stitches.
Round 10: Chain 1, then *single crochet in the next 3 stitches, single crochet 2 together (sc2tog)*. Repeat from * to * around. You will now have 24 stitches.
Round 11: Chain 1, then *single crochet in the next 2 stitches, single crochet 2 together (sc2tog)*. Repeat from * to * around. You will now have 18 stitches.
Round 12: Chain 1, then *single crochet in the next stitch, single crochet 2 together (sc2tog)*. Repeat from * to * around. You will now have 12 stitches.
At this point, your pumpkin should be forming a nice, rounded dome shape. Stuff lightly with fiberfill to give it a plump, squishy feel. Do not overstuff—you want it to remain flat enough to function as a coaster. Do not fasten off; we will continue to add the stem and leaf.
Leaf and Stem
Round 13: This round combines the stem and leaf with the final closing of the pumpkin.
- Chain 1, then single crochet in the next 2 stitches.
- Now, create the stem: Chain 5. Starting in the 2nd chain from the hook, single crochet in that chain and in the next 3 chains. This creates a small, solid tube that will be the stem. You should have 4 single crochets in this chain section.
- Single crochet in the next 2 stitches of the pumpkin body.
- Now, create the leaf: Chain 6. Starting in the 2nd chain from the hook, single crochet in that chain and in the next 4 chains. This creates a slightly longer tube for the leaf. You should have 5 single crochets in this chain section.
- Single crochet in the remaining stitches around the pumpkin opening.
- Join with a slip stitch to the first single crochet of this round.
Finishing: Fasten off, leaving a long tail (about 6 inches). Use your yarn needle to weave the tail through the stitches of the final round to close any remaining gap. Pull gently to tighten, then weave in the end securely. Weave in all other loose ends from the beginning of the project.
Pro Tips for a Perfect Finish
- Magic Ring: If you're new to the magic ring, practice it a few times. It's the key to a tight, seamless center. Alternatively, you can chain 2 and work your 6 sc into the first chain, then pull the tail to close.
- Stitch Markers: Use a stitch marker at the beginning of each round. It's easy to lose your place when working in continuous spirals.
- Stuffing: Keep the stuffing light. The goal is a soft, flat coaster, not a stuffed toy. A small pinch of fiberfill is usually enough.
- Blocking: If your coaster curls at the edges, you can gently block it. Mist it with water and press it flat with your hands, then let it dry completely.
Your Cozy Autumn Accessory Awaits
And there you have it—a beautiful, handmade Harvest Moon Coaster that brings the warmth of autumn to your home. This project is perfect for using up small amounts of yarn, making it an excellent stash-buster. It also makes a wonderful gift for friends, family, or coworkers. Pair it with a bag of gourmet coffee or tea for a thoughtful, handmade present.
The beauty of this pattern is its simplicity. With just single crochet stitches, a bit of shaping, and a cleverly constructed stem and leaf, you've created something that looks intricate and charming. Whether you make one for yourself or a whole set for your Thanksgiving table, these coasters are sure to be a hit. So grab your hook, pick your favorite autumn colors, and enjoy the cozy satisfaction of creating something beautiful with your own hands.