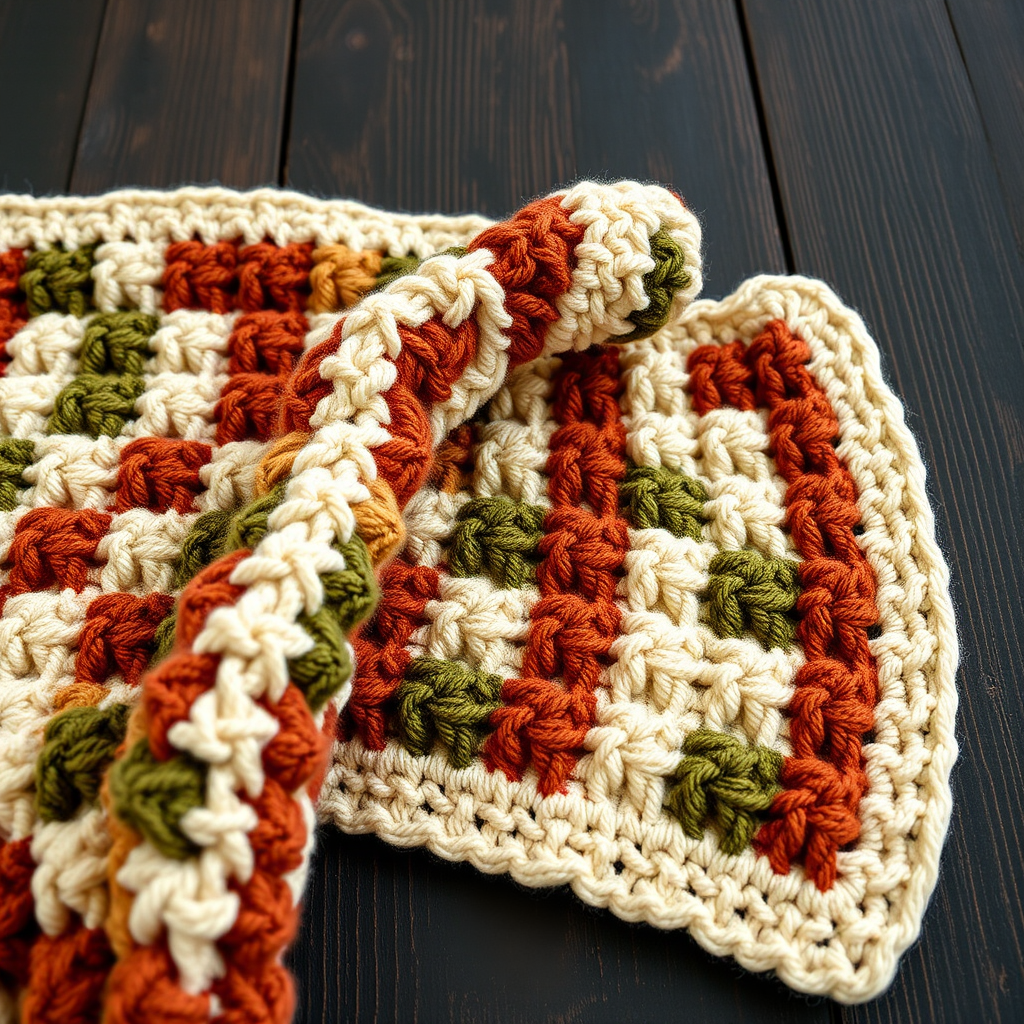
Harvest Bounty Tunisian Crochet Tote Free Pattern

Harvest Bounty Tunisian Crochet Tote: A Free Beginner-Friendly Pattern
Imagine strolling through a sun-drenched farmers market, your forearms cradling a sturdy, handcrafted tote brimming with fresh produce and wildflowers. That is the vision behind the Harvest Bounty Tunisian Crochet Tote. This isn't just a bag; it is a statement of sustainable style, a cozy companion for beach days, and a rewarding project that teaches you the beautiful, woven texture of Tunisian crochet.
Designed with earthy stripes of oatmeal, terracotta, and sage green, this spacious tote is as practical as it is beautiful. The dense Tunisian Simple Stitch (Tss) creates a robust fabric that holds its shape, ensuring your haul is safe and secure. Whether you are a seasoned crocheter looking for a new technique or a brave beginner ready to dive into the world of the Tunisian hook, this pattern is your perfect guide. Let's get started on creating your new favorite accessory.
Materials Needed: Gathering Your Supplies
Before we begin, let's ensure you have everything you need for a smooth crafting session. The beauty of this project lies in its simplicity; the materials are straightforward and easy to source.
- Yarn: Worsted weight cotton yarn (e.g., Lily Sugar'n Cream) in three colors:
- Main Color (MC): Oatmeal (approx. 200g)
- Color A: Terracotta (approx. 100g)
- Color B: Sage Green (approx. 100g)
- Hooks:
- Tunisian Crochet Hook: Size 6.5mm (US K) with a 16-inch cable. This is crucial for holding the loops.
- Regular Crochet Hook: Size 5mm (US H) for the edging, handles, and seaming.
- Notions: Yarn needle for weaving in ends and sewing handles, scissors, and stitch markers (optional).
- Gauge: 14 stitches x 12 rows in Tunisian Simple Stitch = 4 x 4 inches (10 x 10 cm) after blocking. Always check your gauge to ensure the correct size.
Step-by-Step Instructions: Crafting Your Tote
This bag is worked flat in two identical panels, which are then seamed together. This method is perfect for beginners as it simplifies the shaping. We will use the Tunisian Simple Stitch (Tss) throughout. Remember, every row in Tunisian crochet has two passes: the Forward Pass (picking up loops) and the Return Pass (locking them in).
Panel 1 (Make 2)
We will create two identical rectangles. Take your time and enjoy the rhythmic flow of the stitches.
Foundation Row: With your Tunisian hook and MC, chain 36. Now, work a Tss in each chain across. You should have 36 loops on your hook. Return Pass: Yarn over and pull through the first loop on your hook. Then, *yarn over and pull through two loops* across until only one loop remains on your hook. This counts as your first row.
Row 1: With MC, skip the first vertical bar (this is the edge). Insert your hook under the next vertical bar, yarn over, and pull up a loop. Repeat this across to the last stitch. For the final stitch of the row, insert your hook under both loops of the edge stitch to create a clean side. Return Pass: Yarn over, pull through one loop, then *yarn over, pull through two loops* across until one loop remains.
Rows 2-10: Continue working in Tss with MC, repeating Row 1's instructions for each row. You will have 10 rows of Oatmeal.
Row 11: Switch to Color A (Terracotta). Work a full row of Tss across, followed by the standard Return Pass.
Rows 12-20: Continue with Color A in Tss. You will have 10 rows of Terracotta.
Row 21: Switch to Color B (Sage Green). Work a full row of Tss across, followed by the Return Pass.
Rows 22-30: Continue with Color B in Tss. You will have 10 rows of Sage Green.
Row 31: Switch back to MC. Work a full row of Tss across, followed by the Return Pass.
Rows 32-40: Continue with MC in Tss. You will have 10 rows of Oatmeal.
Row 41: Switch to Color A. Work a full row of Tss across, followed by the Return Pass.
Rows 42-50: Continue with Color A in Tss. You will have 10 rows of Terracotta.
Row 51: Switch to Color B. Work a full row of Tss across, followed by the Return Pass.
Rows 52-60: Continue with Color B in Tss. You will have 10 rows of Sage Green.
Row 61: Switch to MC for the final time. Work a full row of Tss across, followed by the Return Pass.
Rows 62-70: Continue with MC in Tss. You will have 10 rows of Oatmeal.
Binding Off: To finish the panel, bind off loosely. Slip stitch in each vertical bar across the row. Fasten off, leaving a long tail (approx. 20 inches) for seaming later.
Repeat this entire process to create your second panel.
Seaming the Panels
Now we will transform our two flat rectangles into a 3D bag shape.
Place the two panels together with their right sides facing out. The wrong sides will be on the inside of the bag. Using your regular 5mm crochet hook and MC, join the yarn at the bottom corner. Single crochet (sc) through both layers along the bottom edge and up one side edge. This will form the base and one side of your tote. Fasten off and weave in this end. Turn the bag right side out so the seams are on the inside.
Top Edging
This edging gives the top of the bag a clean, professional finish and prevents stretching.
Round 1: With your regular hook and MC, join the yarn at the top edge of the bag. Work 1 single crochet (sc) in each stitch around the entire top opening. When you reach a corner, work 2 sc in that corner stitch to help the edging lay flat. Join with a slip stitch to the first sc.
Round 2: Chain 1 (does not count as a stitch). Work 1 sc in each stitch around the opening. Join with a slip stitch to the first sc. Fasten off and weave in the end.
Creating the Handles
These sturdy handles are crocheted flat and sewn on, ensuring they can handle the weight of your market haul.
Make two handles as follows: With your regular hook and MC, chain 80. Row 1: Sc in the second chain from your hook and in each chain across (79 sc). Row 2: Chain 1, turn, and sc in each stitch across. Fasten off, leaving long tails for sewing.
Attaching the Handles: Position each handle on the inside of the bag at the top edge. Space them evenly, about 4 inches in from the side seams. Using a yarn needle, sew the ends of the handles securely to the inside of the bag. Make sure to sew through both the handle and the bag fabric multiple times to ensure a strong hold.
Finishing Touches
Your Harvest Bounty Tote is almost complete! Take a moment to weave in all remaining loose ends with your yarn needle. If desired, lightly block the bag to shape. To do this, gently mist it with water and shape it with your hands, then let it air dry completely. This will help even out the stitches and give your tote a polished look.
Congratulations! You have just created a beautiful, functional, and eco-friendly tote bag. It is perfect for grocery runs, library visits, or as a stylish carryall. The sturdy cotton and dense Tunisian stitch will serve you well for years to come. Happy crocheting!