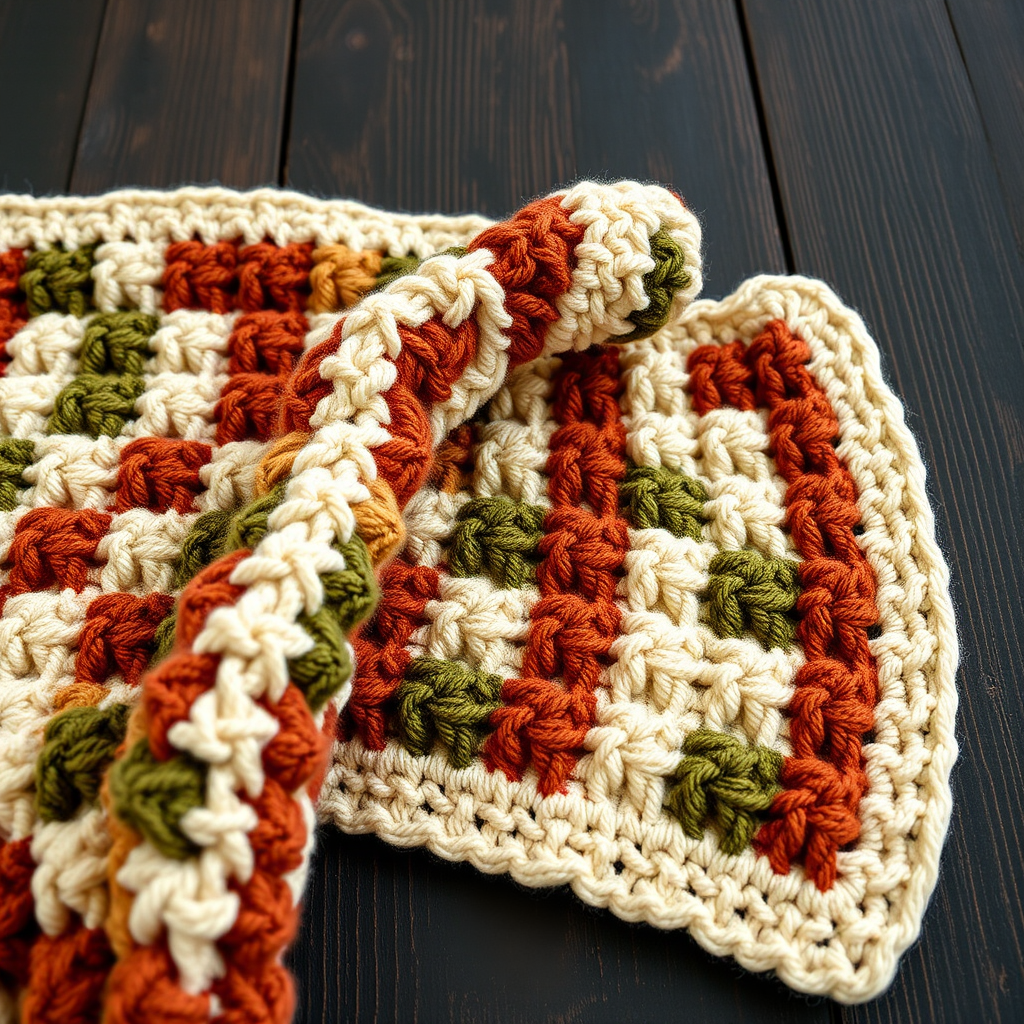
Driftwood Dune Tunisian Crochet Scarf Free Pattern

Driftwood Dune Tunisian Crochet Scarf: A Free Beginner-Friendly Pattern
Wrap yourself in the organic texture of the Driftwood Dune Scarf, a stunning Tunisian crochet piece that mimics the shifting sands of a coastal dune. This cozy, modern accessory features a unique two-color stitch pattern that creates a beautiful, woven-like fabric—perfect for adding a touch of handmade warmth to any outfit. Whether you're new to Tunisian crochet or a seasoned pro looking for a relaxing project, this free pattern is designed to guide you every step of the way.
The scarf is worked in two identical panels that are seamed together, resulting in a reversible, double-thick fabric that's as warm as it is stylish. The subtle interplay between the soft oatmeal and rich driftwood brown yarns evokes the natural beauty of a windswept beach, making this a truly special piece to create and wear.
Materials Needed
Before you begin, gather the following supplies to ensure a smooth and enjoyable crochet experience:
- Yarn: Worsted weight yarn in two colors:
- Main Color (MC): Oatmeal (approx. 320 yards / 293 meters)
- Contrast Color (CC): Driftwood Brown (approx. 180 yards / 165 meters)
- Hook: Tunisian crochet hook size J/10 (6 mm) with a cable (at least 32 inches / 81 cm long) or a regular Tunisian hook if working flat.
- Notions: Yarn needle for seaming and weaving in ends, scissors, and a measuring tape.
Gauge: 14 stitches and 12 rows in Tunisian simple stitch (Tss) over 4 inches (10 cm). Gauge is not critical for this project, but maintaining consistent tension throughout is important for a professional finish.
Understanding the Pattern
This scarf is worked in two panels that are seamed together, creating a reversible, double-thick fabric. The stitch pattern is a variation of the Tunisian honeycomb stitch, using two colors to create a subtle, woven effect.
Abbreviations (US terms):
- Tss: Tunisian simple stitch
- Tks: Tunisian knit stitch
- Tps: Tunisian purl stitch
- Ret: Return pass (yo, pull through 1 loop, *yo, pull through 2 loops* repeat to end)
- MC: Main Color
- CC: Contrast Color
- ch: chain
- st(s): stitch(es)
Pattern Notes:
- The scarf is made of two identical panels, each measuring approximately 8 inches wide and 60 inches long. After seaming, the scarf will be about 8 inches wide and 60 inches long (excluding fringe).
- Each row consists of a forward pass (picking up loops) and a return pass (working them off).
- The first and last stitch of each row are edge stitches and are worked as Tks to create a neat selvedge.
- When changing colors, do not cut the yarn; carry it up the side of the work.
Step-by-Step Instructions
Panel 1 (Make 2)
Foundation Row: With MC, ch 31. Work Tss in the back bump of the 2nd ch from hook and in each ch across. (30 loops on hook). Ret.
Row 1 (MC): Skip the first vertical bar (edge st), *Tps in next st, Tks in next st* repeat from * to * until 1 st remains, Tks in last st (edge st). Ret.
Row 2 (CC): Skip the first vertical bar, *Tks in next st, Tps in next st* repeat from * to * until 1 st remains, Tks in last st. Ret.
Row 3 (MC): Skip the first vertical bar, *Tps in next st, Tks in next st* repeat from * to * until 1 st remains, Tks in last st. Ret.
Row 4 (CC): Skip the first vertical bar, *Tks in next st, Tps in next st* repeat from * to * until 1 st remains, Tks in last st. Ret.
Repeat Rows 1-4 until the panel measures approximately 60 inches from the foundation row, ending with a Row 1 (MC) repeat. Do not bind off. Cut yarn, leaving a long tail for seaming. Pull the tail through the last loop.
Finishing
Step 1: Seaming the Panels
Lay the two panels on a flat surface with the right sides facing up. The edge stitches will form a neat selvedge on each side. Using the long tail from one panel and a yarn needle, whip stitch the two panels together along one long side. Make sure to match the rows and stitches carefully to create a seamless, professional look.
Step 2: Weaving in Ends
Weave in all loose ends using your yarn needle. Take your time to ensure the ends are securely hidden within the fabric so they don't unravel with wear.
Step 3: Adding Fringe
Cut strands of MC and CC yarn, each 12 inches long. For each fringe group, take 2 strands of MC and 1 strand of CC (or any combination you like). Fold the group in half, insert a crochet hook through the edge stitch at the end of the scarf, pull the folded loop through, and pull the ends through the loop. Tighten gently. Repeat across both short ends of the scarf, spacing fringe groups about 1 inch apart.
Step 4: Trimming
Trim the fringe evenly to create a polished, finished look. You can use scissors to carefully align the ends of all fringe strands.
Tips for Success
- Maintain Consistent Tension: Tunisian crochet can be tricky at first. Practice your tension on a small swatch before starting the actual scarf to ensure even stitches.
- Carry Yarn Up the Side: When alternating colors, remember to carry the unused yarn loosely up the side of your work. This will prevent puckering and keep your edges neat.
- Count Your Stitches: Periodically count your stitches to ensure you haven't accidentally added or dropped any. Each row should have 30 loops on the hook before the return pass.
- Blocking (Optional): If desired, you can gently block the finished scarf to even out the stitches and enhance the drape. Lay it flat, mist with water, and allow it to dry completely.
Your Driftwood Dune Scarf is now complete! This beautiful, textured accessory is perfect for cozy autumn days or as a thoughtful handmade gift. The woven-like fabric and earthy color palette make it a versatile piece that pairs beautifully with both casual and dressy outfits. Enjoy wearing your handcrafted creation, and don't forget to share your finished project with fellow crochet enthusiasts!