Frosted Fern Crochet Cocoon Shrug Free Pattern – Textured Leaf Stitch Wrap

Wrap Yourself in Cozy Elegance: The Frosted Fern Crochet Cocoon Shrug
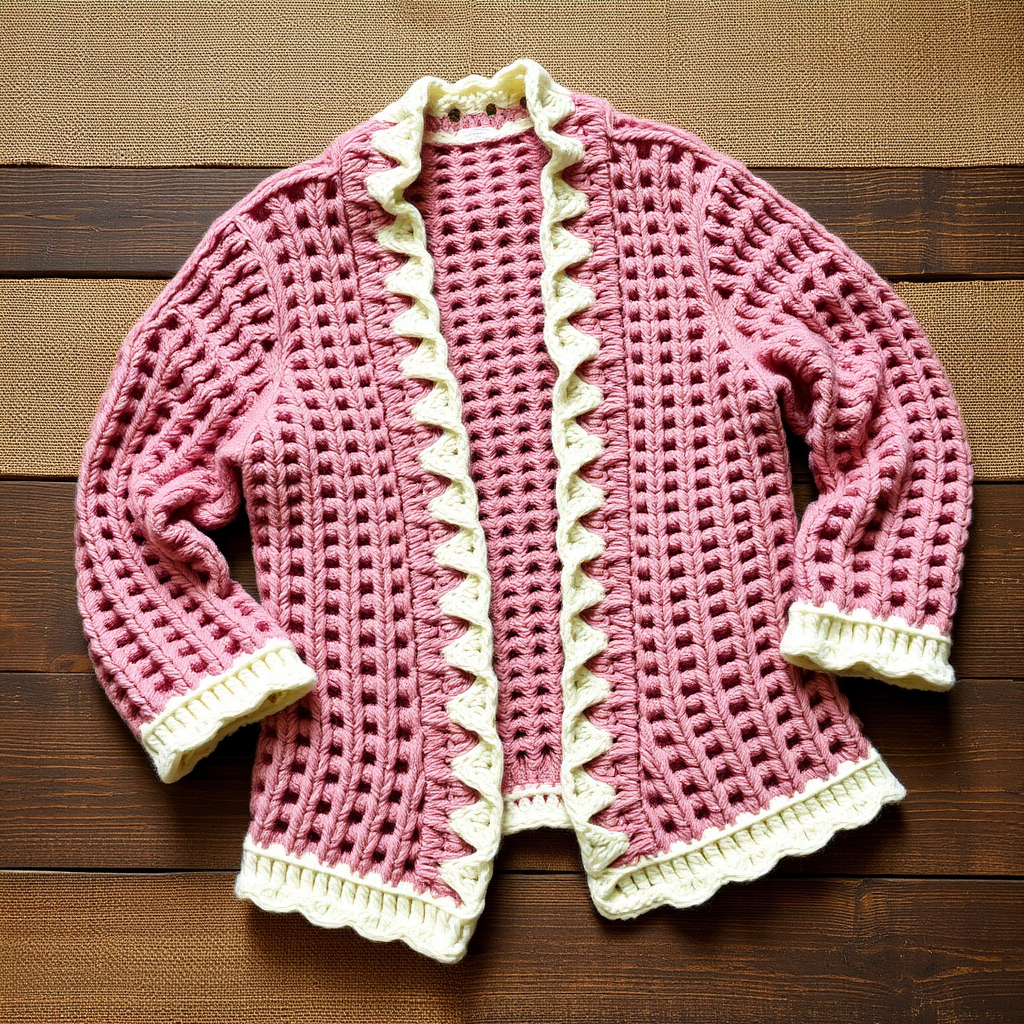
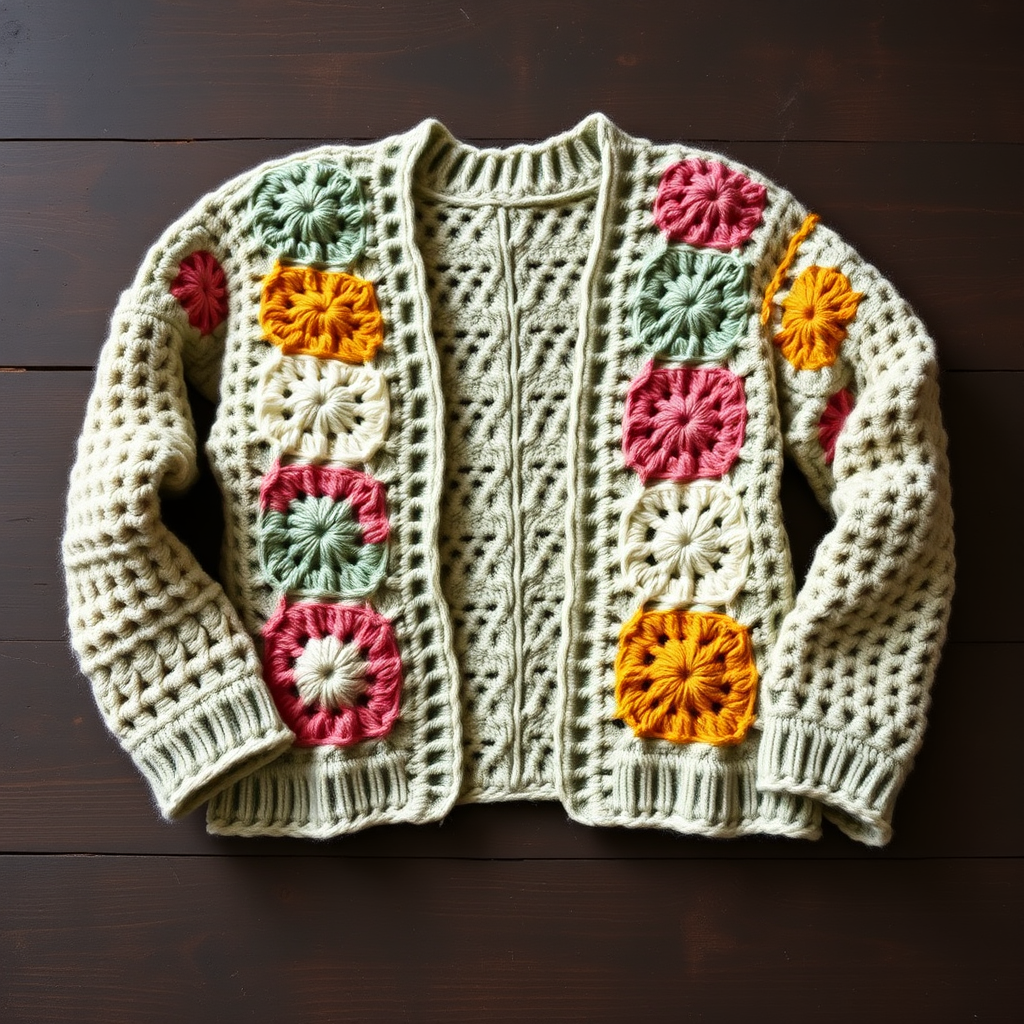
There are certain crochet projects that feel like a warm hug the moment you begin stitching them. The Frosted Fern Crochet Cocoon Shrug is exactly that—a beautiful, seamless wrap that combines the rustic charm of a leaf stitch with the modern comfort of a cocoon silhouette. This pattern is designed to drape effortlessly over your shoulders, adding a touch of handcrafted elegance to any outfit without the bulk of a traditional cardigan.
Inspired by the delicate beauty of frost-kissed ferns, this textured wrap features a raised, organic stitch pattern that is surprisingly simple to master. Whether you are looking for a cozy layer for a cool evening or a thoughtful handmade gift, this beginner-friendly pattern is the perfect way to create a stunning, wearable piece of art.
Materials Needed
Before you begin your crafting journey, gather the following materials to ensure a smooth and enjoyable crochet experience. This project uses simple, readily available supplies.
- Yarn: Worsted weight yarn in two colors—Sage Green (MC) and Cream (CC). You will need approximately 800g total (about 400g of each color).
- Crochet Hook: 6.0mm (J-10) crochet hook. This size is perfect for achieving the correct drape and texture.
- Other Tools: A yarn needle for weaving in ends and a pair of scissors.
Gauge: 14 double crochet (dc) x 8 rows = 4 inches (10 cm) in the leaf stitch pattern. Always check your gauge to ensure your shrug fits as intended.
Step-by-Step Instructions
This pattern is worked flat in one piece from sleeve to sleeve, making it incredibly simple to construct. The entire garment is built on a repeating leaf stitch cluster, which creates the beautiful fern-like texture. Let's get started!
Understanding the Stitches
Before you begin, familiarize yourself with the core stitch pattern. This is the heart of the design.
- Chain (ch): The foundation of your work.
- Double Crochet (dc): The basic building block.
- Leaf Cluster: (dc, ch 1, dc) all worked into the same stitch or space. This creates the "V" shape that forms the leaf motif.
Important Notes: The chain 3 at the beginning of each row counts as your first double crochet. You will be working into the chain-1 spaces from the previous row to create the staggered leaf pattern.
Creating the Main Body
Follow these steps carefully to create the main rectangular body of the shrug. The rectangle will be folded to create the cocoon shape.
Row 1 (Foundation): With your Main Color (MC) sage green yarn, chain 92. Double crochet (dc) in the 4th chain from your hook and in each chain across. You should have 90 double crochets total. (The first 3 chains count as your first dc).
Row 2: Chain 3 and turn your work. *Skip the next 2 stitches. Work a leaf cluster (dc, ch 1, dc) into the very next stitch.* Repeat from * to * across the entire row. Finish the row by making 1 dc in the top of the turning chain from the previous row. You should have 30 leaf clusters.
Row 3: Chain 3 and turn. *Work a leaf cluster (dc, ch 1, dc) into the chain-1 space of the leaf cluster from the row below.* Repeat from * to * across the row. Finish with 1 dc in the top of the turning chain.
Rows 4-30: Continue repeating Row 3. This will build the beautiful, textured leaf stitch fabric. Keep your tension consistent for a uniform look.
Adding the Frosty Edge
Once you have completed Row 30, it's time to introduce the cream yarn to create the "frosted" border that gives this shrug its name.
Rows 31-35: Switch to your Contrast Color (CC) cream yarn. Repeat Row 3 for these final 5 rows. This will create a lovely, crisp edge that contrasts beautifully with the sage green body.
Finishing and Assembly
Now for the magic part—transforming your flat rectangle into a wearable cocoon shrug.
Step 1: Fasten off your yarn and weave in the loose ends with your yarn needle.
Step 2: Fold your finished rectangle in half lengthwise, bringing the two short ends together. The fold will be the top of your shoulders.
Step 3: To create the armholes, sew or crochet the side seams from the folded edge down 12 inches (30 cm) on each side. Leave the center section open—this is where your arms will go through.
Step 4: Turn the shrug right side out. The seams will be on the inside.
Final Edging
To give your shrug a polished, professional finish, we will add a simple border around the entire outer edge.
Edging Round: With your Contrast Color (CC) cream yarn, work a round of single crochet (sc) evenly around the entire outer edge of the shrug. When you reach the corners, work 3 single crochets into the same corner stitch to help the edge lay flat. Join the round with a slip stitch to the first single crochet, fasten off, and weave in all remaining ends.
Your Frosted Fern Crochet Cocoon Shrug is now complete! The textured leaf stitch and the frosty cream border create a stunning, woodland-inspired garment that is as cozy as it is beautiful. Enjoy your new favorite handmade wrap!