Aurora Dusk Crochet Bolero Jacket Free Pattern

Aurora Dusk Crochet Bolero Jacket: A Free Pattern for Ethereal Layering
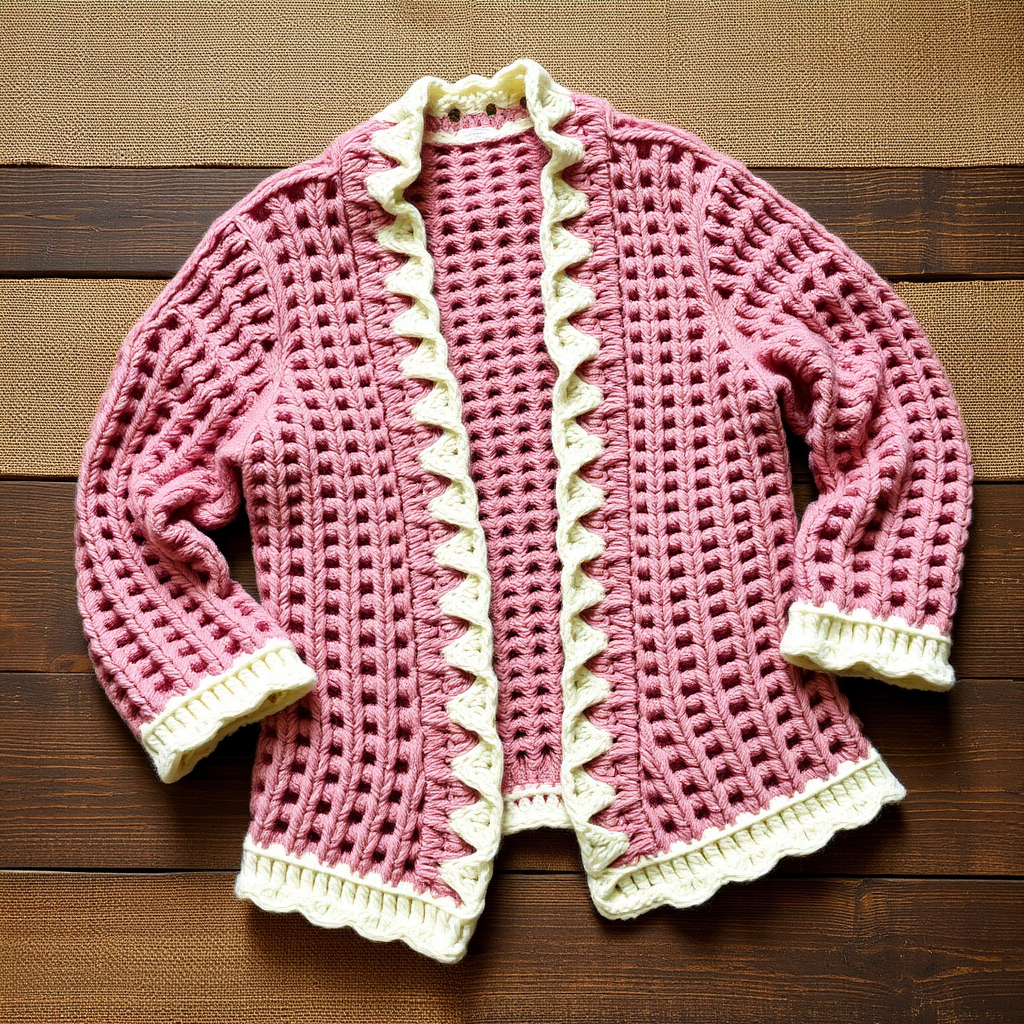
Wrap yourself in the ethereal beauty of the Aurora Dusk, a short crochet bolero that drapes like a twilight sky. This open-front jacket features a mesmerizing gradient of jewel tones and a delicate shell stitch border, perfect for layering over summer dresses or adding a touch of magic to evening wear. Whether you're a seasoned crocheter or a confident beginner looking for a stylish project, this free pattern will guide you through creating a stunning, custom-fit garment that transitions seamlessly from day to night.
The Aurora Dusk is designed with a boxy, cropped silhouette that ends at the natural waist, making it an incredibly versatile layering piece. The smooth double crochet fabric provides a dense, cozy texture, while the unique color-blocked front panels create a modern, artistic look. The dusty rose shell stitch border softens the edges, adding a feminine, scalloped finish that elevates the entire design. This is more than just a jacket—it's a statement piece that showcases your creativity and skill.
Materials Needed
Before you begin, gather the following materials to ensure a smooth and enjoyable crocheting experience. All items are readily available at your local craft store or online.
- Yarn: Worsted weight (4) cotton-blend yarn in 3 colors:
- Color A (deep teal): 200g (approximately 400 yards)
- Color B (dusty rose): 120g (approximately 240 yards)
- Color C (golden amber): 80g (approximately 160 yards)
- Crochet Hook: I/9 (5.5 mm) hook, or size needed to obtain gauge.
- Yarn Needle: For weaving in ends and seaming.
- Scissors: For cutting yarn.
- Stitch Markers (optional): Helpful for keeping track of rows and increases.
Gauge
14 double crochet (dc) x 8 rows = 4 inches (10 cm) in double crochet. Always take the time to check your gauge. If your swatch is too small, try a larger hook; if it's too large, switch to a smaller hook. Matching gauge ensures your bolero fits as intended.
Sizes & Special Stitches
Sizes: S/M (M/L). Instructions for the larger size are provided in parentheses.
Special Stitches:
- Shell (sh): Work 5 double crochet (dc) in the same stitch. This creates a fan-like shape.
- V-stitch (v-st): Work (dc, ch 1, dc) in the same stitch. This creates a "V" shape.
Step-by-Step Instructions
Follow these detailed instructions carefully. The pattern is broken down into manageable sections: Back Panel, Front Panels, Sleeves, Assembly, and Border. Take your time, and don't hesitate to refer back to the special stitches section as needed.
Back Panel
The back panel is a simple rectangle worked in double crochet. This forms the foundation of your bolero.
- Row 1 (Right Side): With Color A, chain (ch) 62 (70). Double crochet (dc) in the 4th ch from the hook (the skipped chains count as your first dc) and in each ch across. Turn. You should have 60 (68) dc stitches.
- Row 2: Ch 3 (this counts as your first dc), dc in each dc across. Turn.
- Repeat Row 2 until the piece measures 12 (14) inches from the start. Fasten off and set aside.
Left Front Panel
The left front panel introduces the neckline shaping. Pay close attention to the decreases to create a smooth curve.
- Row 1 (Right Side): With Color A, ch 32 (36). Dc in the 4th ch from the hook and in each ch across. Turn. You should have 30 (34) dc stitches.
- Row 2: Ch 3, dc in each dc across. Turn.
- Repeat Row 2 until the piece measures 6 (7) inches from the start. You will now begin shaping the neckline.
- Neckline Row 1 (Right Side): Ch 3, dc in the next 20 (24) dc, then work a dc2tog (double crochet 2 together) over the next two stitches. Turn. You should have 22 (26) dc stitches.
- Neckline Row 2: Ch 3, work a dc2tog over the first two stitches, then dc in each remaining dc across. Turn. You should have 21 (25) dc stitches.
- Repeat Neckline Row 2 until the piece measures 12 (14) inches from the start, matching the length of the back panel. Fasten off.
Right Front Panel
The right front panel is a mirror image of the left. The neckline shaping is worked at the opposite end of the row.
- Row 1 (Right Side): With Color A, ch 32 (36). Dc in the 4th ch from the hook and in each ch across. Turn. You should have 30 (34) dc stitches.
- Row 2: Ch 3, dc in each dc across. Turn.
- Repeat Row 2 until the piece measures 6 (7) inches from the start.
- Neckline Row 1 (Right Side): Ch 3, work a dc2tog over the first two stitches, then dc in the next 20 (24) dc. Turn. You should have 22 (26) dc stitches.
- Neckline Row 2: Ch 3, dc in each dc across until the last 2 stitches, then work a dc2tog over the last two stitches. Turn. You should have 21 (25) dc stitches.
- Repeat Neckline Row 2 until the piece measures 12 (14) inches from the start. Fasten off.
Sleeves (Make 2)
The sleeves are worked flat and seamed. The increases create a gentle flare towards the upper arm.
- Row 1 (Right Side): With Color A, ch 34 (38). Dc in the 4th ch from the hook and in each ch across. Turn. You should have 32 (36) dc stitches.
- Row 2: Ch 3, dc in each dc across. Turn.
- Increase Row: Ch 3, dc in the first dc (increase), dc in each dc across until the last stitch, 2 dc in the last stitch (increase). Turn. You have increased by 2 stitches.
- Work 3 rows even (Ch 3, dc in each dc across. Turn.)
- Repeat the Increase Row and 3 even rows until you have 44 (48) dc stitches. Work even (no increases) until the sleeve measures 10 (12) inches from the start. Fasten off.
Assembly
Now it's time to bring all the pieces together. Use your yarn needle and a length of Color A yarn for seaming.
- Sew Shoulder Seams: With right sides together, sew the top edge of the Left Front Panel to the left half of the Back Panel. Repeat for the Right Front Panel. The neckline shaping will naturally curve towards the center.
- Sew Sleeves into Armholes: With right sides together, pin the top center of a sleeve to the shoulder seam. Pin the edges of the sleeve to the underarm area of the body. Sew the sleeve into the armhole. Repeat for the second sleeve.
- Sew Side and Sleeve Seams: With right sides together, sew the side seam from the bottom edge of the body up to the underarm, then continue down the sleeve seam to the cuff. Repeat for the other side.
Border
The border adds the beautiful, delicate finish that defines the Aurora Dusk. We'll use Color B for this.
- Round 1: With Color B, join the yarn with a slip stitch (sl st) at the bottom right front edge. Work a single crochet (sc) evenly around the entire outer edge of the bolero. This includes the bottom edge, up the right front, around the neckline, down the left front, and around both sleeve cuffs. Join with a sl st to the first sc.
- Round 2: Ch 1, sc in the same stitch. *Skip 2 stitches, work a shell (sh) in the next stitch, skip 2 stitches, sc in the next stitch.* Repeat from * to * around the entire edge. Join with a sl st to the first sc. Fasten off.
Finishing
These final steps will give your bolero a professional, polished look.
- Weave in all ends: Use your yarn needle to carefully weave in all loose yarn ends on the wrong side of the work.
- Block lightly: Blocking helps even out your stitches and shape the garment. Lay the bolero flat on a blocking mat, gently pin it to the desired dimensions, and mist with water. Allow it to dry completely.
- Optional Closure: For a touch of customization, create a simple loop closure at the neckline using Color C. Ch 10, sl st to form a loop, and attach it to one side of the neckline. Sew a decorative button on the opposite side. This is purely optional—the open-front design is beautiful on its own.
Congratulations! You've completed the Aurora Dusk Crochet Bolero Jacket. This stunning piece is sure to become a favorite in your wardrobe. The gradient colors and delicate shell border make it a true work of art. Enjoy wearing it and the compliments that are sure to come your way!