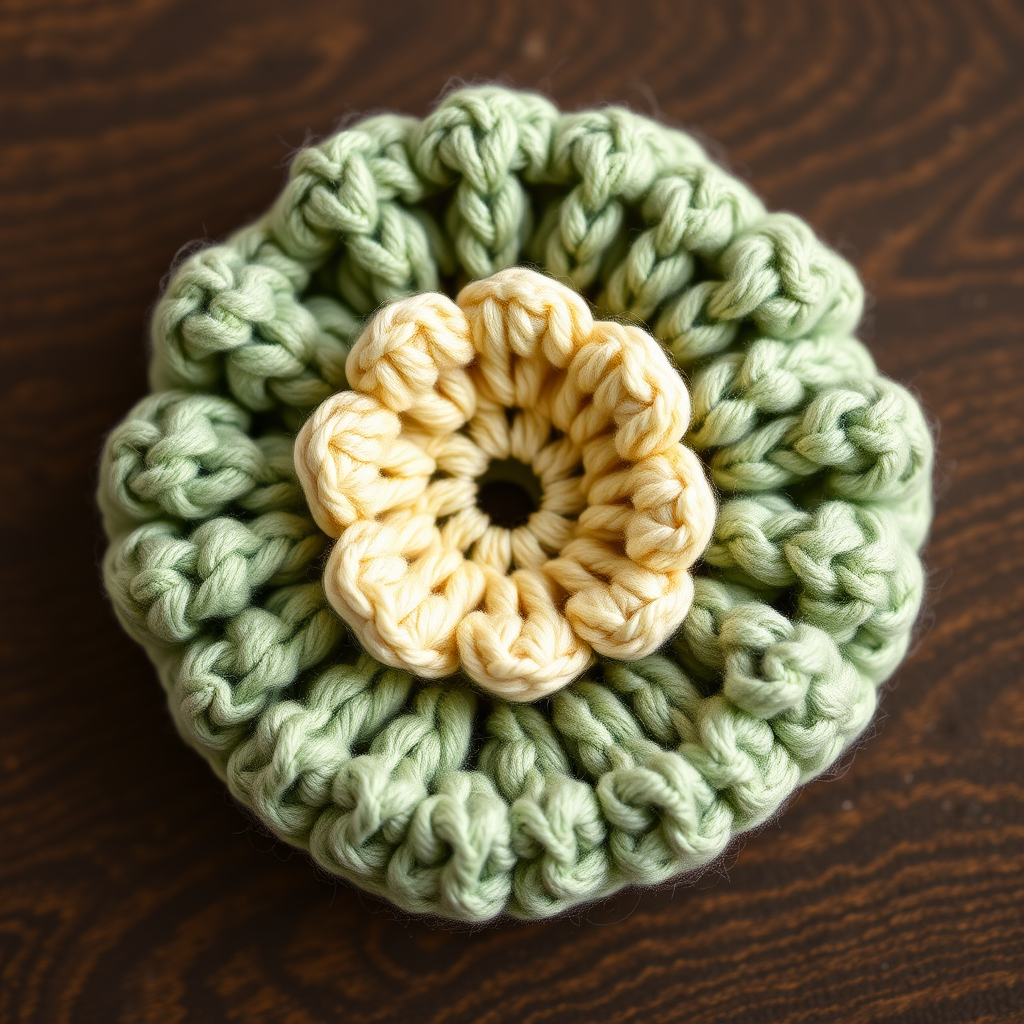
Enchanted Forest Pixie Beret Free Pattern

Enchanted Forest Pixie Beret Free Pattern: A Whimsical Crochet Adventure
Transform into a woodland sprite with this whimsical pixie beret, featuring a pointed crown and delicate leaf stitch. This quick crochet project adds a touch of magic to any autumn ensemble. Whether you're gearing up for Halloween, embracing the crisp fall air, or simply love all things enchanted, this beginner-friendly pattern is your ticket to a one-of-a-kind accessory. The deep forest green and burnt orange colorway evokes crunchy leaves and mossy woods, making it the perfect statement piece for sweater weather.
This pattern is designed with beginners in mind, using basic single crochet stitches and simple increases. The magic ring start and V-stitch band are easy to master, and the result looks far more intricate than the effort required. Let's dive into creating your very own pixie beret!
Materials Needed
Before you begin, gather the following supplies. Having everything ready will make your crochet session smooth and enjoyable.
- Yarn: Worsted weight yarn in forest green (MC) and burnt orange (CC), approximately 150g MC and 50g CC. A smooth, non-fuzzy yarn will best showcase the stitch definition.
- Crochet Hook: 5.0 mm (H/8) crochet hook. Ensure your hook is comfortable to hold for extended periods.
- Other Tools: Yarn needle for weaving in ends, scissors, and optionally a small button or bead for the crown tip.
- Gauge: 16 sc and 18 rows = 4 inches in single crochet. Always check your gauge to ensure the correct fit. If your hat is too small, try a larger hook; if too big, go down a size.
Step-by-Step Instructions
Follow these detailed steps to create your pixie beret. The pattern is broken into three main sections: the Crown, the Body, and the Brim, followed by the decorative Leaf Stitch Band.
Part 1: The Crown (Increasing Rounds)
The crown is worked in continuous rounds, starting from a magic ring. This creates a flat circle that will form the top of your hat.
- Round 1: With MC, make a magic ring, ch 1, work 6 sc into ring. Pull tight to close. (6 sts)
- Round 2: 2 sc in each st around. (12 sts)
- Round 3: (Sc in next st, 2 sc in next st) around. (18 sts)
- Round 4: (Sc in next 2 sts, 2 sc in next st) around. (24 sts)
- Round 5: (Sc in next 3 sts, 2 sc in next st) around. (30 sts)
- Round 6: (Sc in next 4 sts, 2 sc in next st) around. (36 sts)
- Round 7: (Sc in next 5 sts, 2 sc in next st) around. (42 sts)
- Round 8: (Sc in next 6 sts, 2 sc in next st) around. (48 sts)
- Round 9: (Sc in next 7 sts, 2 sc in next st) around. (54 sts)
- Round 10: (Sc in next 8 sts, 2 sc in next st) around. (60 sts)
- Round 11: (Sc in next 9 sts, 2 sc in next st) around. (66 sts)
- Round 12: (Sc in next 10 sts, 2 sc in next st) around. (72 sts)
Tip: Place a stitch marker at the beginning of each round to keep track of your place.
Part 2: The Body (Straight Rounds & Decreases)
Now we'll work even for a few rounds to create the height of the beret, then decrease to shape the slouchy body.
- Rounds 13-20: Sc in each st around. (72 sts) — This creates a straight tube.
- Round 21: (Sc in next 10 sts, sc2tog) around. (66 sts) — sc2tog means single crochet two stitches together (a decrease).
- Round 22: (Sc in next 9 sts, sc2tog) around. (60 sts)
- Round 23: (Sc in next 8 sts, sc2tog) around. (54 sts)
- Round 24: (Sc in next 7 sts, sc2tog) around. (48 sts)
Part 3: The Brim (Ribbed Edge)
The brim uses back-loop-only stitches to create a stretchy, ribbed edge that fits comfortably.
- Round 25: Working in back loops only, sc in each st around. (48 sts) — Insert your hook only into the back loop of each stitch.
- Rounds 26-27: Sc in each st around. (48 sts) — Work these rounds normally (through both loops).
- Fasten off and weave in ends securely.
Part 4: The Leaf Stitch Band (Decorative Touch)
This is where the magic happens! The burnt orange V-stitches create a beautiful leaf-like texture around the crown.
- Joining: With CC, join yarn at the base of the crown (round 12). This is the round right where the increases stopped.
- Round 1: Ch 3 (counts as dc), dc in same st, *skip 2 sts, (dc, ch 1, dc) in next st* repeat from * to * around, ending with skip 2 sts, sl st to top of ch-3. (16 V-stitches) — This creates a series of "V" shapes.
- Round 2: Sl st into ch-1 space, ch 3, dc in same space, *ch 1, (dc, ch 1, dc) in next ch-1 space* repeat from * to * around, sl st to top of ch-3. Fasten off. — This adds a second layer to the leaves, making them more pronounced.
Finishing Touches
- Weave in all ends with your yarn needle, ensuring they are hidden inside the hat.
- Optionally, attach a small button or bead at the tip of the crown for extra charm. This adds a lovely focal point and a touch of whimsy.
Tips for a Perfect Pixie Beret
- Blocking: If your hat looks a bit uneven, gently steam block it. Pin it to shape and lightly steam, then let it dry completely.
- Customization: Feel free to experiment with different color combinations! A deep burgundy with gold, or a slate blue with silver, would look equally enchanting.
- Fit: The beret is designed to be slightly slouchy. If you prefer a tighter fit, you can skip the last decrease round (Round 24) and proceed to the brim.
And there you have it—your very own Enchanted Forest Pixie Beret! This project is perfect for a weekend afternoon, and the result is a magical accessory that will turn heads. Whether you're dressing up for a themed event or just adding a touch of forest whimsy to your daily style, this beret is sure to become a favorite. Happy crocheting!