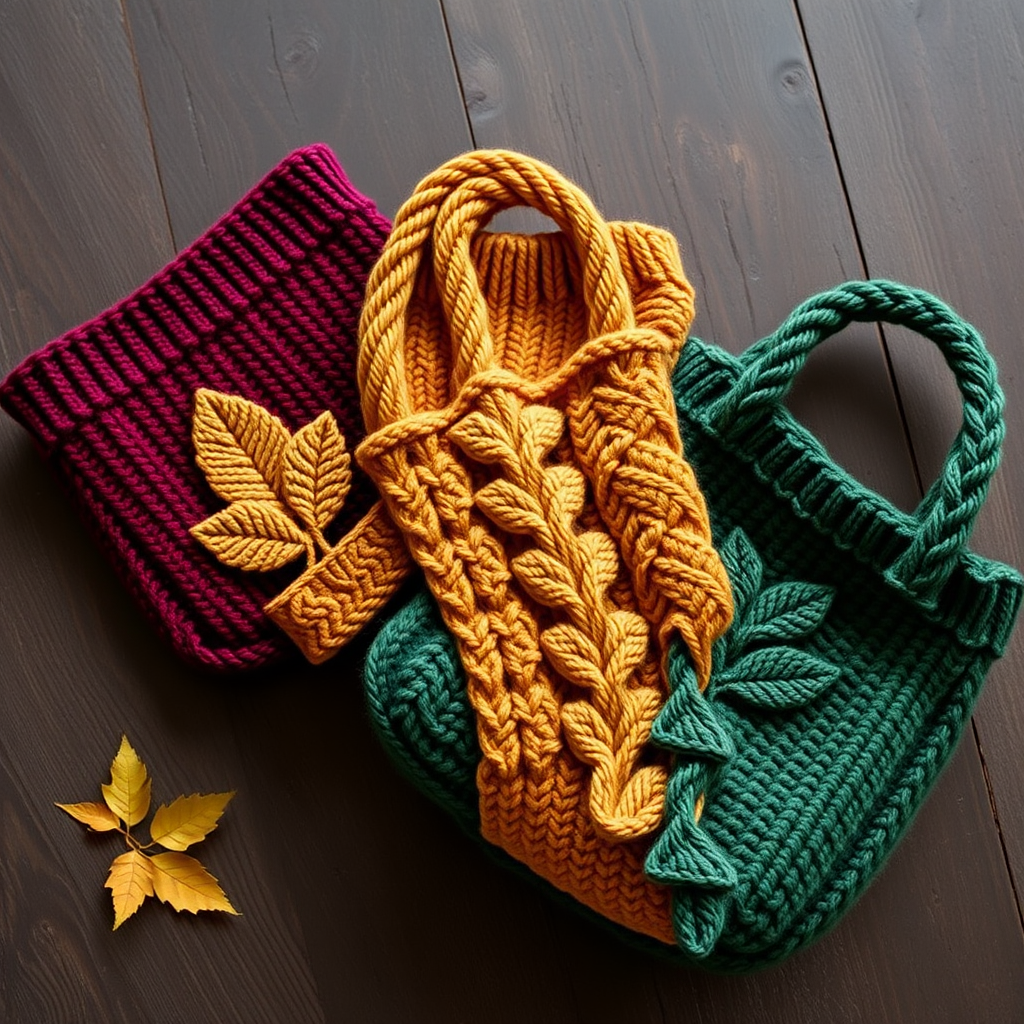
Enchanted Fern Market Tote Free Knitting Pattern – Textured Leaf Stitch

Carry a Little Forest Magic: The Enchanted Fern Market Tote
Imagine strolling through a sun-drenched farmers' market, your arm looped through a bag that feels both rustic and refined—a deep emerald canvas adorned with delicate, raised leaf motifs. That's the magic of the Enchanted Fern Market Tote. This free knitting pattern transforms simple worsted-weight cotton into a sturdy, spacious, and utterly charming accessory. Whether you're hauling fresh produce, library books, or beach essentials, this textured leaf stitch bag brings a touch of natural elegance to your everyday routine. Best of all, it's beginner-friendly, using only knit, purl, yarn overs, and simple decreases to create a stunning all-over pattern. Let's dive in and knit a little piece of the forest!
Materials Needed
Before you cast on, gather these simple supplies. This project is all about clean stitches and durable fabric, so choose a cotton yarn that holds its shape well.
- Yarn: Worsted weight cotton yarn (e.g., Lion Brand 24/7 Cotton) in Emerald Green (MC) and Cream (CC) – approximately 400g MC and 100g CC.
- Needles: US 7 (4.5mm) knitting needles.
- Notions: Tapestry needle for seaming and weaving in ends, stitch markers (at least 4).
- Gauge: 20 stitches and 28 rows = 4 inches in stockinette stitch. (Always check your gauge to ensure the bag is the right size!)
Step-by-Step Instructions
This bag is knitted flat in two identical panels, then seamed together. An optional gusset adds depth to the bottom, making it perfect for carrying bulky items. Follow these steps carefully, and you'll have a beautiful tote in no time.
Panel 1 (Make 2)
Cast on 50 stitches with MC.
Rows 1-6: Work in garter stitch (knit every row) for the bottom edge. This creates a sturdy, non-curling base.
Row 7 (Right Side): Knit 5, place marker, work Leaf Pattern across the next 40 stitches, place marker, knit 5. The 5 knit stitches on each side form a clean, garter-stitch border.
The Leaf Pattern (Worked over 40 stitches)
This pattern is a multiple of 10 + 2, but we're using exactly 40 stitches. Repeat the sequence between the asterisks (*) across the row. The yarn overs (yo) create the holes, and the decreases (k2tog, ssk) shape the leaves.
- Row 1 (RS): *K2tog, k3, yo, k1, yo, k3, ssk* – repeat from * to * across.
- Row 2 (WS): Purl all stitches.
- Row 3: *K2tog, k2, yo, k3, yo, k2, ssk* – repeat from * to *.
- Row 4: Purl all.
- Row 5: *K2tog, k1, yo, k5, yo, k1, ssk* – repeat from * to *.
- Row 6: Purl all.
- Row 7: *K2tog, yo, k7, yo, ssk* – repeat from * to *.
- Row 8: Purl all.
- Row 9: *K1, yo, ssk, k3, k2tog, yo, k1* – repeat from * to *.
- Row 10: Purl all.
- Row 11: *K2, yo, ssk, k1, k2tog, yo, k2* – repeat from * to *.
- Row 12: Purl all.
- Row 13: *K3, yo, ssk, k2tog, yo, k3* – repeat from * to *.
- Row 14: Purl all.
- Row 15: *K4, yo, k1, yo, k4* – repeat from * to *.
- Row 16: Purl all.
Repeat Rows 1-16 until the panel measures 12 inches from the cast-on edge, ending with a wrong-side row (Row 2, 4, 6, etc.).
Top Border
Now we'll add a neat, contrasting border to finish the top of the panel.
- Rows 1-6: Knit all stitches (garter stitch) with MC.
- Row 7: Switch to CC, knit all stitches.
- Row 8: Purl all stitches.
- Row 9: Knit all stitches.
- Row 10: Bind off loosely in knit.
Repeat the entire process for the second panel.
Bottom Gusset (Optional but Recommended)
This adds a flat base to the bag, giving it more structure and volume.
- Cast on 12 stitches with MC.
- Work in stockinette stitch (knit on RS, purl on WS) for 14 inches.
- Bind off.
Finishing and Assembly
Time to bring your panels together!
- Seam the Sides: With right sides together, sew the side seams of the two panels using a mattress stitch. Leave the top 2 inches open to form the bag opening.
- Attach the Gusset (if using): With right sides together, sew the gusset to the bottom edges of the panels, matching the cast-on and bind-off edges to the side seams. This creates a rectangular base.
- Turn Right Side Out: Carefully turn the bag right side out, poking out the corners gently.
Handles (Make 2)
These sturdy, garter-stitch handles are comfortable to hold and easy to make.
- Cast on 8 stitches with MC.
- Work in garter stitch (knit every row) for 18 inches.
- Bind off.
Attach the Handles: Sew each handle to the inside of the bag, positioning them 2 inches from the side seams and 1 inch below the top edge. Use extra stitches to reinforce the attachment points, as they'll bear the weight of your haul.
Final Touches
Weave in all loose ends with your tapestry needle. Give your bag a gentle steam block if desired to even out the leaf pattern and set the seams.
And there you have it—your very own Enchanted Fern Market Tote! This bag is as practical as it is beautiful, a testament to the simple joy of handmade things. Whether you're a seasoned knitter or just starting your journey, this pattern is a rewarding project that you'll be proud to carry. Happy knitting!