Emerald Isle Cable Beanie Free Pattern
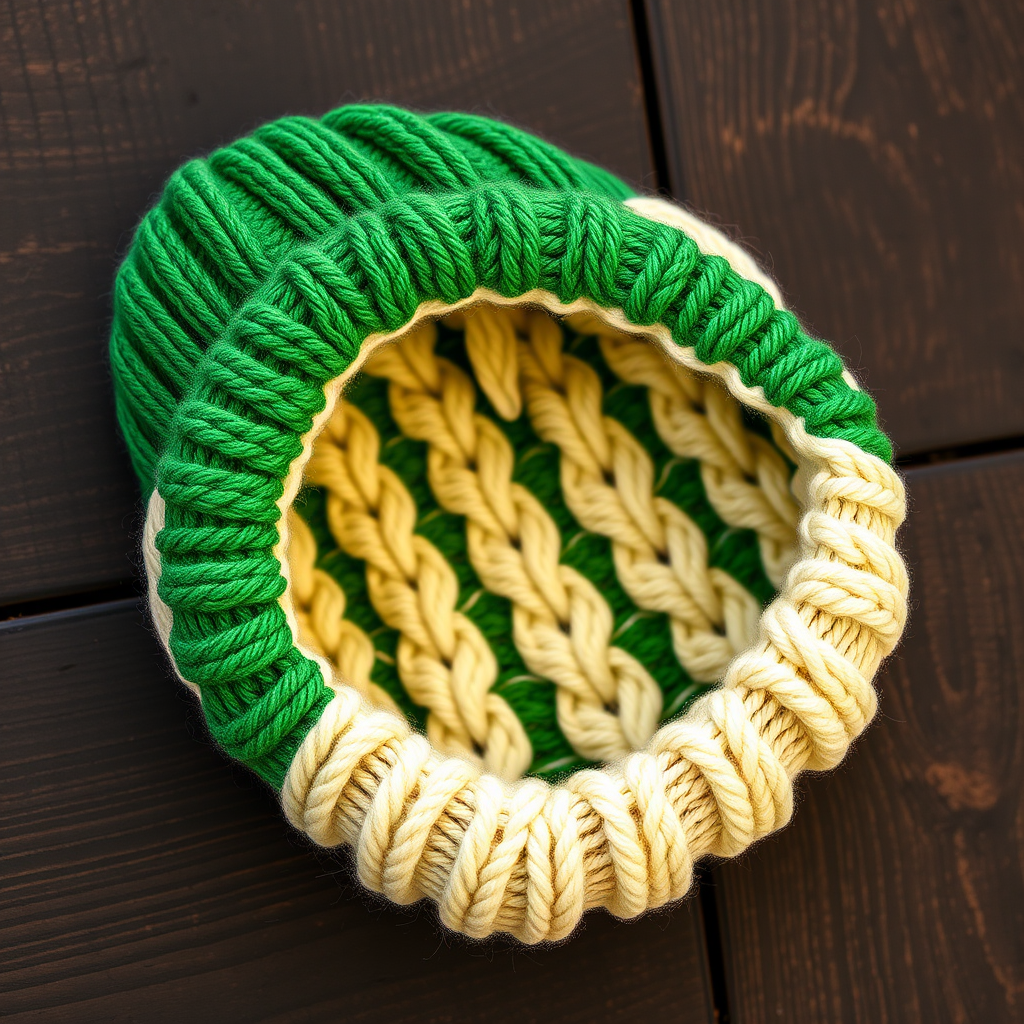
Emerald Isle Cable Beanie Free Pattern
Wrap yourself in a little Irish luck with this stunning cable beanie! The Emerald Isle Cable Beanie features an intricate braided cable design that beautifully mimics the look of four-leaf clovers, making it a unique and stylish accessory for the colder months. Whether you're crafting for St. Patrick's Day or simply want a cozy, textured hat for everyday wear, this pattern is perfect for intermediate knitters looking to expand their cable skills. The vibrant emerald green and cream color combination adds a festive, modern twist to a classic winter essential.
Materials Needed
Before you begin, gather the following materials to ensure a smooth knitting experience:
- Yarn: Worsted weight yarn (Category 4) in emerald green and cream. Approximately 200-250 yards of each color, depending on size.
- Needles: US 7 (4.5 mm) 16-inch circular knitting needle and a set of double-pointed needles (DPNs) for the crown decreases.
- Notions: Cable needle, stitch markers, tapestry needle for weaving in ends, and scissors.
Gauge & Sizing
Gauge: 20 stitches and 28 rows = 4 inches in stockinette stitch. Always check your gauge to ensure the correct fit.
Sizes: Toddler (Child, Teen, Adult)
Finished Circumference: 16 (18, 20, 22) inches
Abbreviations
- CO: Cast on
- K: Knit
- P: Purl
- C4F: Cable 4 front (slip 2 stitches to cable needle, hold in front, knit next 2 stitches, then knit 2 from cable needle)
- C4B: Cable 4 back (slip 2 stitches to cable needle, hold in back, knit next 2 stitches, then knit 2 from cable needle)
- K2tog: Knit two together
- P2tog: Purl two together
- PM: Place marker
- RM: Remove marker
Step-by-Step Instructions
Ribbing
With emerald green yarn, CO 80 (90, 100, 110) stitches. Join in the round, being careful not to twist your stitches. Place a marker (PM) to indicate the beginning of the round.
Work K2, P2 ribbing for 1.5 (1.75, 2, 2.25) inches. This creates a snug, stretchy brim that will keep the beanie securely in place.
Body
Switch to cream yarn. You will now work the cable pattern that creates the beautiful clover-like texture. Follow the rounds below, repeating them until the piece measures 5 (5.5, 6, 6.5) inches from the cast-on edge, always ending with Round 4.
- Round 1: *K4, P2, C4F, P2, K4, P2, C4B, P2* repeat to end of round.
- Round 2: *K4, P2, K4, P2, K4, P2, K4, P2* repeat to end of round.
- Round 3: *C4F, P2, K4, P2, C4B, P2, K4, P2* repeat to end of round.
- Round 4: *K4, P2, K4, P2, K4, P2, K4, P2* repeat to end of round.
Pro Tip: Keep your tension even when working cables. The purl stitches between the cables help define the braided pattern and give the fabric its beautiful texture.
Crown Decreases
Switch back to emerald green yarn. You will now work in stockinette stitch (knit every round) while decreasing to shape the crown. Continue using your circular needle until the stitches become too tight, then switch to DPNs.
- Round 1: *K8, K2tog* repeat to end. (72, 81, 90, 99 stitches)
- Round 2: Knit all stitches.
- Round 3: *K7, K2tog* repeat to end. (64, 72, 80, 88 stitches)
- Round 4: Knit all stitches.
- Round 5: *K6, K2tog* repeat to end. (56, 63, 70, 77 stitches)
- Round 6: Knit all stitches.
- Round 7: *K5, K2tog* repeat to end. (48, 54, 60, 66 stitches)
- Round 8: Knit all stitches.
- Round 9: *K4, K2tog* repeat to end. (40, 45, 50, 55 stitches)
- Round 10: *K3, K2tog* repeat to end. (32, 36, 40, 44 stitches)
- Round 11: *K2, K2tog* repeat to end. (24, 27, 30, 33 stitches)
- Round 12: *K1, K2tog* repeat to end. (16, 18, 20, 22 stitches)
- Round 13: *K2tog* repeat to end. (8, 9, 10, 11 stitches)
Finishing
Cut the yarn, leaving a long tail (about 8-10 inches). Thread the tail through a tapestry needle and pass it through the remaining stitches on your needles. Remove the needles, pull the yarn tight to close the top of the beanie, and secure with a knot. Weave in all loose ends on the inside of the hat to keep the exterior clean and polished.
Final Touches
Block your beanie gently to set the cables and even out the stitches. Simply wet the hat with lukewarm water, gently squeeze out excess moisture, and lay it flat to dry on a towel. Once dry, your Emerald Isle Cable Beanie is ready to wear! The rich emerald green and cream colors make it a standout piece, whether you're celebrating St. Patrick's Day or just adding a touch of handmade charm to your winter wardrobe.
Happy knitting, and may the luck of the Irish be with you!


