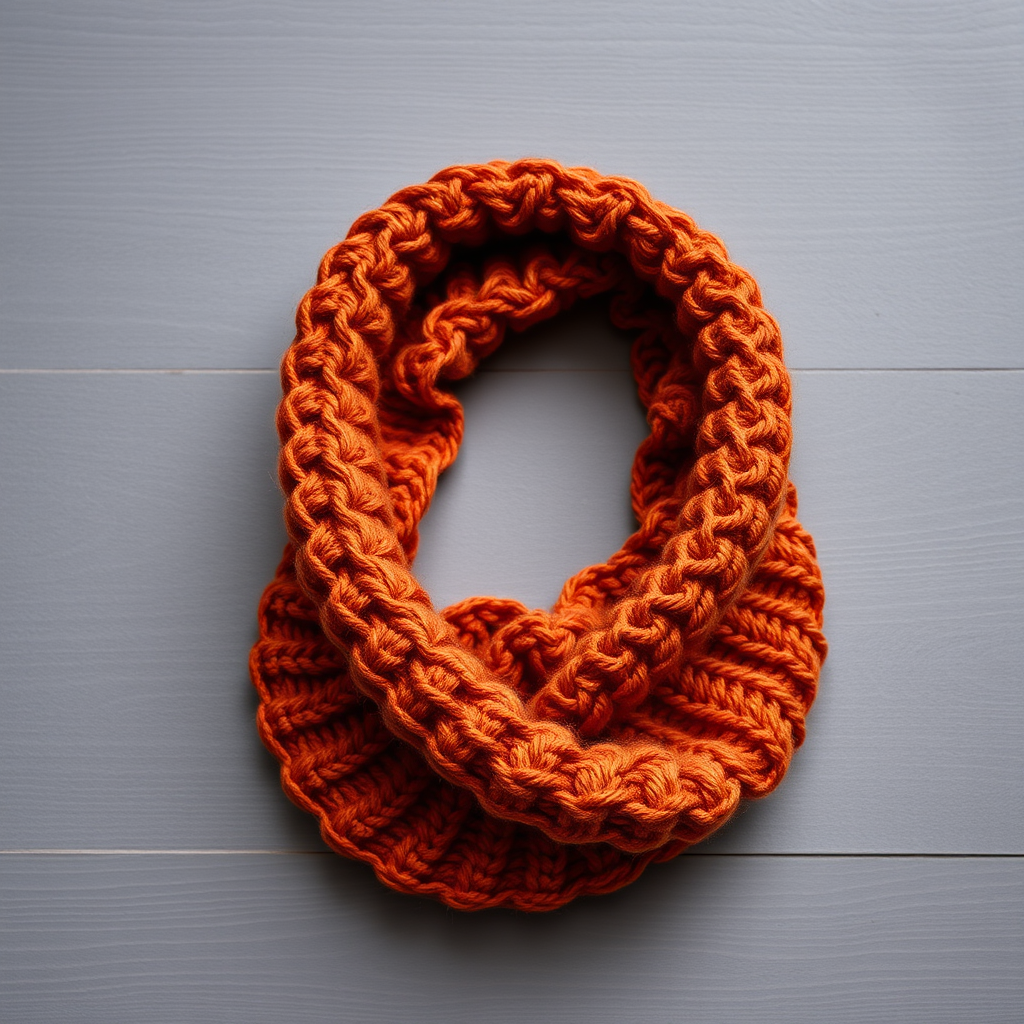
Emberfall Alpine Cowl Free Pattern – Chunky Knitted Neck Warmer

Emberfall Alpine Cowl Free Pattern – Chunky Knitted Neck Warmer
Wrap yourself in the cozy warmth of a chunky knitted cowl with a rich, gradient-inspired palette of deep ember and cream. This textured neck warmer features a striking combination of cables and seed stitch, perfect for adding a handcrafted touch to any winter outfit. Whether you're a seasoned knitter looking for a quick weekend project or a confident beginner ready to tackle your first cable pattern, this Emberfall Alpine Cowl delivers stunning, professional-looking results with minimal fuss.
The dramatic two-tone design—deep ember red ribbing at the top and bottom with a creamy, off-white center—creates a beautiful alpine aesthetic that pairs perfectly with everything from wool coats to casual denim jackets. The chunky super bulky yarn works up quickly, making this an ideal gift project or a satisfying treat for yourself.
Materials Needed
Before you begin, gather the following supplies. Having everything ready will make your knitting experience smooth and enjoyable.
Yarn
- Super bulky weight yarn (size 6) in two colors:
- Color A (Ember Red): 120 yards
- Color B (Cream): 80 yards
Needles & Notions
- US 11 (8.0 mm) circular knitting needle, 16-inch length
- Cable needle (or a double-pointed needle to use as a cable needle)
- Stitch marker (to mark the beginning of the round)
- Tapestry needle (for weaving in ends)
- Scissors
Gauge
12 stitches and 16 rows = 4 inches in seed stitch (blocked)
Important: Always knit a gauge swatch before starting your project. If your gauge is off, your cowl may end up too tight or too loose. Adjust your needle size up or down as needed to match the gauge.
Step-by-Step Instructions
This pattern is worked in the round on a circular needle, creating a seamless, cozy tube. The cowl features a repeating pattern of a 4-stitch cable panel flanked by seed stitch sections. Switch colors as indicated to create a beautiful gradient effect.
Finished Measurements
- Circumference: 24 inches
- Height: 10 inches
Abbreviations
- CO: cast on
- K: knit
- P: purl
- C4F: cable 4 front (slip 2 stitches to cable needle, hold in front, knit next 2 stitches, then knit 2 from cable needle)
- C4B: cable 4 back (slip 2 stitches to cable needle, hold in back, knit next 2 stitches, then knit 2 from cable needle)
- Rep: repeat
- St(s): stitch(es)
Pattern Notes
- Worked in the round on a circular needle.
- The cowl features a repeating pattern of a 4-stitch cable panel flanked by seed stitch sections.
- Switch colors as indicated to create a beautiful gradient effect.
- Always join in the round carefully to avoid twisting your stitches.
Ribbing
With Color A (Ember Red), CO 72 stitches. Join in the round, being careful not to twist. Place a stitch marker at the beginning of the round to keep track of your place.
Work K1, P1 ribbing for 2 inches (about 8 rounds). This creates a stretchy, snug edge that will hold the cowl comfortably around your neck.
Body
Now you'll begin the main body of the cowl, which features the beautiful cable and seed stitch pattern. The pattern repeat is 12 stitches, and you'll work it 6 times around the cowl (6 × 12 = 72 stitches).
Round 1: *K1, P1, K1, P1, K1, P1, C4F, C4B, P1, K1, P1, K1, P1, K1* – rep from * to * around (6 reps total).
Note: The C4F and C4B are worked consecutively, creating a beautiful braided cable effect. Take your time with these stitches—they're easier than they look!
Round 2: *K1, P1, K1, P1, K1, P1, K4, K4, P1, K1, P1, K1, P1, K1* – rep from * to * around.
Note: This round is simply knitting the cable stitches (no twisting) and continuing the seed stitch pattern on the sides. The seed stitch sections alternate between knit and purl each round, creating that lovely textured bumpy effect.
Round 3: *K1, P1, K1, P1, K1, P1, C4B, C4F, P1, K1, P1, K1, P1, K1* – rep from * to * around.
Note: This round crosses the cables in the opposite direction, creating the classic braided twist. The C4B is worked first, then the C4F.
Round 4: Same as Round 2.
Rounds 5-8: Repeat Rounds 1-4 once more. This completes the first section of the body in Color A.
Color Transition
At the beginning of Round 9, switch to Color B (Cream). Simply drop Color A and pick up Color B, leaving a tail to weave in later. Continue working the same pattern (Rounds 1-4) for 8 more rounds, but now with Color B. This creates a beautiful two-tone effect.
Pro tip: When switching colors, knit the first stitch of the new color firmly to avoid a loose, sloppy transition. You can also gently tug on the old color tail after a few stitches to tighten things up.
Final Ribbing
Switch back to Color A (Ember Red). Work K1, P1 ribbing for 2 inches (8 rounds). Bind off loosely in pattern. This means you'll knit the knit stitches and purl the purl stitches as you bind off, keeping the edge stretchy and matching the ribbed texture.
Finishing
Weave in all ends using your tapestry needle. Be sure to weave in securely, going back and forth through the stitches to prevent unraveling.
Block gently to shape, being careful not to flatten the cables. Lay the cowl flat on a towel, gently pat it into shape, and allow it to dry completely before wearing. Blocking will even out your stitches and give the cables beautiful definition.
Tips for Success
- Keep your tension consistent when working the cables. If you pull too tightly, the cable stitches will pucker; too loosely, and they'll look sloppy.
- Use a stitch marker to clearly mark the beginning of each round. This is especially helpful when working the cable pattern.
- Count your stitches periodically to ensure you haven't accidentally dropped or added any. Each round should have exactly 72 stitches.
- If you're new to cables, practice the C4F and C4B on a small swatch first. Once you get the rhythm, it becomes second nature!
Your Emberfall Alpine Cowl is now complete! This stunning accessory is perfect for chilly mornings, cozy evenings, or as a thoughtful handmade gift. The combination of chunky yarn, bold cables, and the warm ember-to-cream color transition makes this cowl a standout piece in any winter wardrobe. Enjoy wearing your beautiful creation, and don't forget to share your finished project with fellow knitters!