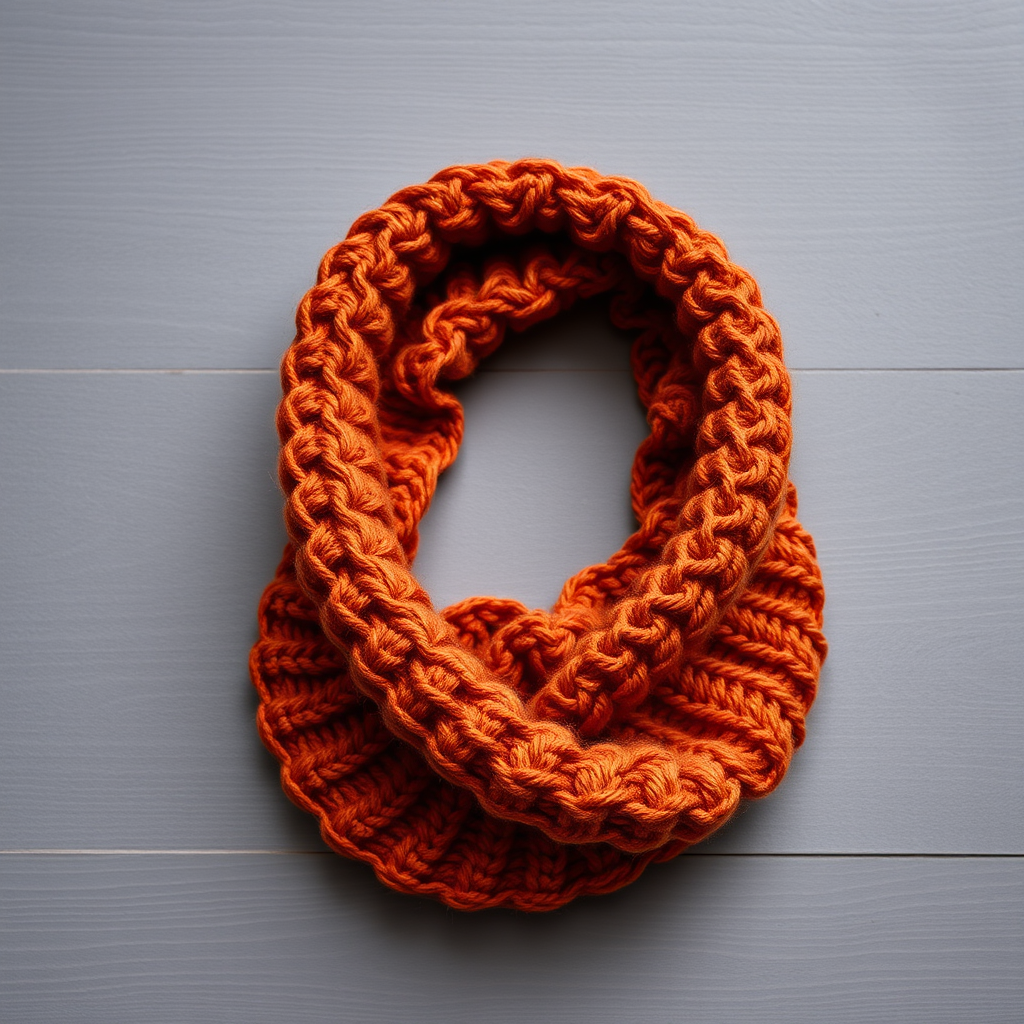
Ember Dune Cowl Free Knitting Pattern – Textured Sandstorm Wrap

Ember Dune Cowl Free Knitting Pattern – Textured Sandstorm Wrap
Wrap yourself in the warm, shifting hues of a desert sunset with this richly textured cowl. The alternating rib and seed stitch bands create a cozy, sculptural fabric that's perfect for chilly winds. This beginner-friendly pattern uses simple knit and purl stitches, plus a clever slip-stitch technique, to mimic the layered strata of desert dunes. The gradient color transition from Burnt Orange to Deep Terracotta to Golden Sand makes this cowl a stunning, handcrafted statement piece.
Materials Needed
Before you begin, gather the following supplies to ensure a smooth knitting experience:
- Yarn: Worsted weight yarn in 3 colors (approximately 220 yards each):
- Color A: Burnt Orange
- Color B: Deep Terracotta
- Color C: Golden Sand
- Needles: US Size 8 (5.0 mm) 16-inch circular knitting needle
- Notions: Stitch marker, tapestry needle for weaving in ends, scissors
- Gauge: 18 stitches and 24 rows = 4 inches in stockinette stitch (blocked). Always check your gauge to ensure the correct finished size.
Finished Dimensions & Abbreviations
Finished Size: Approximately 24 inches circumference and 10 inches tall.
Abbreviations:
- CO = Cast on
- K = Knit
- P = Purl
- K2tog = Knit two together
- P2tog = Purl two together
- sl = Slip stitch
- wyif = With yarn in front
- PM = Place marker
- RM = Remove marker
- BO = Bind off
Step-by-Step Instructions
This cowl is worked in the round from the bottom up. The pattern uses a simple slip-stitch technique to create a woven, heathered effect that mimics the layered strata of desert dunes. Follow each section carefully, and you'll have a beautiful, textured wrap in no time.
Setup
With Color A, CO 108 stitches. Place a marker and join in the round, being careful not to twist your stitches.
Ribbed Brim
Rounds 1-6: *K2, P2; repeat from * to end of round. This creates a classic, stretchy ribbed brim that will hug your neck comfortably.
Main Body – Section 1 (Color A)
Round 7: *K1, P1; repeat from * to end. (This begins the seed stitch band)
Round 8: *P1, K1; repeat from * to end. (This completes the seed stitch pattern, creating a bumpy, textured band)
Rounds 9-12: *K2, P2; repeat from * to end. (Return to ribbing for a solid, structured section)
Color Transition
Cut Color A, leaving a 6-inch tail. Join Color B with a knot or by simply starting to knit with the new yarn, leaving a tail to weave in later.
Main Body – Section 2 (Color B)
Round 13: *K1, P1; repeat from * to end.
Round 14: *P1, K1; repeat from * to end.
Rounds 15-18: *K2, P2; repeat from * to end.
Slip-Stitch Texture Band (Color B)
This is where the magic happens! The slipped stitches create a horizontal "bar" that adds a woven, dimensional look to your cowl.
Round 19: *K1, sl 1 wyif, K2; repeat from * to end. (Bring the yarn to the front, slip the next stitch purlwise, then bring the yarn to the back and knit the next two stitches)
Round 20: *K2, sl 1 wyif, K1; repeat from * to end. (Notice how the slipped stitch is offset by one stitch, creating a staggered pattern)
Round 21: *K1, sl 1 wyif, K2; repeat from * to end.
Round 22: *K2, sl 1 wyif, K1; repeat from * to end.
Color Transition
Cut Color B, join Color C.
Main Body – Section 3 (Color C)
Rounds 23-24: *K1, P1; repeat from * to end.
Rounds 25-28: *K2, P2; repeat from * to end.
Slip-Stitch Texture Band (Color C)
Rounds 29-32: Repeat Rounds 19-22 using Color C. (Follow the same slip-stitch pattern to create an identical textured band)
Color Transition
Cut Color C, join Color A.
Main Body – Section 4 (Color A)
Rounds 33-34: *K1, P1; repeat from * to end.
Rounds 35-38: *K2, P2; repeat from * to end.
Slip-Stitch Texture Band (Color A)
Rounds 39-42: Repeat Rounds 19-22 using Color A.
Color Transition
Cut Color A, join Color B.
Main Body – Section 5 (Color B)
Rounds 43-44: *K1, P1; repeat from * to end.
Rounds 45-48: *K2, P2; repeat from * to end.
Slip-Stitch Texture Band (Color B)
Rounds 49-52: Repeat Rounds 19-22 using Color B.
Color Transition
Cut Color B, join Color C.
Main Body – Section 6 (Color C)
Rounds 53-54: *K1, P1; repeat from * to end.
Rounds 55-58: *K2, P2; repeat from * to end.
Slip-Stitch Texture Band (Color C)
Rounds 59-62: Repeat Rounds 19-22 using Color C.
Color Transition
Cut Color C, join Color A.
Top Ribbed Band (Color A)
Rounds 63-68: *K2, P2; repeat from * to end. This mirrors the bottom brim, creating a balanced, symmetrical design.
Bind Off
BO loosely in pattern (knit the knits and purl the purls). A loose bind-off is crucial to maintain the stretchiness of the cowl's edge. Weave in all ends with a tapestry needle, being sure to secure them well.
Blocking
Wet block the cowl to even out the stitches and enhance the texture. Soak the cowl in lukewarm water with a gentle wool wash for 15-20 minutes. Gently squeeze out excess water (do not wring). Lay flat on a towel, roll up to remove more water, then shape to the finished dimensions (24 inches circumference, 10 inches tall). Allow to dry completely before wearing.
Congratulations! You've just created a beautiful, textured Ember Dune Cowl that's as warm as a desert sunset. The combination of ribbing, seed stitch, and slip-stitch bands creates a visually stunning piece that's perfect for gifting or keeping for yourself. Happy knitting!