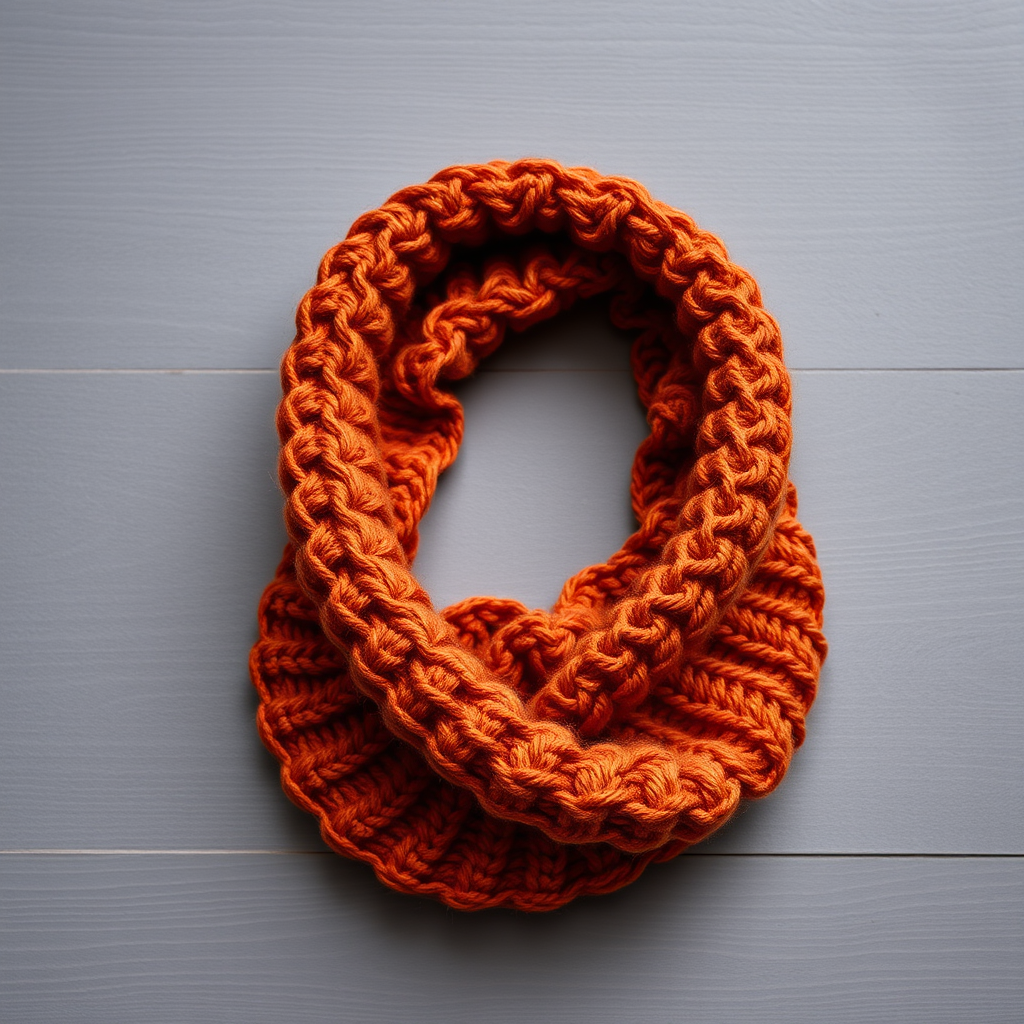
Ember Dune Basket Weave Cowl Free Knitting Pattern – Cozy Super Bulky Neck Wrap

Wrap Yourself in Warmth: The Ember Dune Basket Weave Cowl
There's something deeply satisfying about wrapping yourself in a hand-knit accessory that feels as warm as a desert sunset. The Ember Dune Basket Weave Cowl captures that exact feeling—a rich gradient of burnt orange, terracotta, and sand that evokes the colors of dusk settling over the dunes. This super bulky cowl isn't just a winter accessory; it's a statement piece that combines classic texture with modern coziness.
The basket weave stitch pattern is a beloved classic for good reason. It creates a thick, plush, and dimensional fabric that's both insulating and visually striking. The alternating blocks of knit and purl stitches naturally curl into a woven texture that looks far more complex than it actually is. Whether you're a seasoned knitter looking for a quick weekend project or a confident beginner ready to tackle your first textured piece, this pattern is designed to be approachable, rewarding, and utterly wearable.
This cowl is worked flat in one piece and then seamed into a seamless tube, making it easy to manage and perfect for practicing your seaming skills. The result is a generously sized neck wrap that sits beautifully around your shoulders, providing warmth without bulk. Let's dive into everything you need to create your own Ember Dune Cowl.
Materials Needed
Before you begin, gather the following supplies. Using the recommended yarn will help you achieve the exact look and feel of the sample, but feel free to substitute with any super bulky yarn you love.
Yarn
- Super Bulky Weight Yarn (Size 6) – Approximately 180 yards total.
- Shown in: Lion Brand Wool-Ease Thick & Quick in 'Burnt Sienna' (Main Color, MC) and 'Sand' (Contrast Color, CC).
- Alternative: Any super bulky yarn that meets gauge. Look for a wool blend for best stitch definition and warmth.
Needles & Notions
- US 13 (9 mm) 24-inch circular knitting needle – Or size needed to obtain gauge. (You'll work back and forth on this needle, not in the round.)
- Stitch markers – At least 2.
- Tapestry needle – For seaming and weaving in ends.
- Scissors
Gauge
- 10 stitches and 14 rows = 4 inches in basket weave pattern (knit 4, purl 4 ribbing, worked flat).
- Always take time to check your gauge. If your gauge is off, adjust your needle size accordingly.
Step-by-Step Instructions
This pattern is worked flat in one piece, then seamed to create a tube. The basket weave pattern is created by alternating blocks of knit and purl stitches, which naturally curl into a woven texture. Follow these instructions carefully, and you'll have a beautiful cowl in no time.
Abbreviations
- K = Knit
- P = Purl
- Rep = Repeat
- St(s) = Stitch(es)
- RS = Right Side
- WS = Wrong Side
Getting Started: Cast On
With your Main Color (MC), cast on 48 stitches loosely. It's important to cast on loosely so the edge doesn't pucker. After casting on, place a stitch marker after the 24th stitch. This marks the halfway point and will help you align the seam later. Place another marker at the beginning of the row to help you keep track of your rows if needed.
The Basket Weave Pattern
This pattern is a simple 8-row repeat. The key is to pay attention to which row you're on, as the blocks shift every 4 rows to create the woven effect.
Row 1 (RS): *K4, P4; rep from * to end of row. (You will have 6 complete blocks of 4 stitches each.)
Row 2 (WS): *P4, K4; rep from * to end of row. (This is the reverse of Row 1, so the knit blocks on the RS become purl blocks on the WS.)
Rows 3-4: Repeat Rows 1 and 2. (This completes the first set of blocks.)
Rows 5-8: *P4, K4; rep from * to end of row. (This shifts the blocks, creating the basket weave effect. Notice that on Row 5, you start with a purl block instead of a knit block.)
Important Note: When you repeat Rows 5-8, you'll be working the reverse of the first set. On Row 6 (WS), you'll work *K4, P4* to maintain the pattern. On Rows 7-8, you'll repeat Rows 5 and 6.
Continuing the Pattern
Repeat Rows 1-8 until the piece measures approximately 20 inches from the cast-on edge. It's best to end with a Row 8 or Row 4 to ensure the pattern is complete and you're ready to bind off on a full set of blocks. This will make the seam look cleaner.
Binding Off
Bind off all stitches loosely in pattern. This means you'll knit the knit stitches and purl the purl stitches as you bind off. For example, if the next stitch is a knit stitch, knit it, then pass the previous stitch over. If it's a purl stitch, purl it, then pass the previous stitch over. Binding off in pattern helps the edge maintain the same stretch and texture as the rest of the cowl.
Finishing: Seaming Your Cowl
Now it's time to transform your flat piece into a cozy tube. Follow these steps carefully for a professional finish.
- Fold the piece in half with the Right Side (RS) facing out. Match the cast-on and bind-off edges. The stitch marker you placed at the 24th stitch should be at the fold. This ensures your seam is straight and centered.
- Thread your tapestry needle with a length of MC yarn (about 18-24 inches is plenty).
- Seam the side edges together using a mattress stitch or whip stitch. Start at the fold (the bottom of your cowl) and work your way up to the top edge. The mattress stitch creates an invisible seam, which is ideal for this project. If you prefer a more rustic look, a whip stitch works well too.
- Weave in all ends using your tapestry needle. Be sure to weave them in securely on the wrong side of the fabric so they don't show.
Optional Embellishments
For an extra touch of texture and color, you can add a decorative fringe to the top and bottom edges using your Contrast Color (CC) yarn. This adds a playful, boho vibe to the cowl and highlights the beautiful sand color. Simply cut lengths of CC yarn, fold them in half, and pull the loop through the edge stitches, then pull the ends through the loop to secure.
Blocking
Finally, block your cowl lightly to even out the weave and relax the stitches. Since this is a super bulky yarn, you don't need to stretch it aggressively. Simply wet or steam block it gently, lay it flat to dry, and let the natural texture shine through. Blocking will help the basket weave pattern lay flat and look its best.
And there you have it—your very own Ember Dune Basket Weave Cowl. This project is perfect for gifting, for yourself, or for anyone who appreciates the warmth of handcrafted texture. The combination of the rich burnt sienna and the subtle sand accents makes it a versatile piece that pairs beautifully with everything from chunky sweaters to light jackets. Happy knitting!