Driftwood Dune Chunky Crochet Scarf Free Pattern
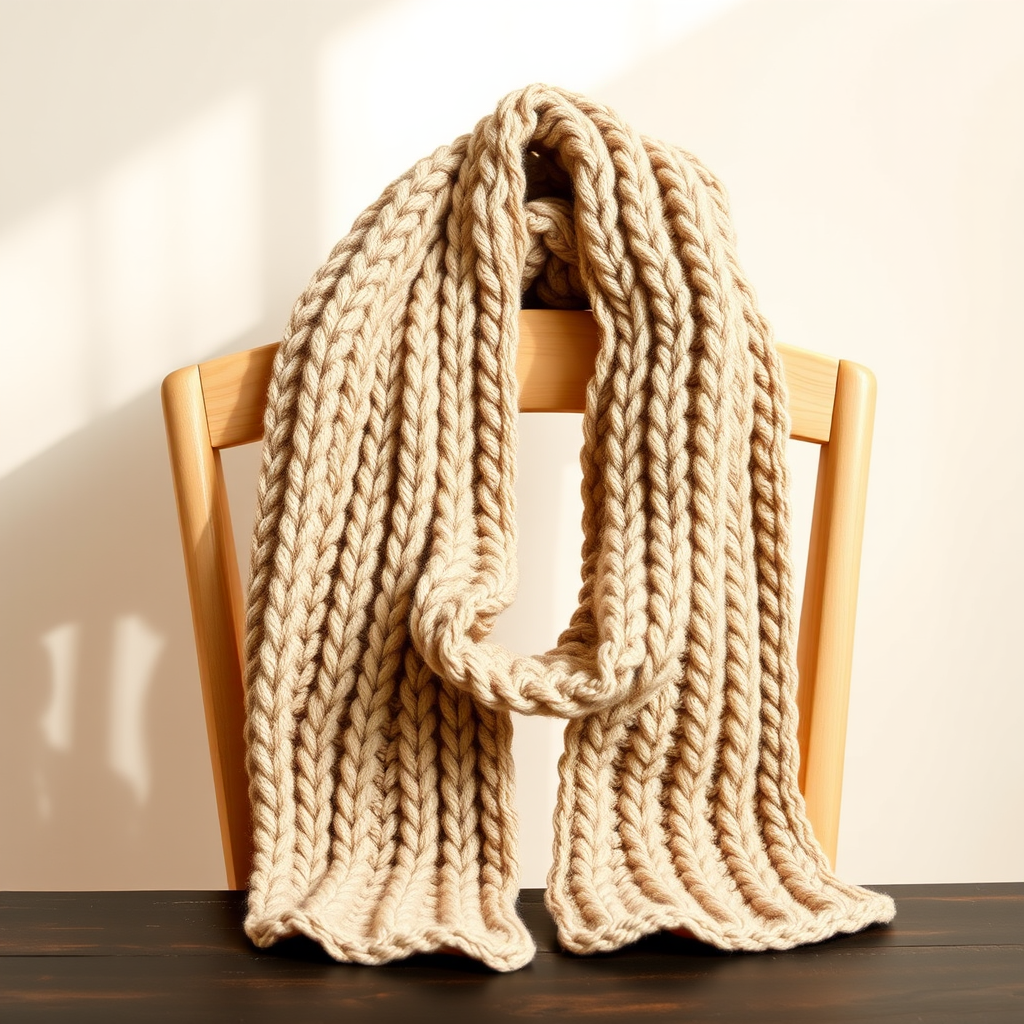
Driftwood Dune Chunky Crochet Scarf: A Cozy Beginner Pattern
Wrap yourself in the cozy, organic texture of this super bulky scarf, designed with a modern ribbed stitch that mimics the flow of coastal dunes. This quick, relaxing project is perfect for beginners and makes a stunning handmade gift. The combination of chunky yarn and a simple two-row repeat means you'll have a luxurious, warm accessory finished in just a weekend. Let's dive into this satisfying project that creates a beautifully textured, neutral-toned scarf you'll reach for all season long.
Materials Needed
Before you begin, gather these simple supplies. The beauty of this pattern is its minimalism—you only need a few items to create something truly special.
- Yarn: Super Bulky (6) weight yarn, approximately 180–200 yards. A great choice is Lion Brand Wool-Ease Thick & Quick in the color 'Sand' or 'Oatmeal' to achieve that warm, driftwood-inspired neutral look.
- Crochet Hook: N/15 (10 mm) crochet hook. This larger hook is essential for creating a soft, drapey fabric with the super bulky yarn.
- Yarn Needle: A large-eye yarn needle for weaving in ends and seaming.
- Scissors: For cutting yarn.
- Measuring Tape: To check your gauge and finished length.
Gauge: 10 stitches x 8 rows = 4 inches in half double crochet (hdc) (after light steaming, not stretched). While gauge is important for size, this scarf is quite forgiving. If your scarf is slightly wider or narrower, it will still look beautiful.
Step-by-Step Instructions
This pattern uses a simple combination of front post double crochet (fpdc) and back post double crochet (bpdc) to create that gorgeous, woven ribbed texture. Don't worry if you're new to post stitches—they're easier than they look and add amazing dimension to your work.
Getting Started: The Foundation Chain
To begin, make a slip knot and place it on your 10 mm hook.
Chain 20. This will give you a scarf that is approximately 8 inches wide. If you prefer a wider or narrower scarf, simply chain any even number of stitches. Just remember that your starting chain determines your width.
Row 1: Foundation Row
This first row establishes the base for your ribbed pattern.
- Count back from your hook to the 3rd chain. Half double crochet (hdc) in the 3rd chain from your hook. The skipped chains count as your first hdc.
- Hdc in each remaining chain across the row. When you reach the end, you should have 18 hdc total (including the turning chain).
- Turn your work.
Row 2: Creating the Ribbed Texture
Now we begin the post stitch pattern that gives this scarf its beautiful, dune-like ridges.
- Chain 2. Note: This chain 2 does not count as a stitch in this row or throughout the pattern. It is just a turning chain to bring your yarn up to the correct height.
- Front Post Double Crochet (fpdc) around the next stitch. To do this, yarn over, insert your hook from front to back to front around the post of the next stitch (not through the top loops), yarn over and pull up a loop, then complete the double crochet as usual.
- Back Post Double Crochet (bpdc) around the next stitch. Yarn over, insert your hook from back to front to back around the post of the next stitch, yarn over and pull up a loop, then complete the double crochet.
- Repeat the sequence: *fpdc around the next stitch, bpdc around the next stitch* across the entire row.
- You will finish the row with a fpdc around the last stitch. Turn your work.
Row 3: Alternating the Pattern
This row creates the offset, woven effect that makes the ribbing look like flowing sand.
- Chain 2 (again, this does not count as a stitch).
- Now you will do the opposite of Row 2: bpdc around the next stitch.
- Then fpdc around the next stitch.
- Repeat the sequence: *bpdc around the next stitch, fpdc around the next stitch* across the entire row.
- You will finish the row with a bpdc around the last stitch. Turn your work.
Continuing the Body of the Scarf
Now that you have your pattern established, the rest is wonderfully repetitive and meditative.
Repeat Rows 2 and 3 alternately until your scarf measures approximately 60 inches in length, or your desired length. Keep in mind that the ribbed texture will cause the scarf to scrunch slightly, so it may appear a bit shorter than it actually is when laid flat. If you want a scarf that drapes to a certain point, measure it while it's relaxed, not stretched.
Do not fasten off when you reach your desired length—we'll use your working yarn for the edging.
Finishing the Edges
Neat, clean edges make your handmade scarf look professional and polished. This simple edging will tidy up the short ends of your scarf.
- With the right side of your work facing you, chain 1.
- Single crochet (sc) evenly along the short end of the scarf (the starting edge). You should fit approximately 18 sc stitches along this edge. The exact number isn't critical—just make sure it looks even and lies flat.
- Fasten off and weave in this end with your yarn needle.
- Repeat this same edging process on the other short end of the scarf. Attach your yarn, chain 1, sc evenly across, fasten off, and weave in all loose ends.
Optional: Creating an Infinity Scarf
If you'd prefer a modern, seamless loop scarf instead of a traditional long scarf, this simple variation is for you.
- Fold your finished scarf in half lengthwise, with the right sides facing each other.
- Using your yarn needle and a length of yarn, whip stitch or slip stitch the two short ends together.
- Turn the scarf right side out. The seam will be hidden inside the loop.
- Weave in all ends securely.
Blocking and Final Care
Blocking is the final step that transforms your project from good to gorgeous. It helps relax the stitches and even out your ribbing for a professional finish.
Lightly steam or mist your finished scarf with water. Lay it flat on a clean towel to dry. Do not stretch or pull aggressively—you want to maintain the natural, scrunched texture of the ribbing. Once dry, your Driftwood Dune Scarf is ready to wear or gift!
This pattern is a joy to make—quick enough for a last-minute gift, yet satisfying enough to become a staple in your crochet repertoire. The tactile, textured result is a testament to how simple stitches can create stunning, modern accessories. Happy crocheting!


