Cloud Nine Chunky Knit Pillow Free Pattern
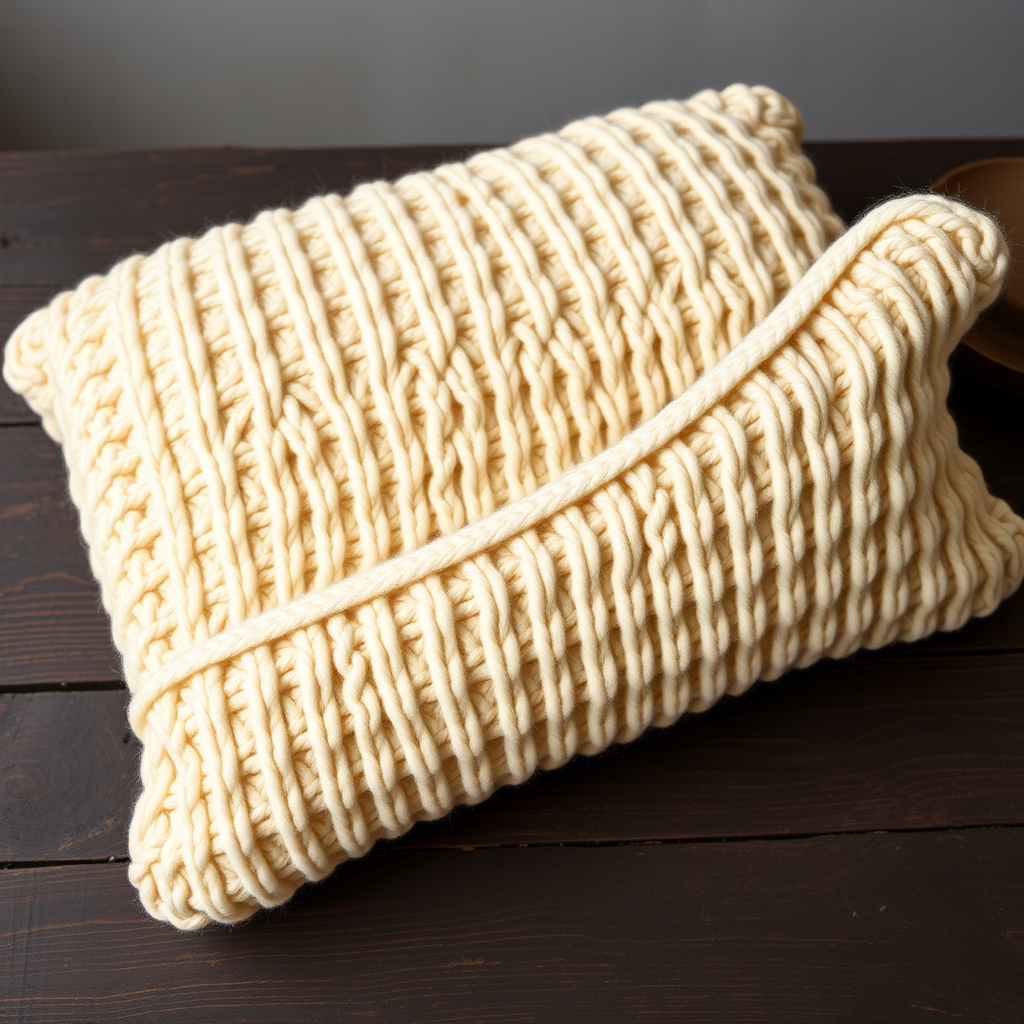
Wrap Your Space in Comfort: The Cloud Nine Chunky Knit Pillow
Imagine sinking into a cloud—that's the feeling this oversized jumbo knit pillow brings to any room. The Cloud Nine Chunky Knit Pillow is a modern, cozy decor statement piece that works up surprisingly fast using a unique technique: arm knitting. No needles, no hooks—just your forearms and some gloriously thick yarn. This free pattern is perfect for beginners looking to create a stunning, plush furnishing that invites relaxation and adds a touch of handmade warmth to your living space.
With its smooth, chunky stockinette stitch and soft cream color, this pillow is more than just an accessory; it's an experience. Let's dive into how you can craft this beautiful, squishy masterpiece right at home.
Materials Needed
Before you begin, gather these simple supplies. The beauty of this project is its minimalism—you only need a few things to get started.
- Yarn: Approximately 400 yards of Jumbo (7) weight yarn in a soft cream or oat color. Great options include Loops & Threads Chenille Home or Lion Brand Yarn Wool-Ease Thick & Quick.
- Tools: No needles or hooks required! You will use your forearms as knitting needles. (If you prefer, you can substitute with size 50mm knitting needles, but arm knitting is the intended method.)
- Pillow Form: A 24x27 inch pillow form, or approximately 2-3 pounds of polyester fiberfill for stuffing.
- Extras: A yarn needle for seaming and weaving in ends, and scissors.
Gauge: 2 stitches and 2 rows = 4 inches in stockinette stitch (using arm knitting technique). This gauge ensures your pillow ends up the perfect size.
Step-by-Step Instructions
This pillow is worked flat as a single large rectangle using the arm knitting technique, then seamed and stuffed. Follow these detailed steps carefully, and you'll have your Cloud Nine pillow in no time.
Abbreviations
- K = Knit
- P = Purl
- St(s) = Stitch(es)
- RS = Right side
- WS = Wrong side
Setup: Casting On
- Measure out a 12-inch tail of yarn. Make a slip knot and place it around your right forearm.
- Using the long-tail method, cast on 12 stitches loosely onto your right forearm. Each stitch should be about 1 inch wide. This loose casting is crucial for the chunky look and ease of knitting.
Body of the Pillow
- Row 1 (RS): Knit all 12 stitches across your forearm, transferring them to your left forearm as you go. To knit: Insert your right forearm through the front of the first loop on your left forearm. Wrap the yarn around your right forearm, then pull the new loop through the old stitch, dropping the old stitch off your arm. Repeat for all stitches.
- Row 2 (WS): Purl all 12 stitches. To purl: Insert your right forearm from back to front through the first loop. Wrap the yarn around your right forearm and pull it through, dropping the old stitch. Repeat for all stitches.
- Repeat Rows 1 and 2 until the piece measures 27 inches in length. This will take approximately 14 rows. Be sure to end with a WS row (a purl row) so you are ready to bind off on the right side.
Binding Off
- On the next RS row, knit the first two stitches.
- With your left forearm, lift the first stitch (the one farther from your wrist) over the second stitch and off your forearm. You now have one stitch remaining.
- Knit one more stitch, then lift the previous stitch over the new one and off your arm. Continue this bind-off across all stitches until only one loop remains.
- Cut the yarn, leaving a 12-inch tail. Pull the tail through the last loop to secure it tightly.
Finishing and Assembly
- Fold the rectangle in half with the right sides (RS) together, matching the cast-on and bind-off edges.
- Using the long tails from the cast-on and bind-off edges, whip stitch the side seams together. Leave one short end open for turning and stuffing.
- Turn the pillow cover right side out (RS out) through the opening.
- Insert your 24x27 inch pillow form through the opening, or stuff generously with polyester fiberfill until plump and squishy.
- Whip stitch the remaining opening closed, weaving in all ends securely with your yarn needle to ensure a clean finish.
Optional Embellishment
For a textured, designer look, you can add a simple braided trim along the seams using leftover yarn. This adds a charming, handcrafted detail that elevates the pillow's aesthetic.
And there you have it—your very own Cloud Nine Chunky Knit Pillow! This plush, inviting cushion is sure to become a favorite spot to rest your head. The arm knitting technique makes it a fun, quick project that yields professional-looking results. Enjoy your new cozy decor, and happy crafting!


