Celestial Drift Baby Lovey Free Pattern – Knitted Star & Cloud Comfort Toy

Celestial Drift Baby Lovey: A Dreamy Knitted Star & Cloud Comfort Toy
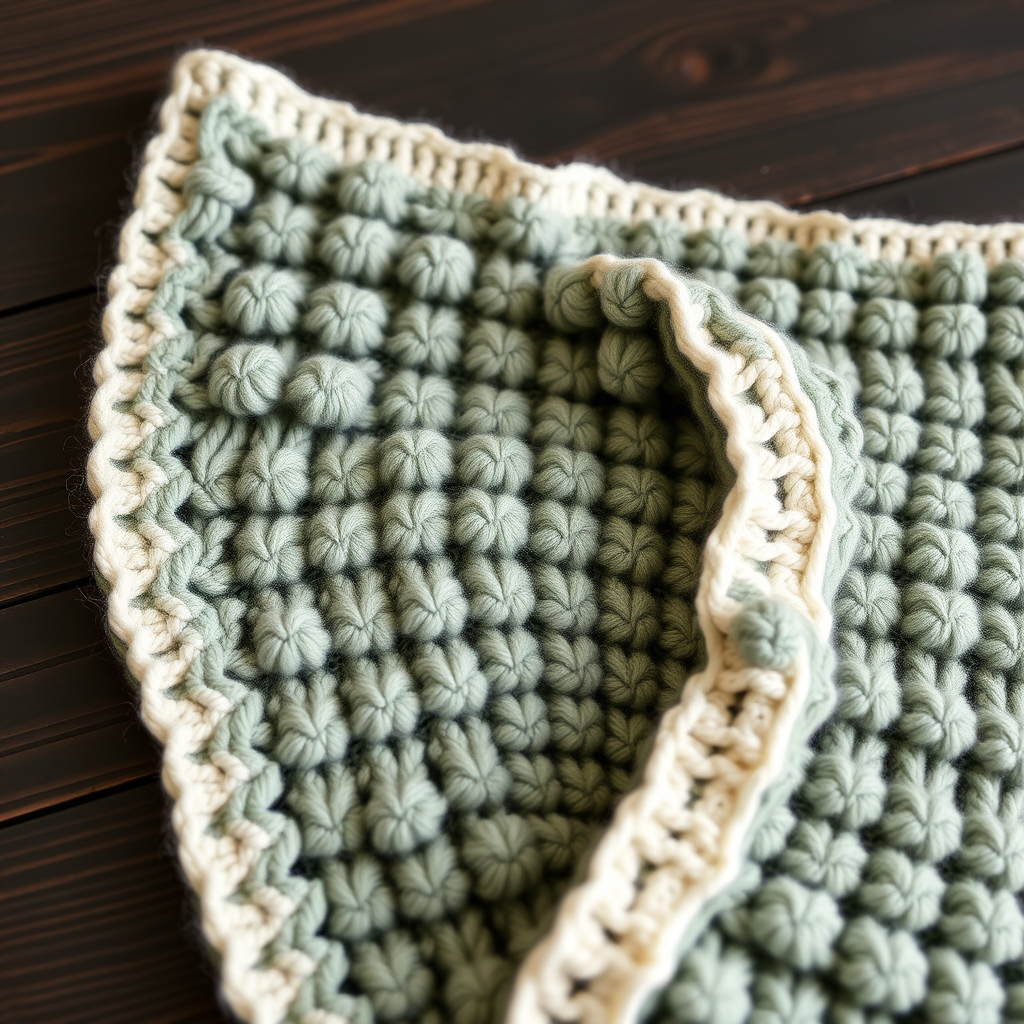
There's something truly magical about creating a handmade keepsake for a new little one. The Celestial Drift Baby Lovey is more than just a baby blanket or toy—it's a heirloom-quality comfort object designed to soothe and delight. This pattern combines a textured, five-pointed star center with a delicate, scalloped cloud border, creating a dreamy, cloud-soft companion perfect for tiny hands to grasp.
Whether you're a seasoned knitter looking for a meaningful gift or a confident beginner ready for a rewarding project, this pattern is approachable and deeply satisfying. The gentle cables and garter stitch create a beautiful texture, while the soft cotton blend yarn ensures it's gentle against a baby's delicate skin. Let's dive into creating this celestial keepsake that will be treasured for years to come.
Materials Needed
Before you begin, gather the following materials to ensure a smooth and enjoyable knitting experience:
- Yarn: DK weight cotton blend yarn in soft cream (MC) and dusty blue (CC), approximately 200g total. The cotton blend provides a soft, breathable, and durable fabric—ideal for a baby item that will be washed and loved often.
- Needles: US 5 (3.75 mm) circular needle, 24-inch length. You'll also need a spare needle of the same size for the three-needle bind off.
- Notions: Stitch markers (optional but helpful), a tapestry needle for weaving in ends, and polyester fiberfill for light stuffing.
Gauge: 22 stitches and 30 rows = 4 inches in stockinette stitch. Achieving the correct gauge is important for the final size and drape of the lovey, so take a moment to knit a swatch before starting.
Step-by-Step Instructions
This lovey is knitted in two main parts: a star-shaped center and a cloud-shaped border. Each part is made twice, then joined together with a three-needle bind off. The entire project is worked flat, back and forth, making it easy to manage even with a circular needle.
Star Center (Make 2 Pieces)
Using your main color (MC), cast on 5 stitches.
Row 1 (RS): Knit all stitches.
Row 2: Purl all stitches.
Row 3: K1, M1L (make one left), K3, M1R (make one right), K1. (7 stitches)
Row 4: Purl all stitches.
Row 5: K1, M1L, K5, M1R, K1. (9 stitches)
Row 6: Purl all stitches.
Continue increasing 2 stitches every right-side row (by working K1, M1L, knit to last stitch, M1R, K1) until you have 25 stitches on your needle. Work even in stockinette stitch (knit on RS, purl on WS) for 20 rows.
Now, you will shape the five star points. Each point is worked over 5 stitches.
Point 1: K5, turn your work. Purl back across these 5 stitches. Now decrease on every RS row: K2tog, K1, K2tog (3 stitches). Purl back. K2tog, K1 (2 stitches). Purl back. K2tog (1 stitch). Cut yarn and pull through the last loop to secure.
Point 2: Rejoin yarn to the next 5 stitches on your needle. Repeat the same decrease sequence as Point 1.
Points 3, 4, and 5: Repeat the same process for the remaining three points. After completing the last point, do not cut the yarn. Leave the remaining stitches on the needle—you'll use them for the assembly later.
Make a second star piece identically. Set both aside.
Cloud Border (Make 2 Pieces)
Using your contrasting color (CC), cast on 60 stitches.
Row 1 (RS): Knit all stitches.
Row 2: Purl all stitches.
Row 3: *K6, K2tog, YO (yarn over), K1, YO, SSK (slip, slip, knit), K6* — repeat from * to * to the end of the row. (60 stitches)
Row 4: Purl all stitches.
Row 5: Knit all stitches.
Row 6: Purl all stitches.
Repeat Rows 3–6 until the piece measures 6 inches from the cast-on edge, ending with a wrong-side row (a purl row).
Next row (RS): Knit all stitches.
Next row: Purl all stitches.
Bind off loosely. Make a second cloud piece identically.
Assembly: Joining the Pieces
Now comes the magical part—bringing the star and cloud together to form the lovey.
Step 1: Place one star piece and one cloud piece together with the right sides facing out (wrong sides together). Using the three-needle bind off method, join the straight edge of the star to the straight edge of the cloud. Leave the scalloped cloud edge free—this will form the beautiful cloud border. Repeat this for the other star and cloud pair.
Step 2: Now, place the two assembled halves together with wrong sides facing (right sides out). Using the three-needle bind off, join them around the entire outer edge. Important: Leave a small opening (about 3–4 inches) to allow for stuffing.
Step 3: Lightly stuff the lovey with polyester fiberfill. Aim for a soft, plush feel—not overly firm, so it remains huggable and easy for a baby to hold. Distribute the stuffing evenly, especially into the star points and cloud scallops.
Step 4: Close the opening using the mattress stitch, weaving the yarn neatly to create an invisible seam.
Step 5: Weave in all loose ends with your tapestry needle. Give the lovey a gentle block or steam (if yarn allows) to smooth out the stitches and enhance the texture.
Final Thoughts
Your Celestial Drift Baby Lovey is now complete! The combination of the textured star center and the lacy, scalloped cloud border creates a visually stunning and tactilely soothing keepsake. The soft cream and dusty blue colors evoke a serene twilight sky, making it a perfect gift for a baby shower, newborn, or first birthday.
This pattern is a wonderful way to practice increases, decreases, and simple lace techniques, all while creating something truly special. The lovey is lightly stuffed, giving it a plush dimension that babies will love to cuddle. Hand wash and lay flat to dry to keep it looking its best for generations to come.
Happy knitting, and may your days be filled with celestial dreams!