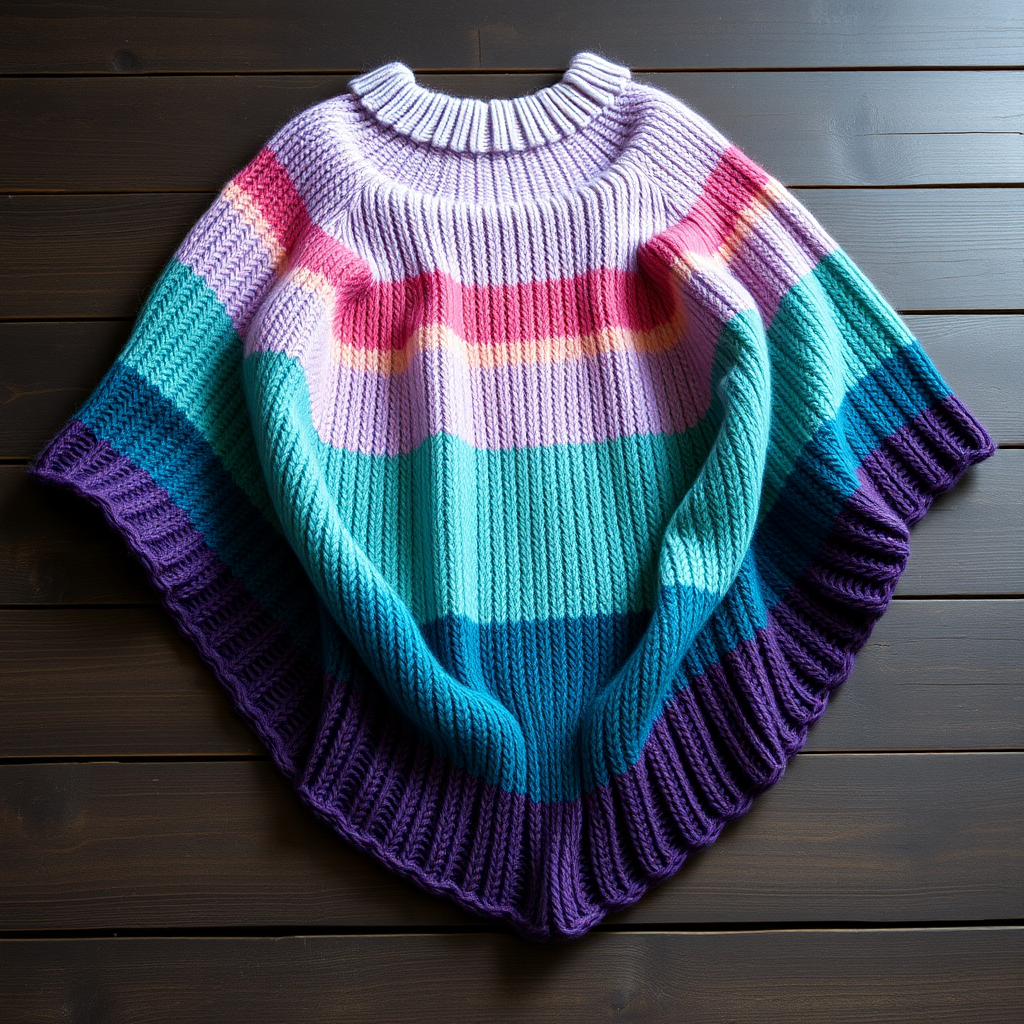
Aurora Cocoon Poncho Free Pattern – Knitted Ombre Cloud Wrap

Introducing the Aurora Cocoon Poncho: A Knitted Ombre Cloud Wrap
Wrap yourself in the softest, dreamiest clouds with this gradient cocoon poncho. The Aurora Cocoon Poncho features a unique slipped-stitch texture that mimics drifting mist, making it the perfect project for cozy evenings. This oversized knit is both a statement piece and a warm hug, and it's surprisingly beginner-friendly. With a simple top-down construction and gradual color changes, you'll create a stunning, handcrafted wrap that looks like it came straight from a boutique. This free pattern is your gateway to mastering seamless knitting and beautiful ombre effects.
Materials Needed
Before you begin, gather the following materials to ensure a smooth knitting experience. The key to this project's beauty is the gradient of colors, so choose shades that blend harmoniously.
- Yarn: Worsted weight yarn in 3 shades of the same color family (e.g., light lavender, medium periwinkle, deep violet) – approximately 600g total (200g each).
- Needle: US 10 (6mm) circular knitting needle, 32-inch or longer (to accommodate the large number of stitches).
- Notions: Stitch markers (8+), yarn needle for weaving in ends, waste yarn or stitch holders, scissors.
- Gauge: 14 stitches and 20 rows = 4 inches in stockinette stitch (after blocking). Always check your gauge to ensure the correct drape and size.
Step-by-Step Instructions
This poncho is knit in one piece from the top down, starting with a simple neckline and increasing to create a flowing, cocoon-like silhouette. The slipped-stitch pattern adds a subtle, woven texture that catches light beautifully. Follow these detailed instructions carefully, and you'll have a gorgeous new wardrobe staple.
Abbreviations
- CO: Cast on
- K: Knit
- P: Purl
- Sl: Slip stitch purlwise
- YO: Yarn over
- K2tog: Knit two together
- PM: Place marker
- SM: Slip marker
- Rep: Repeat
- wyib: With yarn in back
Pattern Notes
- Worked in the round, then split for the front and back opening.
- Change yarn colors gradually: start with light shade, transition to medium, then deep shade. To blend, carry the old and new yarn together for 4-5 stitches at the color change. This creates a seamless, professional ombre effect.
Step 1: Neckline
CO 80 stitches with light shade. Join in the round, being careful not to twist. PM at the beginning of the round.
Rounds 1-4: K all stitches (stockinette). This creates a clean, rolled neckline edge.
Step 2: Increase Rounds
This is where the magic begins. We'll use yarn overs (YO) to create the expanding cocoon shape.
Round 5: *K10, YO, PM, K10, YO, PM* – repeat from * to * around (you now have 8 markers, each after a YO). (96 stitches)
Round 6: K all stitches, knitting the YOs through the back loop to avoid holes. This is crucial for a clean finish.
Round 7: *K to 1 stitch before marker, YO, SM, K1, YO* – repeat from * to * around. (112 stitches)
Round 8: K all stitches, knitting YOs through back loop.
Step 3: Body – Slipped Stitch Pattern
Now we introduce the beautiful textured pattern that gives this poncho its unique look.
Round 9: *K1, Sl1 wyib* – repeat from * to * around.
Round 10: K all stitches.
Round 11: *Sl1 wyib, K1* – repeat from * to * around.
Round 12: K all stitches.
Step 4: Continue Increases
We'll alternate between the increase rounds and the textured pattern to shape the poncho.
Round 13: *K to 1 stitch before marker, YO, SM, K1, YO* – repeat from * to * around. (128 stitches)
Round 14: K all stitches, knitting YOs through back loop.
Rounds 15-18: Repeat Rounds 9-12 (slipped stitch pattern).
Round 19: Repeat Round 13. (144 stitches)
Round 20: K all stitches, knitting YOs through back loop.
Step 5: Color Transition
At the beginning of Round 21, switch to medium shade. Continue with the slipped stitch pattern (Rounds 9-12) for 8 rounds, then do another increase round (Round 13). (160 stitches)
Repeat this sequence – 8 rounds of slipped stitch pattern, then 1 increase round – until you have 240 stitches total, alternating colors as desired. For a gradual ombre, change colors every 10-12 rounds. This will create a beautiful, flowing gradient.
Step 6: Split for Front Opening
Once you reach 240 stitches, knit to the midpoint of the round (120 stitches). Place the next 120 stitches on a holder or waste yarn. You will now work back and forth on the remaining 120 stitches for the front panel.
Front Panel (worked flat): Continue in slipped stitch pattern (Rows 1-4 as per Rounds 9-12) for 20 rows, maintaining the color sequence. End with a purl row. This creates the front drape of the poncho.
Step 7: Back Panel
Return to the held stitches, attach yarn, and work the same 20 rows in slipped stitch pattern. This ensures the back is symmetrical with the front.
Step 8: Bottom Edging
With right side facing, pick up and knit stitches evenly around the entire bottom edge of the poncho (including the front and back panels). Work in K1, P1 ribbing for 6 rows. Bind off loosely in pattern. This ribbed hem adds structure and prevents curling.
Step 9: Finishing
Weave in all ends carefully. Block gently to open up the slipped stitch texture and even out the color transitions. Lay flat to dry. Blocking is essential for this pattern to achieve the perfect drape and showcase the beautiful stitch definition.
Optional: Add a simple fringe along the bottom edge using leftover yarn in the deepest shade for a boho touch. This adds a fun, personalized detail to your finished piece.
Congratulations! You've just created a stunning, one-of-a-kind Aurora Cocoon Poncho. This project is perfect for knitters looking to expand their skills while creating a beautiful, wearable piece of art. Enjoy the compliments that are sure to come your way!