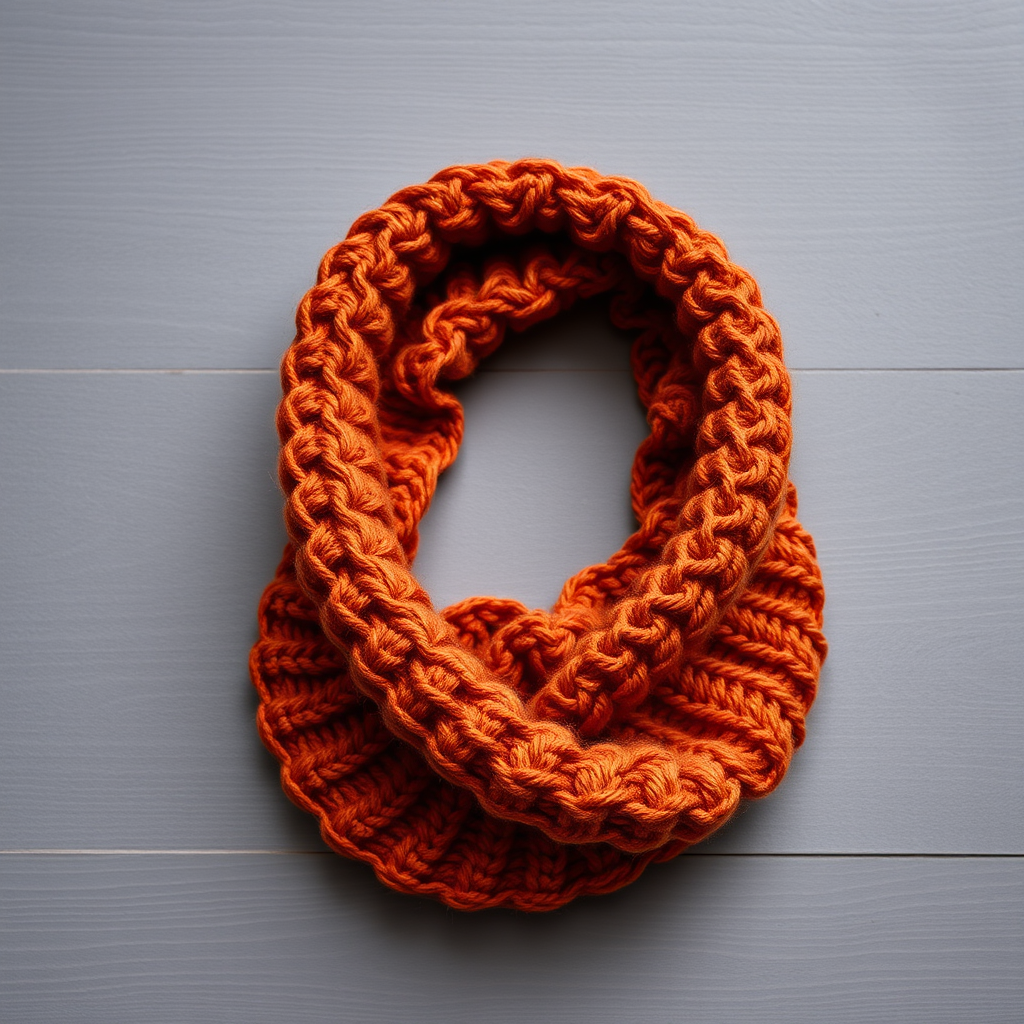
Amber Dune Cowl Free Knitting Pattern – Textured Keyhole Neck Warmer

Amber Dune Cowl Free Knitting Pattern – Textured Keyhole Neck Warmer
Wrap yourself in the warm, earthy tones of the Amber Dune Cowl, a richly textured knit that features a clever keyhole button closure. This cozy accessory is perfect for transitional weather and adds a handmade touch to any outfit. The bold, twisted cables create a raised, diamond-like motif against a smooth stockinette background, making this cowl both visually striking and wonderfully warm. Whether you're a seasoned knitter looking for a satisfying project or a confident beginner ready to tackle cables, this pattern is designed to guide you every step of the way.
This cowl is knit flat and seamed, making it an excellent project for practicing cable techniques without the complexity of knitting in the round. The keyhole button closure allows you to adjust the fit, and the contrasting brown edging adds a rustic, polished finish. Let's dive into this beautiful, functional accessory that you'll be proud to wear or gift.
Materials Needed
Before you begin, gather the following materials to ensure a smooth knitting experience:
- Yarn: Worsted weight yarn in mustard yellow (approx. 250 yards) – the main color. A small amount of contrasting brown yarn for the edging and button tab.
- Needles: US 8 (5 mm) knitting needles. You will also need a cable needle and a stitch holder (or scrap yarn) for the button tab.
- Notions: A large wooden or brown button (approx. 1 inch in diameter), a tapestry needle for weaving in ends and seaming, and a stitch marker (optional).
- Gauge: 18 stitches and 24 rows = 4 inches in stockinette stitch. Always check your gauge to ensure the correct finished size.
Step-by-Step Instructions
Finished Measurements & Abbreviations
Finished Measurements: Approx. 24 inches around and 10 inches tall (excluding button tab).
Abbreviations:
- CO: Cast on
- K: Knit
- P: Purl
- K2tog: Knit two together (right-leaning decrease)
- SSK: Slip, slip, knit (left-leaning decrease)
- C4F: Cable 4 front (slip 2 stitches to cable needle, hold in front, knit 2, knit 2 from cable needle)
- C4B: Cable 4 back (slip 2 stitches to cable needle, hold in back, knit 2, knit 2 from cable needle)
- BO: Bind off
Cowl Body (Worked Flat)
Cast On & Ribbing:
CO 108 stitches with mustard yarn.
Row 1 (RS): *K2, P2; repeat from * to end.
Row 2 (WS): *P2, K2; repeat from * to end.
Repeat Rows 1-2 for 2 more times (total 4 rows of ribbing). This creates a neat, stretchy edge that will frame the cable pattern beautifully.
Begin Cable Pattern:
Now you'll start the textured cable motif. This pattern creates a beautiful, raised diamond-like texture that is the signature of the Amber Dune Cowl.
Row 5 (RS): K6, *C4F, K8; repeat from * until last 10 stitches, C4F, K6.
Tip: The K6 at the beginning and end of the row creates a smooth stockinette border that helps the cables stand out.
Row 6 and all WS rows: Purl all stitches. This creates the smooth background for the cables.
Row 7 (RS): K8, *C4B, K8; repeat from * until last 8 stitches, C4B, K6.
Note: The C4B on this row shifts the cable direction, creating the diamond effect.
Row 9 (RS): K6, *C4F, K8; repeat from * until last 10 stitches, C4F, K6.
Row 11 (RS): K8, *C4B, K8; repeat from * until last 8 stitches, C4B, K6.
Row 13 (RS): Repeat Row 5.
Row 15 (RS): K8, *C4B, K8; repeat from * until last 8 stitches, C4B, K6.
Row 17 (RS): Repeat Row 5.
Row 19 (RS): K8, *C4B, K8; repeat from * until last 8 stitches, C4B, K6.
Row 20 (WS): Purl all stitches.
Repeat the Pattern:
Repeat Rows 5-20 two more times (total 3 cable pattern repeats). This will give the cowl its full, luxurious height. After the third repeat, you'll have a beautiful, textured fabric with a clear diamond pattern.
Finishing Ribbing:
Row 1 (RS): *K2, P2; repeat from * to end.
Row 2 (WS): *P2, K2; repeat from * to end.
Repeat Rows 1-2 for 2 more times (total 4 rows of ribbing). This mirrors the bottom edge and gives the cowl a balanced, finished look.
BO all stitches in pattern (knit the knits and purl the purls as you bind off).
Button Tab (Make 1)
The button tab is a small, cleverly shaped piece that creates the keyhole closure. It's knit separately and then sewn into place.
With mustard yarn, CO 8 stitches.
Row 1 (RS): K all.
Row 2 (WS): P all.
Repeat Rows 1-2 until piece measures 3 inches. This creates a simple stockinette strip.
Shape the Buttonhole:
Next Row (RS): K2, SSK, K2, K2tog (6 stitches). This creates the buttonhole opening.
Next Row (WS): P all.
Next Row (RS): K1, SSK, K2tog, K1 (4 stitches). You're now narrowing the tab to a point.
Next Row (WS): P all.
Next Row (RS): SSK, K2tog (2 stitches).
Next Row (WS): P2tog (1 stitch). Cut yarn, pull through the last loop to secure.
Finishing & Assembly
Now it's time to bring all the pieces together. This is where the cowl truly comes to life.
1. Sew the Button Tab: Position the button tab on the inside of one end of the cowl (the right side when worn). The tab should extend beyond the edge, wrapping around to the outside. Sew the base of the tab securely to the inside of the cowl, ensuring the buttonhole is positioned so it will align with the button on the opposite end.
2. Attach the Button: Sew a large wooden or brown button on the outside of the opposite end of the cowl. Position it so that when you wrap the cowl around your neck, the tab reaches over and the buttonhole slips over the button. This creates the adjustable keyhole closure.
3. Weave in Ends: Use a tapestry needle to weave in all loose yarn ends on the wrong side of the fabric. This is essential for a professional finish and durability.
4. Block Gently: To shape the cowl and even out the cable stitches, wet block or steam block gently. Lay it flat on a towel, shape it to the correct dimensions (24 inches around, 10 inches tall), and allow it to dry completely. This step will make your cables look crisp and polished.
Your Amber Dune Cowl is now complete! The rich mustard color, textured cables, and rustic button make it a stunning accessory for any autumn or winter wardrobe. Wear it wrapped once around your neck, with the keyhole closure sitting at the front for a stylish, functional look.
Happy knitting! We'd love to see your finished cowl – share your photos and tag us in your creations.