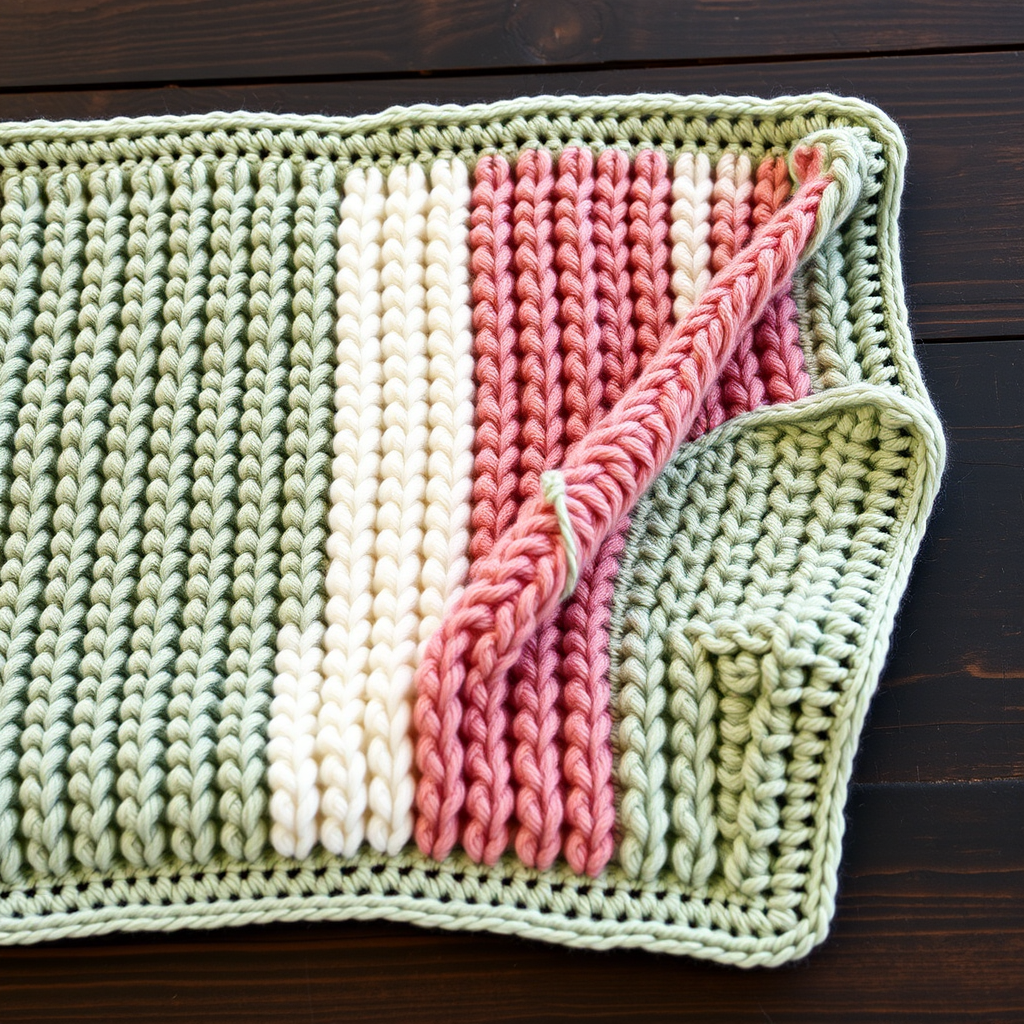
Willow's Whisper Blanket Free Pattern
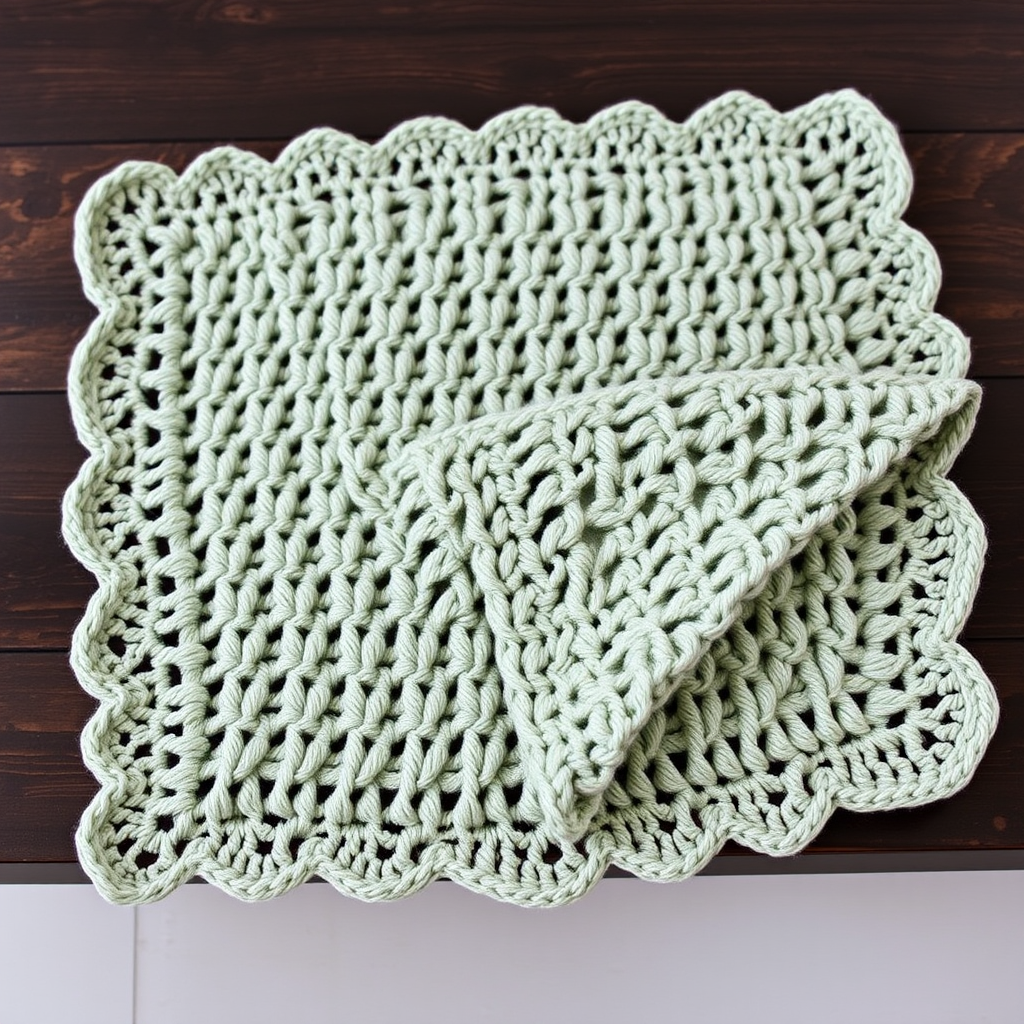
Introducing the Willow's Whisper Blanket: A Modern Heirloom
There's something truly special about wrapping a baby in a blanket made with your own hands. The Willow's Whisper Blanket is a modern take on classic baby comfort, designed to be as beautiful as it is cozy. This pattern creates a stunning, drapey fabric with a delicate, textured shell stitch that forms a gorgeous grid of openwork and solid stitches. It's the kind of piece that becomes an instant family heirloom, passed down with love.
Despite its intricate, lacy appearance, this pattern is surprisingly simple. It relies on a repeat of just a few basic stitches—single crochet, double crochet, and chains—making it an achievable project for a confident beginner looking to stretch their skills. The result is a soft, muted sage green blanket with a lovely drape and a slightly bumpy, tactile surface that babies will love to touch. Let's get started on creating this timeless treasure.
Materials Needed
Before you begin, gather the following supplies. Using the recommended materials will ensure your gauge matches and your finished blanket has the perfect drape and softness.
- Yarn: Worsted weight (Category 4) cotton or cotton-blend yarn in a soft, muted sage green. You will need approximately 1200 yards. (A cotton blend is ideal for breathability and softness against a baby's skin.)
- Crochet Hook: Size H/8 (5.0 mm) hook.
- Other Tools: A yarn needle for weaving in ends and a pair of scissors.
Gauge
To ensure your blanket turns out the correct size, it's crucial to check your gauge.
- Gauge: 14 stitches x 10 rows = 4 inches square in the pattern stitch.
Work a small swatch (at least 4" x 4") using the pattern stitch described below. If your swatch is too small, try a larger hook. If it's too big, try a smaller hook.
Step-by-Step Instructions
This blanket is worked in one piece from the bottom up. The pattern repeat is a multiple of 4 + 2. The instructions below are for a blanket that measures approximately 35 inches square. The stitch pattern creates "shells" which are groups of (dc, ch 1, dc) worked into the same space.
Getting Started: The Foundation
Foundation Chain: Chain 122 loosely. It's important to keep this foundation chain loose so the bottom edge doesn't pucker. You can use a hook one size larger just for the foundation chain if you tend to crochet tightly.
Row 1: Establishing the Pattern
Row 1: Sc in the 2nd ch from the hook. *Skip the next 3 chains, work (dc, ch 1, dc) in the next chain. Skip the next 3 chains, sc in the next chain. Repeat from * across the row. Turn.
Tip: At the end of this row, you should have a total of 15 shell groups (each shell being the (dc, ch 1, dc) cluster). The row will begin and end with a single crochet.
Row 2: Building the Shells
Row 2: Ch 3 (this counts as your first double crochet). *Skip the next sc, work (dc, ch 1, dc) in the ch-1 space of the next shell. Skip the next 2 dc, dc in the next sc. Repeat from * across the row, ending with a dc in the last sc. Turn.
Detail: Notice that you are working your new shells into the ch-1 spaces of the previous row's shells. The single crochets from the previous row are being skipped, and the new single crochet position is replaced by a double crochet.
Row 3: Alternating the Stitches
Row 3: Ch 1, sc in the first dc. *Skip the next 2 dc, work (dc, ch 1, dc) in the ch-1 space of the next shell. Skip the next 2 dc, sc in the next dc. Repeat from * across the row, ending with a sc in the top of the turning chain (the 3rd ch from the beginning of the previous row). Turn.
Detail: This row essentially reverses the look of Row 2. You are placing single crochets into the double crochets of the previous row, and shells into the ch-1 spaces. This creates the beautiful, staggered grid texture.
Repeating the Pattern
To create the length of the blanket, simply repeat Rows 2 and 3 until the piece measures approximately 31 inches from the foundation chain. It's best to end with a repeat of Row 3, which will give you a neat, symmetrical edge to work the border into. Do not fasten off; you will continue directly into the border.
Adding the Finishing Touch: The Border
The border is worked in the round, adding a delicate, scalloped edge that gives the blanket a polished, elegant finish.
Round 1: Ch 1, sc evenly around the entire blanket. Work 3 sc in each corner to help the border lay flat. Join with a slip stitch to the first sc.
Round 2: Ch 1. *Sc in the next st, skip 1 st, work (dc, ch 1, dc) in the next st, skip 1 st. Repeat from * around the blanket. At each corner, work a larger shell: (dc, ch 1, dc, ch 1, dc) in the corner st. Join with a slip stitch to the first sc.
Round 3: Ch 1, sc in each stitch around. At each corner, work 3 sc in the corner ch-1 space. Join with a slip stitch to the first sc.
Fasten off and weave in all ends securely with your yarn needle. Give your blanket a gentle block if desired to open up the stitch definition and even out the edges.
Your Willow's Whisper Blanket is now complete! This beautiful, textured piece is ready to be gifted, used, and loved. The simple, rhythmic repeat makes it a perfect project for relaxing evenings, and the stunning result is a testament to the beauty of handmade craftsmanship.