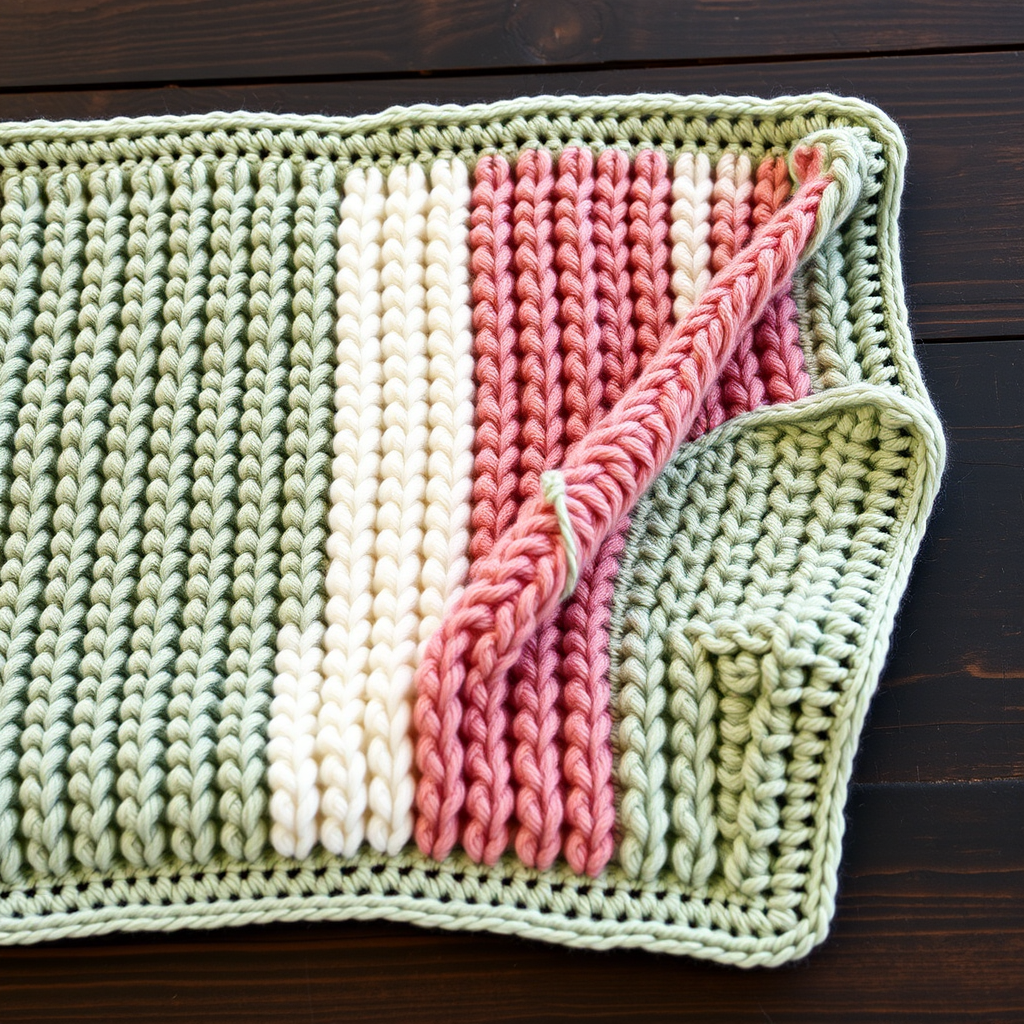
Whispering Willow Baby Blanket Free Pattern

Whispering Willow Baby Blanket Free Pattern
Wrap your little one in the gentle embrace of the Whispering Willow, a modern crochet blanket that mimics the soft sway of willow branches. This heirloom-quality piece uses a delicate shell stitch to create a textured, airy fabric that's perfect for year-round comfort. Whether you're a seasoned crocheter or a confident beginner looking for a rewarding project, this pattern is designed to be both meditative and achievable. The soothing rhythm of the shell stitch, combined with the calming sage green and crisp cream palette, makes this blanket a beautiful addition to any nursery. Let's get started on creating a cherished keepsake that will be passed down for generations.
Materials Needed
Before you begin, gather the following materials to ensure a smooth and enjoyable crocheting experience. The quality of your yarn will greatly affect the final drape and feel of the blanket, so choose a soft, washable cotton or cotton-blend for a baby-friendly finish.
- Yarn: DK weight (3) cotton or cotton-blend yarn in a soft sage green (approx. 900 yards) and a cream or ivory (approx. 100 yards) for border.
- Hook: G/6 (4.0 mm) crochet hook.
- Other: Yarn needle for weaving in ends, scissors, and a measuring tape.
Gauge: 14 dc x 8 rows = 4 inches (10 cm) in pattern stitch. It's crucial to check your gauge to ensure your finished blanket measures the intended 30 inches x 30 inches. If your gauge is off, adjust your hook size accordingly.
Step-by-Step Instructions
This pattern is worked in one piece from the bottom up, making it simple to track your progress. The repetitive nature of the shell stitch is not only beautiful but also incredibly relaxing to work. Follow these detailed instructions carefully, and you'll have a stunning blanket in no time.
Finished Size & Abbreviations
Finished Size: 30 inches x 30 inches
Stitches & Abbreviations:
- ch = chain
- sc = single crochet
- dc = double crochet
- sk = skip
- st(s) = stitch(es)
- sl st = slip stitch
Special Stitch:
- Shell: (2 dc, ch 1, 2 dc) in same st. This creates the beautiful scalloped "willow leaf" effect.
Pattern Notes:
- Worked in rows. The chain 3 at the beginning of a row counts as the first double crochet.
- The blanket is worked in one piece from bottom to top, then the border is added around the entire edge.
Creating the Foundation & Main Body
Foundation Row: With sage green, ch 106. This chain should be loose but not sloppy. If you tend to crochet tightly, consider using a larger hook for the foundation chain only.
Row 1: Dc in the 4th ch from the hook (the skipped chains count as your first dc, so you now have 2 dc). Now, *sk 2 ch, shell in next ch, sk 2 ch, dc in next ch; repeat from * across to the last 3 ch, sk 2 ch, dc in the last ch. Turn. (You will have 17 shells). This row sets the pattern: a single dc acts as a "separator" between each shell.
Row 2: Ch 3 (counts as your first dc). Now, *shell in the ch-1 space of the next shell (this is the gap between the two sets of 2 dc from the row below), dc in the next dc (the single dc that separates the shells); repeat from * across, ending with a dc in the top of the turning ch from the previous row. Turn.
Rows 3-60: Repeat Row 2 until the piece measures approximately 29 inches from the foundation row. The pattern is beautifully repetitive—you'll always be working your shells into the ch-1 spaces of the shells below, and your single dc into the dc below. Do not fasten off; you'll be working the border directly onto this final row.
Adding the Elegant Border
The border adds a clean, finished look and a lovely contrast with the cream yarn. It's worked in rounds, so you'll be going around the entire perimeter of the blanket.
Round 1: With sage green, ch 1 (this does not count as a stitch). Work sc evenly around all four edges of the blanket. The key is to work 3 sc in each corner to ensure the corners lie flat and don't curl. For the top and bottom edges, work one sc into each dc and one sc into each ch-1 space. For the side edges, work one sc into the end of each row. Join with a sl st to the first sc. Fasten off the sage green.
Round 2: Join the cream yarn in any corner sc. Ch 1. *Sc in each sc around, working 3 sc in the corner sc (the middle sc of the 3-sc corner group from the previous round); repeat from * around. Join with a sl st to the first sc. Fasten off the cream.
Round 3: Join the sage green yarn in any corner. Ch 1. *Sc in each sc around, working 3 sc in the corner sc; repeat from * around. Join with a sl st to the first sc. Fasten off.
Finishing Touches
Weave in all loose ends with your yarn needle, being careful to secure them neatly on the wrong side of the blanket. Finally, block the blanket gently to size. To block, lay it flat on a clean surface, mist it with water, and gently stretch it to the 30x30-inch dimensions. Allow it to dry completely. This step will even out your stitches and give the blanket a professional, polished look.
Your Whispering Willow baby blanket is now complete! This beautiful, heirloom-quality piece is ready to be gifted or cherished in your own home. The soft, textured fabric and calming colors are sure to become a favorite.