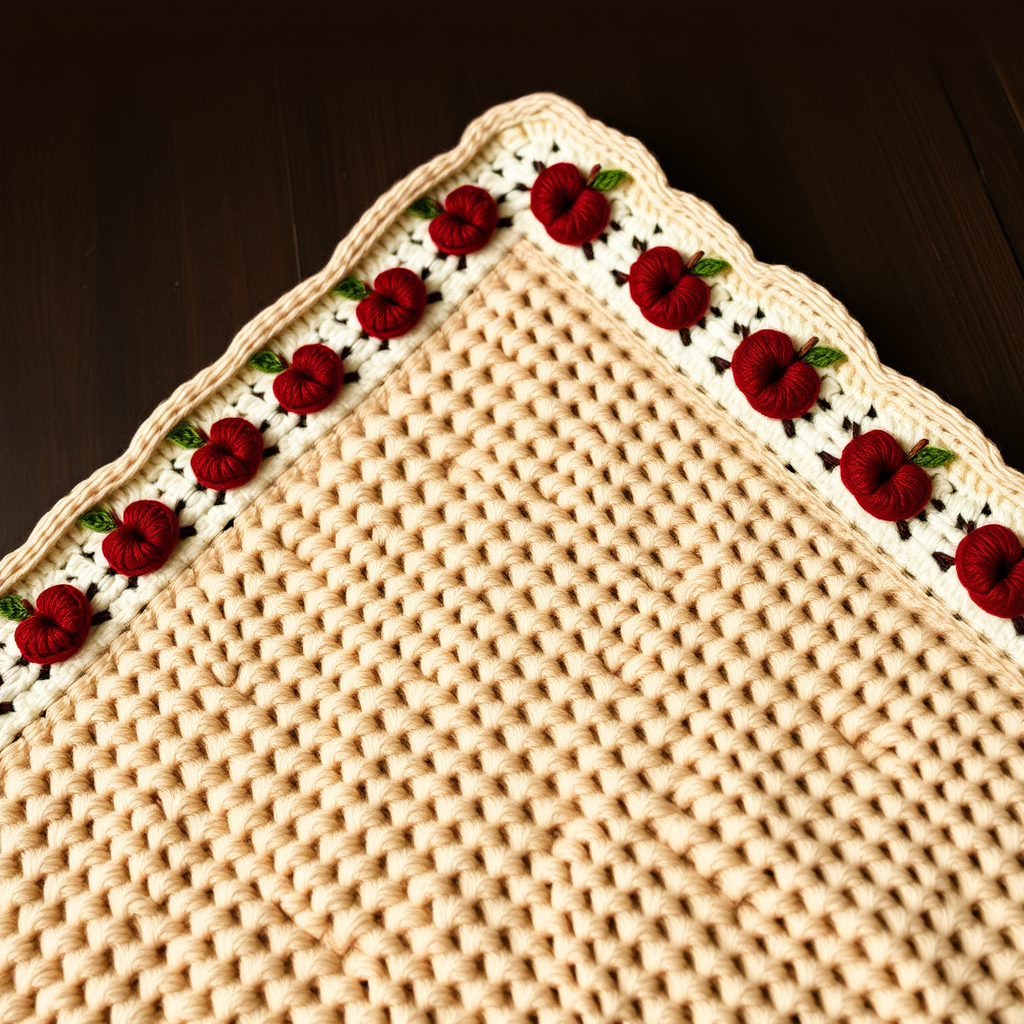
Whispering Pines Hexagon Throw Free Pattern
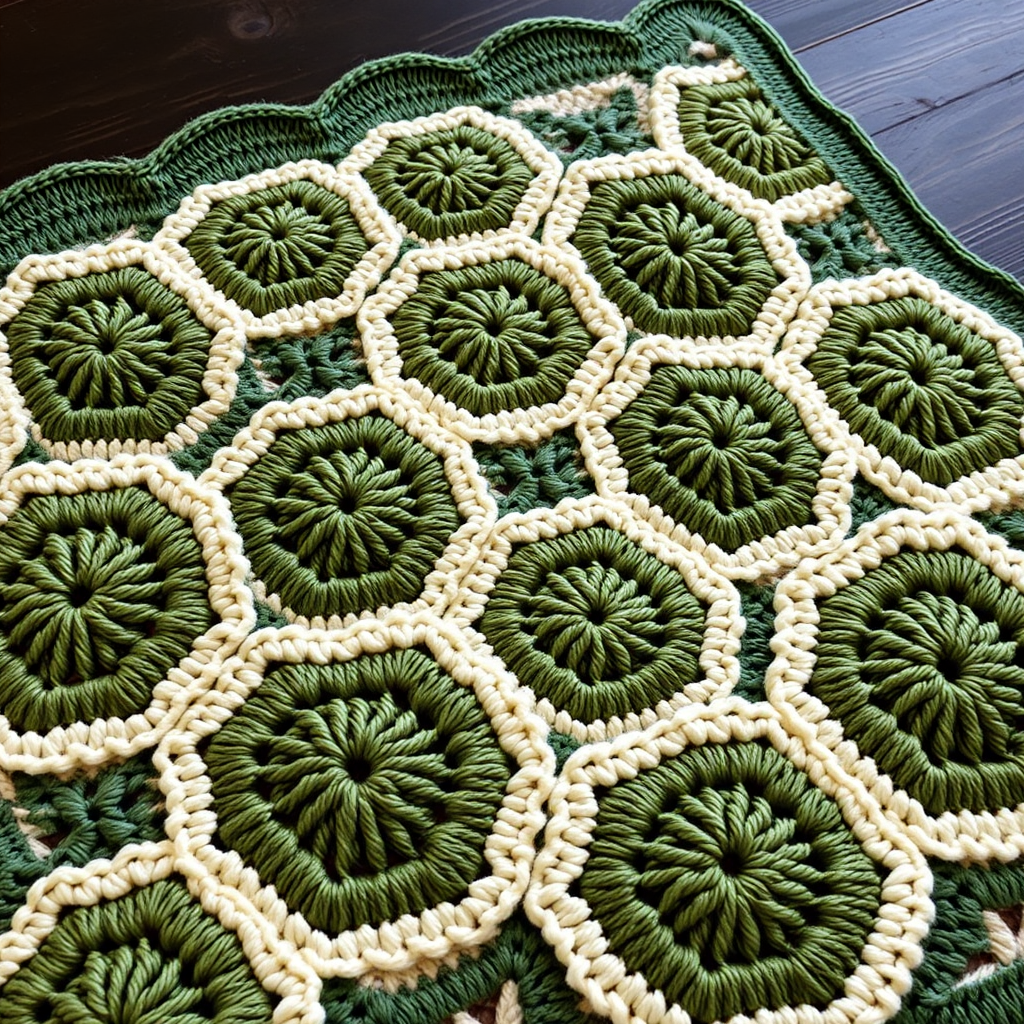
Whispering Pines Hexagon Throw: A Free Crochet Pattern for Cozy Evenings
Imagine wrapping yourself in the tranquil beauty of a pine forest, where the air is crisp and the colors are deep and soothing. That's the feeling you'll create with the Whispering Pines Hexagon Throw. This modern take on the classic granny square afghan combines the timeless hexagon motif with a delicate popcorn stitch, resulting in a plush, textured fabric that's as beautiful to touch as it is to look at. The palette of forest green, sage, moss, and cream evokes a serene woodland atmosphere, making this throw the perfect companion for quiet evenings with a good book or a warm cup of tea.
This free crochet pattern is designed for confident beginners and beyond. While it involves multiple motifs, the construction is repetitive and meditative once you get the hang of it. The result is a stunning, handmade heirloom piece that will add a touch of organic elegance to any room. Let's gather our materials and begin this rewarding project!
Materials Needed
Before you begin, ensure you have all the necessary supplies. This pattern uses worsted weight yarn, which is easy to work with and widely available.
- Yarn: Worsted weight yarn in four shades. You will need approximately 1800 yards total. Here's a suggested breakdown:
- Color A (Forest Green): For the center of motifs, joining, and border. (Approx. 600 yards)
- Color B (Sage): For the second round of motifs. (Approx. 400 yards)
- Color C (Moss): For the third round of motifs. (Approx. 400 yards)
- Color D (Cream): For the fourth round of motifs. (Approx. 400 yards)
- Crochet Hook: G/6 (4.0 mm) crochet hook. Adjust hook size if necessary to achieve the correct gauge.
- Other Tools: Yarn needle for weaving in ends and whip-stitching motifs together, scissors.
Gauge: The first 3 rounds of the hexagon should measure 4 inches across at the widest point. Achieving the correct gauge is crucial for ensuring your motifs are uniform and your final throw is the intended size. If your gauge is off, try a different hook size.
Step-by-Step Instructions
This afghan is constructed from 19 individual hexagon motifs, each worked in the round. Once all motifs are complete, they are joined together in a honeycomb pattern and finished with a clean border. Take your time with each step, and you'll have a beautiful throw in no time.
Hexagon Motif (Make 19)
Each motif is worked in continuous rounds. Pay close attention to the corner spaces (ch-2 spaces) as they are the key to creating the hexagonal shape.
Round 1: With Color A, make a magic ring. Ch 3 (counts as first dc), 2 dc in ring, ch 2, (3 dc in ring, ch 2) 5 times. Join with a slip stitch to the top of the beginning ch-3. You should now have 6 clusters of 3 dc and 6 ch-2 spaces. Fasten off Color A? No, do not fasten off yet; you will continue with Color A in Round 2.
Round 2: Slip stitch into the next 2 dc and into the ch-2 space. Ch 3 (counts as dc), 2 dc in the same space, ch 1, (3 dc, ch 2, 3 dc) in the next ch-2 space, ch 1. Repeat from * around, ending with 3 dc in the first ch-2 space, ch 2. Join with a slip stitch to the top of the beginning ch-3. You will now have 12 clusters of 3 dc and 6 corner ch-2 spaces. Fasten off Color A.
Round 3: Join Color B in any corner ch-2 space. Ch 3, 2 dc in the same space, ch 1, 3 dc in the next ch-1 space, ch 1, (3 dc, ch 2, 3 dc) in the next corner ch-2 space, ch 1, 3 dc in the next ch-1 space, ch 1. Repeat from * around, ending with 3 dc in the first corner space, ch 2. Join with a slip stitch. Fasten off Color B.
Round 4: Join Color C in any corner ch-2 space. Ch 3, 2 dc in the same space, ch 1, (3 dc in the next ch-1 space, ch 1) twice, (3 dc, ch 2, 3 dc) in the next corner space, ch 1. Repeat from * around, ending with 3 dc in the first corner space, ch 2. Join with a slip stitch. Fasten off Color C.
Round 5: Join Color D in any corner ch-2 space. Repeat the pattern from Round 4, but this time work (3 dc in the next ch-1 space, ch 1) three times between the corner spaces. Join with a slip stitch. Fasten off Color D.
Round 6: Join Color A in any corner ch-2 space. Repeat the pattern from Round 4, working (3 dc in the next ch-1 space, ch 1) four times between corners. Join with a slip stitch. Fasten off Color A.
Round 7: Join Color A again in any corner ch-2 space. Repeat the pattern from Round 4, working (3 dc in the next ch-1 space, ch 1) five times between corners. Join with a slip stitch. Fasten off and weave in all ends securely.
Repeat this entire process to create 19 identical hexagon motifs.
Assembly: Joining the Hexagons
Now for the fun part—watching your throw come together! Arrange your 19 hexagons in a honeycomb pattern. The layout is as follows:
- Bottom Row: 4 hexagons
- Second Row: 5 hexagons
- Middle Row: 6 hexagons
- Top Row: 4 hexagons (mirroring the bottom row)
This creates a large, rectangular shape with softly scalloped edges.
With the right sides of the motifs facing you, use Color A and a yarn needle to whip-stitch the motifs together. Work through the back loops only of the edge stitches, matching corners and edges carefully. Ensure all seams are secure and the joins are neat. Weave in all ends as you go to keep the back of your work tidy.
Border
The border gives the throw a polished, finished look and helps to stabilize the edges.
Round 1: With the right side facing, join Color A in any outer corner of the afghan. Ch 3 (counts as dc), work 2 dc in the same space. Then, work 3 dc in each ch-1 space and 1 dc in each dc along the straight edges. At each outer corner, work (3 dc, ch 2, 3 dc). At the inner corners where motifs meet, work 1 dc in the seam to keep the border flat. Join with a slip stitch to the top of the beginning ch-3.
Round 2: Ch 3, dc in each dc around the entire afghan. At each corner ch-2 space, work (2 dc, ch 2, 2 dc) to create a defined corner. Join with a slip stitch, fasten off, and weave in all remaining ends.
Your Whispering Pines Hexagon Throw is now complete! Lay it out, admire your handiwork, and enjoy the cozy, woodland-inspired warmth it brings to your home.