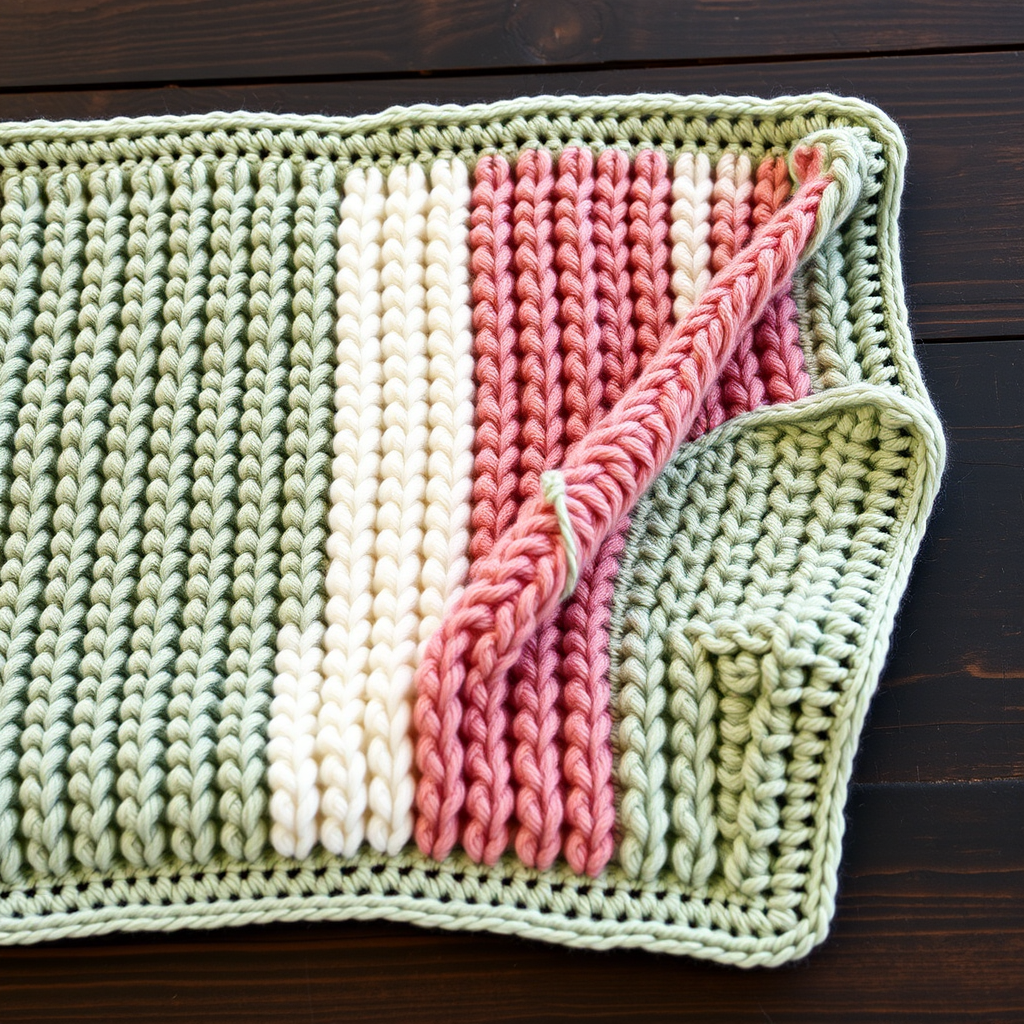
Whisper Soft Waffle Stitch Baby Blanket Free Pattern

Whisper Soft Waffle Stitch Baby Blanket: A Free Crochet Pattern
There is something truly magical about wrapping a newborn in a blanket made with your own two hands. The Whisper Soft Waffle Stitch Baby Blanket is designed to be that special piece—a modern, textured masterpiece that feels like a cloud against delicate skin. Using super bulky yarn and a large hook, this project works up deceptively fast, making it perfect for a weekend crafting session or a last-minute baby shower gift. The waffle stitch creates a stunning honeycomb-like grid that is not only visually captivating but also provides extra warmth and a wonderfully squishy, tactile experience for little fingers to explore.
Whether you are a seasoned crocheter looking for a quick win or a confident beginner ready for a new challenge, this free pattern is your gateway to creating a cherished heirloom. Let’s dive into the cozy world of textured crochet and craft a blanket that will be loved for years to come.
Materials Needed
Before you begin, gather your supplies. This project is wonderfully simple, requiring just a few essentials. The key to achieving that plush, cloud-like drape is using the right yarn and hook combination.
- Yarn: Super Bulky (Weight 6) yarn in a soft, light sage green. You will need approximately 900–1000 yards. This weight ensures the blanket is thick, warm, and works up quickly.
- Crochet Hook: A size P/16 (11.5 mm) hook. This large hook is essential for creating a loose, drapey fabric that isn't stiff.
- Other Tools: A yarn needle for weaving in ends, and a pair of scissors.
- Gauge: For best results, match the gauge of 7 stitches x 8 rows = 4 inches in the waffle stitch pattern. This ensures your blanket matches the finished dimensions of approximately 40 inches wide by 46 inches long.
Step-by-Step Instructions
This pattern is built on a simple two-row repeat that creates the iconic waffle texture. The front post double crochet (fpdc) is the star of the show, pulling the fabric together to form those beautiful "pockets." Don't be intimidated—it's easier than it looks!
Getting Started: The Foundation
We begin with a simple chain and a base row of single crochet. This provides a solid, even foundation for the textured pattern to build upon.
- Step 1: Chain (ch) 71 loosely. Keeping this chain loose is crucial for a flexible edge. If your chain is too tight, the bottom of your blanket will pucker.
- Step 2 (Row 1): Single crochet (sc) in the 2nd chain from your hook and in each chain across. You should have a total of 70 single crochet stitches. Turn your work.
Creating the Waffle Texture
Now we begin the magical two-row sequence. This is where the waffle pattern comes to life. Pay close attention to the placement of your front post double crochet stitches.
- Step 3 (Row 2): Chain 1 (this counts as your turning chain, not a stitch). Single crochet in the first stitch. *Double crochet (dc) in the next stitch, single crochet in the next stitch.* Repeat from * to * across the row. You will end with a single crochet in the last stitch. Turn. (70 stitches total).
- Step 4 (Row 3): Chain 1. Single crochet in the first stitch. *Front Post Double Crochet (fpdc) around the next double crochet from the row below, single crochet in the next stitch.* Repeat from * to * across the row. Turn. The fpdc is worked by inserting your hook from front to back to front around the post of the double crochet stitch, not into the top loops.
- Step 5 (Row 4): This row is identical to Row 2. Chain 1, single crochet in the first stitch, *double crochet in the next stitch, single crochet in the next stitch*. Repeat across. Turn.
Repeating the Pattern
You've now completed the core of the waffle stitch! The pattern is simply a repetition of Rows 3 and 4. The front post stitches will always be worked around the double crochet posts from the previous double crochet row, creating the raised grid.
- Step 6: Repeat Rows 3 and 4 sequentially until your piece measures approximately 46 inches from the beginning. It's best to measure in the middle of the blanket to get an accurate length, as edges can sometimes stretch. Always end the repeat with a Row 3 (the front post row) to ensure a clean finish.
Finishing Touches
Once you've reached your desired length, it's time to finish off the main body of the blanket and add a clean, polished edge.
- Step 7 (Final Row): Chain 1. Single crochet in each stitch across the row. This creates a neat, flat top edge that mirrors the foundation row. Fasten off and weave in all loose ends with your yarn needle.
Adding the Border (Optional but Recommended)
A simple border not only gives the blanket a professional finish but also helps to stabilize the edges and prevent them from stretching out of shape.
- Step 8: With the right side of the blanket facing you, join your yarn in any corner with a slip stitch.
- Step 9: Chain 1. Work a round of single crochet evenly around the entire perimeter of the blanket. When you reach each corner, work 3 single crochet stitches into the corner space to allow the border to turn smoothly without curling.
- Step 10: When you return to your starting corner, join with a slip stitch to the first single crochet. Fasten off and weave in your ends securely.
And there you have it—a beautiful, squishy, and modern waffle stitch baby blanket. The thick, textured fabric is perfect for tummy time, stroller snuggles, or as a cherished nursery decor piece. This pattern is a joy to make and an even greater joy to give. Happy crocheting!