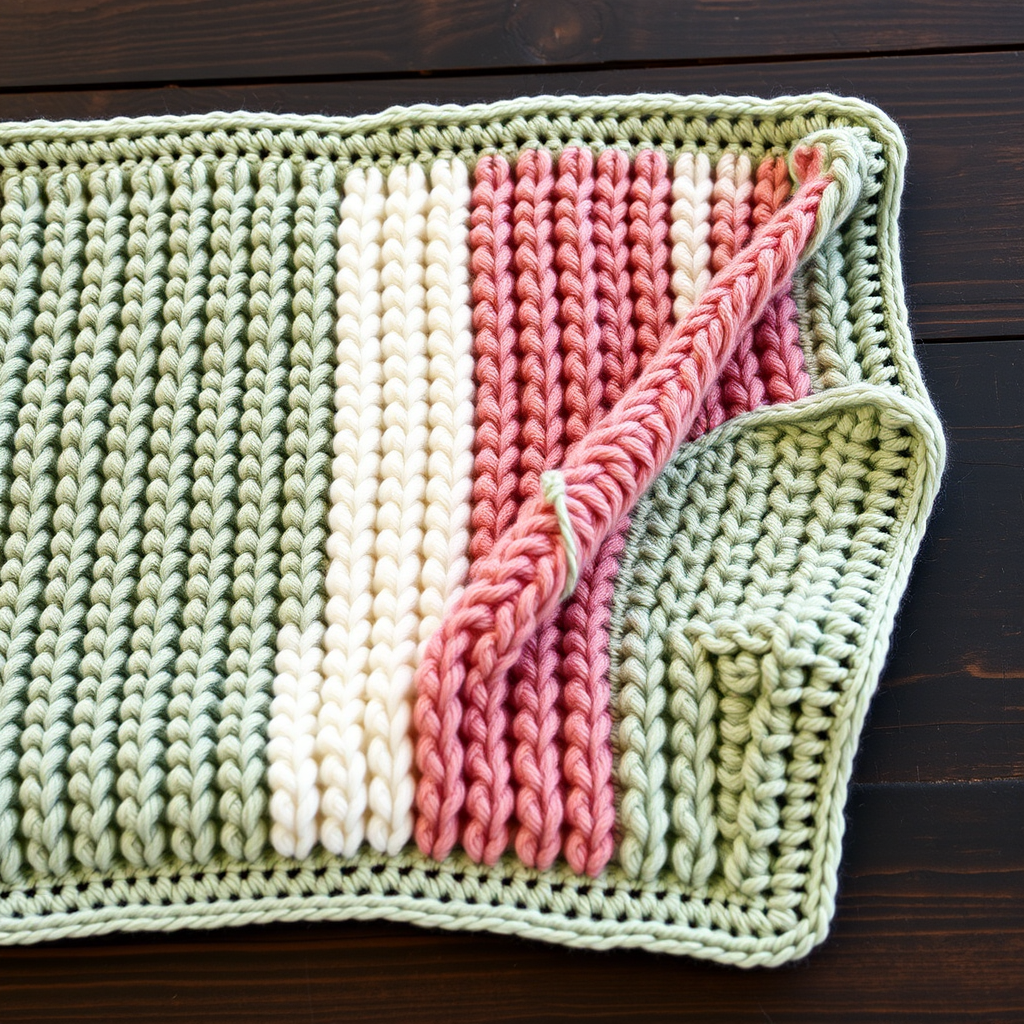
Whimsical Woodland Slumber Blanket Free Pattern

Whimsical Woodland Slumber Blanket: A Free Crochet Pattern for Beginners
There's something truly magical about wrapping a little one in a handmade gift—especially one that feels like a walk through an enchanted forest. The Whimsical Woodland Slumber Blanket is a textured mosaic of earthy tones, designed to bring warmth, comfort, and a touch of nature's serenity to any nursery. Whether you're a seasoned crocheter or picking up a hook for the very first time, this pattern is approachable, rewarding, and absolutely delightful to create.
This heirloom-quality baby blanket features 48 individual granny squares in a harmonious palette of deep forest green, soft moss, warm cream, and gentle brown. The squares are joined in a 6x8 grid, creating a visually rich patchwork that evokes the dappled light of a woodland floor. Finished with a dreamy, cloud-soft scalloped border, this blanket is as beautiful to gift as it is to make.
In this comprehensive guide, I'll walk you through every step—from gathering your materials to weaving in those final ends. By the end, you'll have a stunning, cozy blanket that's perfect for snuggles, stroller rides, and cherished family photos.
Materials Needed
Before we dive into the stitches, let's gather everything you'll need. Having your supplies ready and organized will make the process smooth and enjoyable.
Yarn
- DK weight (Category 3) yarn in four colors:
- Color A: Forest Green (approximately 300 yards)
- Color B: Moss (approximately 300 yards)
- Color C: Cream (approximately 300 yards)
- Color D: Soft Brown (approximately 300 yards)
- Total yardage: Approximately 1200 yards.
Pro tip: Choose a soft, machine-washable DK yarn for easy care—babies and parents will thank you!
Hook and Notions
- G/6 (4.0 mm) crochet hook
- Yarn needle (for weaving in ends and joining squares)
- Scissors
- Stitch markers (optional, but helpful for keeping track of rounds)
Gauge
7 blocks by 7 blocks in a 4" (10 cm) square, using the block pattern below. Gauge is important for ensuring your blanket comes out the right size, so take a moment to make a test square first.
Step-by-Step Instructions
This blanket is worked in a series of connected squares, then finished with a beautiful scalloped border. Each square measures 4" x 4". Don't worry if your first square isn't perfect—you'll be a pro by the time you finish all 48!
Square Pattern (Make 48 Total)
Each square is worked in the round, starting from the center and building outward. You'll use a different color for each round, creating that lovely, layered granny stitch texture.
Round 1 (Color A - Forest Green)
- With Color A, ch 4 (chain 4).
- Join with a sl st (slip stitch) to the first chain to form a ring.
- Ch 3 (counts as your first dc - double crochet).
- Work 2 dc into the ring.
- Ch 2 (this creates your first corner space).
- Work (3 dc, ch 2) into the ring 3 more times.
- Join with a sl st to the top of the beginning ch-3.
- Fasten off Color A and weave in the end.
You should now have a small square with 4 clusters of 3 dc and 4 corner spaces (ch-2 spaces).
Round 2 (Color B - Moss)
- Join Color B in any ch-2 corner space with a sl st.
- Ch 3 (counts as first dc).
- Work (2 dc, ch 2, 3 dc) in the same corner space. This creates your first corner.
- Ch 1 (chain 1 to create a space between clusters).
- In the next corner space, work (3 dc, ch 2, 3 dc).
- Repeat step 5 twice more for the remaining two corners.
- Ch 1 to close the round.
- Join with a sl st to the top of the beginning ch-3.
- Fasten off Color B and weave in the end.
Your square is growing! You now have 8 clusters of 3 dc and 4 corner spaces.
Round 3 (Color C - Cream)
- Join Color C in any corner space with a sl st.
- Ch 3 (counts as first dc).
- Work (2 dc, ch 2, 3 dc) in the same corner space.
- Ch 1.
- Work 3 dc in the next ch-1 space (this is the space between the corner clusters from Round 2).
- Ch 1.
- In the next corner space, work (3 dc, ch 2, 3 dc).
- Repeat steps 4–7 twice more to complete the remaining sides.
- After the last corner, ch 1, work 3 dc in the next ch-1 space, ch 1.
- Join with a sl st to the top of the beginning ch-3.
- Fasten off Color C and weave in the end.
Now you have 12 clusters of 3 dc total—3 on each side, plus the corner clusters.
Round 4 (Color D - Soft Brown)
- Join Color D in any corner space with a sl st.
- Ch 3 (counts as first dc).
- Work (2 dc, ch 2, 3 dc) in the same corner space.
- Ch 1.
- Work 3 dc in the next ch-1 space.
- Ch 1.
- Work 3 dc in the next ch-1 space.
- Ch 1.
- In the next corner space, work (3 dc, ch 2, 3 dc).
- Repeat steps 4–9 twice more to complete the remaining sides.
- After the last corner, ch 1, work 3 dc in each of the next two ch-1 spaces, with a ch 1 between them.
- Join with a sl st to the top of the beginning ch-3.
- Fasten off Color D and weave in all ends.
Congratulations! You've completed your first square. It should measure 4" x 4" and have 16 clusters of 3 dc total (4 on each side). Repeat this pattern to make a total of 48 squares.
Assembly: Joining Your Squares
Once all 48 squares are complete, it's time to arrange and join them. This is where the magic happens!
Arranging the Grid
- Lay out your squares on a flat surface in a 6x8 grid (6 squares across, 8 squares down).
- Alternate the colors randomly to create an organic, woodland feel. Don't overthink it—nature isn't perfectly symmetrical! Try to distribute the colors evenly so no two squares of the same color are touching too often.
- Once you're happy with the layout, take a photo with your phone for reference. This will be your map during assembly.
Joining Method: Whip Stitch or Single Crochet Join
You have two great options for joining. Both are beginner-friendly and create a sturdy seam.
Option 1: Whip Stitch Join (Invisible Seam)
- Place two squares with right sides together (the pretty sides facing each other).
- Thread your yarn needle with Color C (cream) or a matching yarn.
- Insert the needle through the back loops only of the corresponding stitches on both squares.
- Whip stitch across the entire edge, keeping your stitches even and not too tight.
- Repeat to join all squares in each row, then join the rows together.
Option 2: Single Crochet Join (Decorative Ridge)
- Place two squares with wrong sides together (the pretty sides facing out).
- Join Color C with a sl st in the corner space of both squares.
- Ch 1, then work a sc (single crochet) through the back loops only of the corresponding stitches on both squares.
- Continue sc across the edge, working through both layers.
- This creates a subtle, textured ridge on the right side of the blanket.
Whichever method you choose, be sure to weave in all ends as you go to keep the back of your blanket neat.
Border: The Dreamy Scalloped Edge
Now for the finishing touch—a soft, cloud-like scalloped border in cream. This is what gives the blanket its dreamy, heirloom quality.
Round 1: Single Crochet Base
- With Color C, join with a sl st in any corner of the assembled blanket.
- Ch 1 (does not count as a stitch).
- Work sc evenly around the entire blanket, placing 3 sc in each corner to keep the corners flat.
- When you reach the starting point, join with a sl st to the first sc.
This round creates a clean, even base for your scallops.
Round 2: Scalloped Edge
- Ch 1 (does not count as a stitch).
- Sc in the next stitch.
- Skip 2 stitches.
- Work 5 dc in the next stitch (this creates your first scallop).
- Skip 2 stitches.
- Sc in the next stitch.
- Repeat steps 3–6 all the way around the blanket.
- Adjusting at corners: When you reach a corner, you may need to work the scallop directly into the corner stitch or adjust the skip count slightly to ensure the scallops lie flat and turn the corner nicely. Don't stress—crochet is forgiving! Just make sure you have a scallop at each corner.
- When you reach the starting point, join with a sl st to the first sc.
- Fasten off and weave in all ends.
And there you have it—a gorgeous, textured woodland blanket with a delicate, scalloped finish!
Final Thoughts & Care Instructions
Take a moment to admire your work. You've just created a beautiful, heirloom-quality piece that will be treasured for years to come. The Whimsical Woodland Slumber Blanket is perfect for baby showers, new arrivals, or as a thoughtful handmade gift for someone special.
Care Instructions: To keep your blanket looking its best, machine wash on a gentle cycle in cold water and lay flat to dry. This will help maintain the shape and softness of the yarn.
I hope you enjoyed this pattern as much as I enjoyed sharing it. Happy crocheting, and may your days be filled with cozy stitches and woodland dreams!