Whimsical Meadow Tiered Crochet Skirt Free Pattern

Whimsical Meadow Tiered Crochet Skirt: A Free Spring Pattern
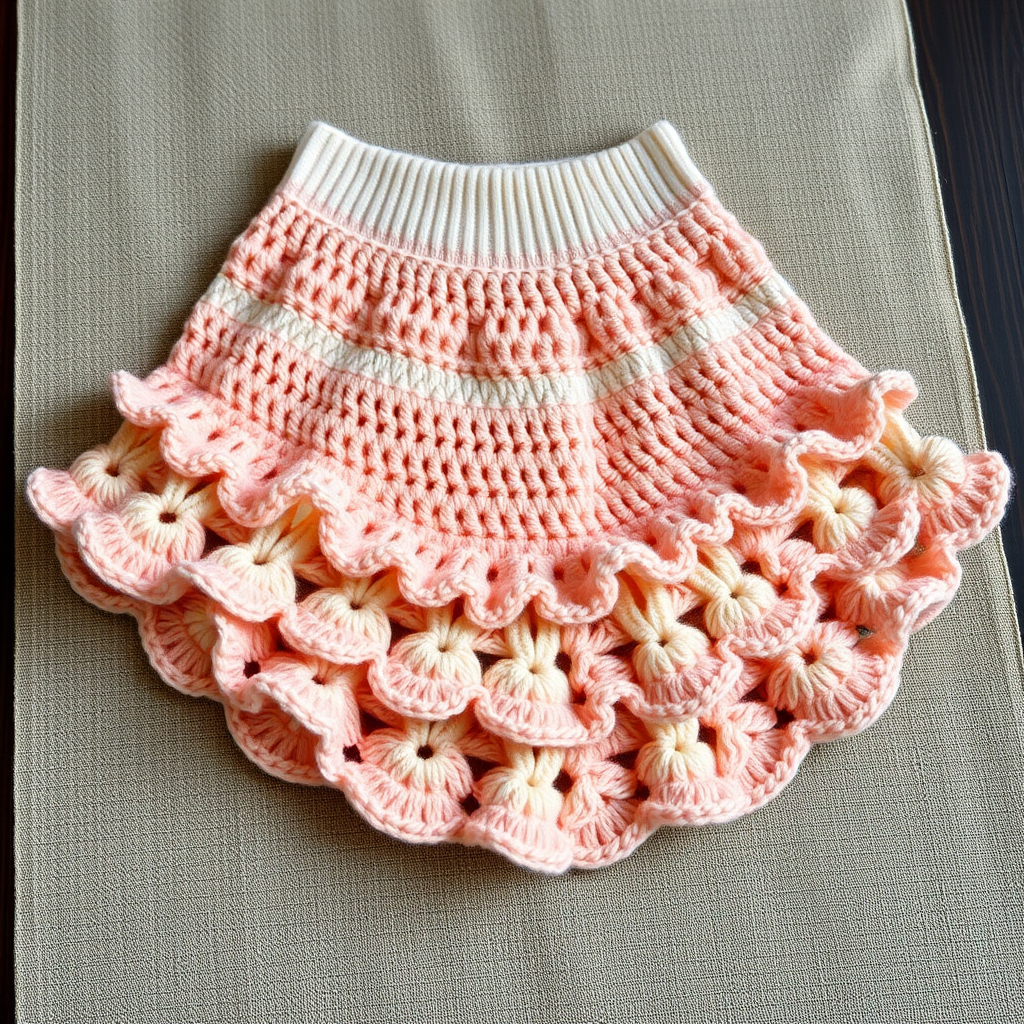
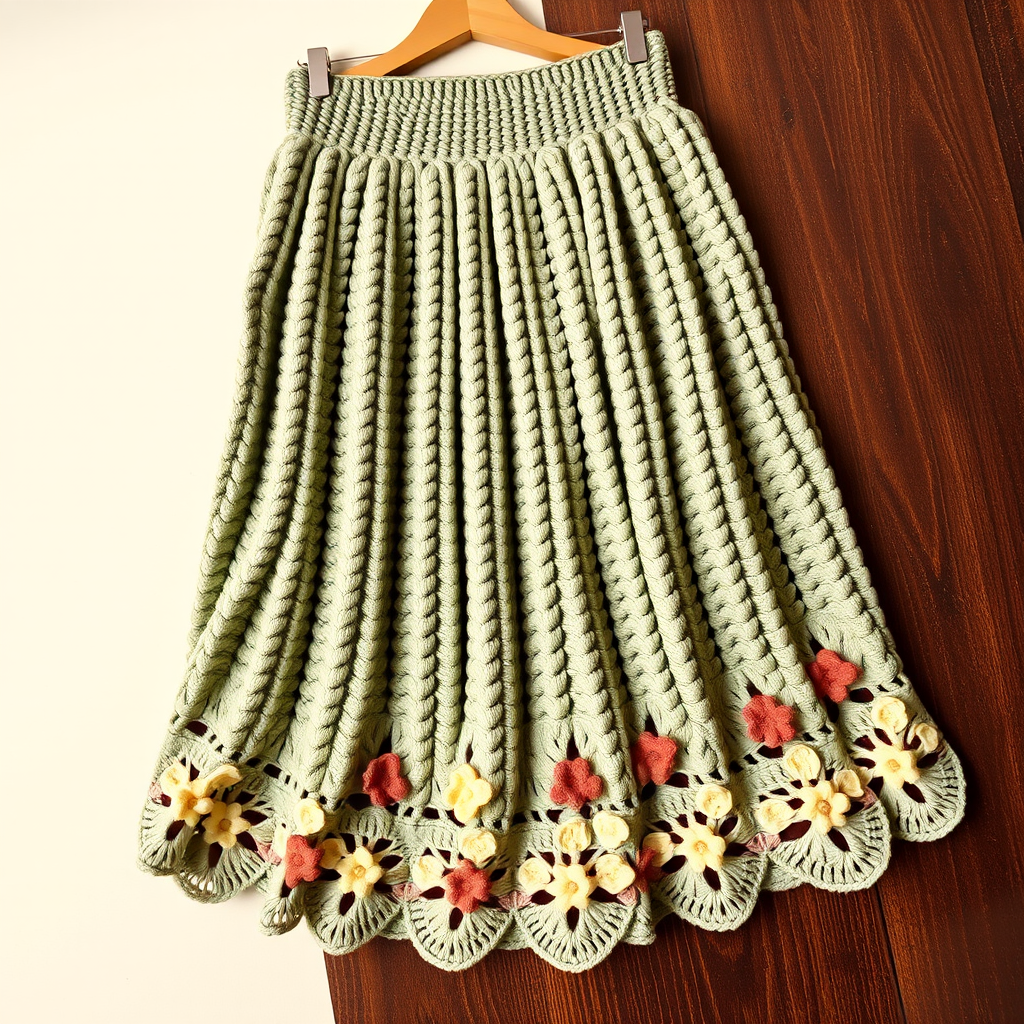
Dance into spring with this airy, tiered crochet skirt that cascades in soft, botanical hues. The flirty ruffles and lightweight feel make it a joyful wardrobe staple for sunny days. Whether you're heading to a farmer's market or a garden party, this handmade skirt adds a touch of whimsy to any outfit. With its combination of sage green, cream, and blush pink, this pattern brings a fresh, floral vibe to your crochet wardrobe. Best of all, it's a free pattern designed for confident beginners ready to tackle their first wearable!
Materials Needed
Before you begin, gather the following supplies to ensure a smooth crochet session:
- Yarn: Worsted weight cotton or cotton-blend yarn in three colors:
- Color A (main): Sage Green – approx. 300-400 yards
- Color B (accent): Cream – approx. 150-200 yards
- Color C (pop): Blush Pink – approx. 150-200 yards
- Hook: 5.0 mm (H/8) crochet hook
- Notions: Yarn needle for weaving ends, elastic waistband (1 inch wide, length = your waist measurement + 1 inch overlap)
- Gauge: 16 dc x 8 rows = 4 inches (10 cm) in double crochet. Always check your gauge to ensure proper fit!
Pattern Notes & Sizing
Size: S/M (fits waist 28-32 inches, finished length approx. 24 inches). To adjust for other sizes, add or subtract chains in multiples of 4 for the waistband, and adjust the increase rounds accordingly.
Key Notes:
- Worked in joined rounds. Each round begins with a ch 3 (counts as first dc) and ends with a slip stitch to join.
- The skirt body is worked from the waist down in one piece.
- Ruffle tiers are attached separately at specific rounds, creating that beautiful cascading effect.
- Fasten off and weave in ends as you go to minimize finishing work at the end.
Step-by-Step Instructions
Part 1: The Waistband
Foundation: Measure your waist. Crochet a foundation chain of 96 (or multiple of 4) to fit comfortably. Join with a slip stitch to form a ring, being careful not to twist the chain.
- Round 1: Ch 3 (counts as first dc), dc in each chain around, join with sl st to top of ch-3. (96 dc)
- Round 2: Ch 1, sc in same st, *ch 3, skip 2 dc, sc in next dc* repeat around, ending with ch 3, skip last 2 dc, join with sl st to first sc. Fasten off.
Inserting the Elastic: Cut elastic to your waist measurement + 1 inch overlap. Sew the elastic ends together securely. Fold the crochet waistband over the elastic, encasing it completely. Sew the crochet waistband closed over the elastic, ensuring the elastic is flat and not twisted.
Part 2: Skirt Body (Worked from Waist Down)
All rounds are worked in double crochet unless otherwise stated. The increases create the A-line flare.
- Attach Color A to any sc in the waistband round.
- Round 1: Ch 3, work 2 dc in same sc, *3 dc in next sc* repeat around, join. (96 groups of 3 dc = 288 dc)
- Round 2: Ch 3, dc in each dc around, join. (288 dc)
- Round 3 (Increase): Ch 3, dc in next 2 dc, *2 dc in next dc, dc in next 3 dc* repeat around, join. (360 dc)
- Rounds 4-6: Ch 3, dc in each dc around, join. (360 dc) Note: Round 6 is where you'll attach Ruffle Tier 1 later.
- Round 7 (Increase): Ch 3, dc in next 3 dc, *2 dc in next dc, dc in next 4 dc* repeat around, join. (432 dc)
- Rounds 8-10: Ch 3, dc in each dc around, join. (432 dc) Note: Round 10 is where you'll attach Ruffle Tier 2.
- Round 11 (Increase): Ch 3, dc in next 4 dc, *2 dc in next dc, dc in next 5 dc* repeat around, join. (504 dc)
- Rounds 12-14: Ch 3, dc in each dc around, join. (504 dc) Note: Round 14 is where you'll attach Ruffle Tier 3.
- Round 15 (Increase): Ch 3, dc in next 5 dc, *2 dc in next dc, dc in next 6 dc* repeat around, join. (576 dc)
- Rounds 16-18: Ch 3, dc in each dc around, join. (576 dc) Note: Round 18 is where you'll attach Ruffle Tier 4. Fasten off Color A.
Part 3: Attaching the Ruffle Tiers
Each ruffle tier is worked directly into the specified round of the skirt body. This creates the flouncy, tiered effect. Work with the right side of the skirt facing you.
Ruffle Tier 1 (Attach at Round 6, using Color B - Cream)
- Attach Color B to any dc in Round 6 of the skirt body.
- Round 1: Ch 3, work 2 dc in same st, *3 dc in next dc* repeat around, join. (1080 dc)
- Round 2: Ch 3, dc in each dc around, join. Fasten off.
Ruffle Tier 2 (Attach at Round 10, using Color C - Blush Pink)
- Attach Color C to any dc in Round 10 of the skirt body.
- Round 1: Ch 3, work 2 dc in same st, *3 dc in next dc* repeat around, join. (1080 dc)
- Round 2: Ch 3, dc in each dc around, join. Fasten off.
Ruffle Tier 3 (Attach at Round 14, using Color B - Cream)
- Attach Color B to any dc in Round 14 of the skirt body.
- Round 1: Ch 3, work 2 dc in same st, *3 dc in next dc* repeat around, join. (1080 dc)
- Round 2: Ch 3, dc in each dc around, join. Fasten off.
Ruffle Tier 4 (Attach at Round 18, using Color A - Sage Green)
- Attach Color A to any dc in Round 18 of the skirt body.
- Round 1: Ch 3, work 2 dc in same st, *3 dc in next dc* repeat around, join. (1080 dc)
- Round 2: Ch 3, dc in each dc around, join. Fasten off.
Part 4: Finishing Touches
- Weave in all ends using a yarn needle. Be thorough to ensure the skirt is durable and looks clean on the inside.
- Block gently to shape. Lay the skirt flat and mist with water, then allow it to dry completely. This helps even out the stitches and lets the ruffles fall beautifully.
- Try it on! If you prefer a longer skirt, add 2-3 rounds of dc (without increases) before attaching the next ruffle tier. For a shorter look, skip a ruffle tier or remove a few rounds.
Pro Tips for a Perfect Finish
- Stitch Markers: Use a stitch marker to mark the first stitch of each round. This will save you from counting mistakes, especially during the long dc rounds.
- Yarn Choice: Cotton or cotton-blend yarn is ideal for this skirt because it holds its shape well and breathes beautifully in warm weather. Avoid acrylic if you want a more natural drape.
- Customizing Colors: Feel free to swap the color palette! Pastel pinks, sky blues, and buttery yellows would look equally charming. You can also make it monochromatic for a more elegant look.
- Elastic Comfort: When measuring the elastic, add an extra inch for the overlap seam. Make sure the elastic isn't too tight—you want the skirt to sit comfortably at your natural waist.
This Whimsical Meadow Tiered Crochet Skirt is the perfect project to welcome warmer days. The rhythmic repetition of double crochet rounds makes it a relaxing make, while the ruffled tiers add just enough excitement to keep you motivated. Once you finish, you'll have a stunning, one-of-a-kind piece that's sure to turn heads. Happy crocheting!