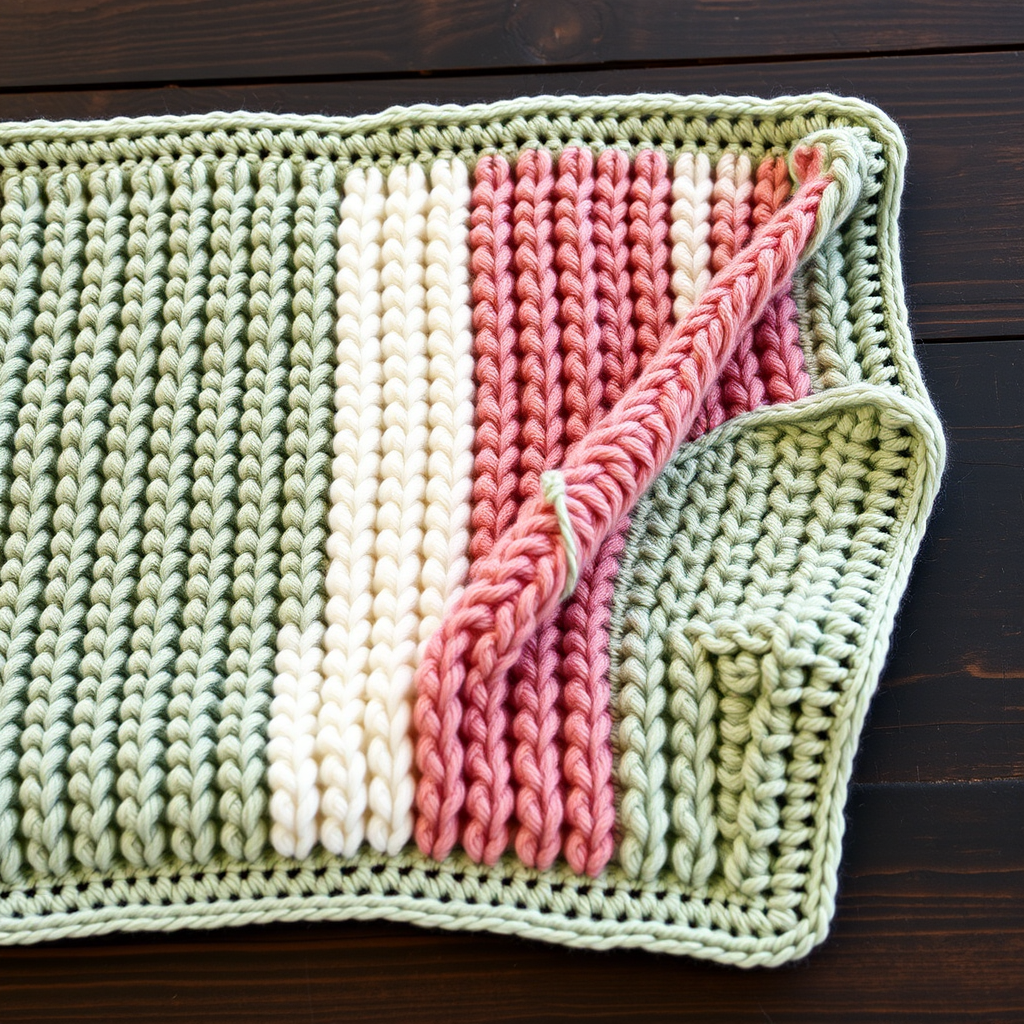
Wandering Waves Baby Blanket Free Pattern
Wandering Waves Baby Blanket: A Free Crochet Pattern for Beginners
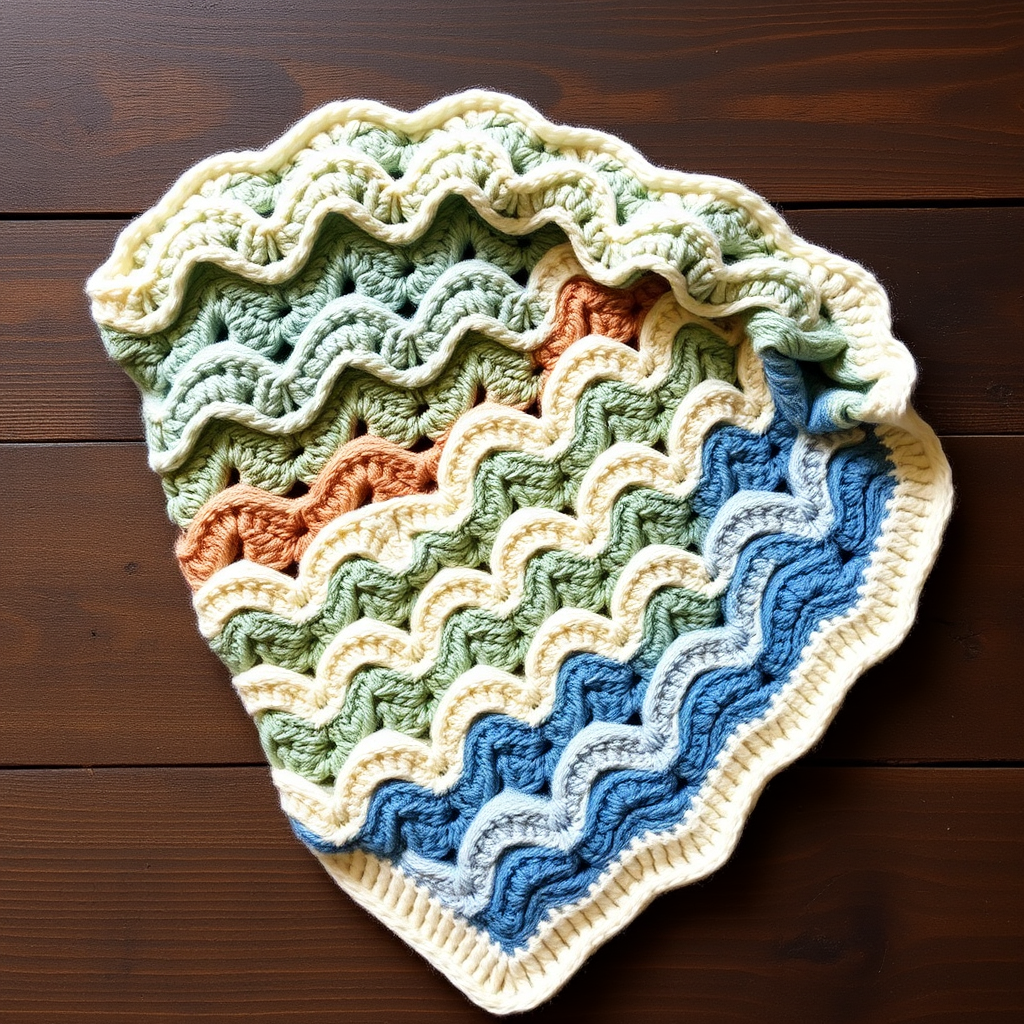
Wrap your little one in the gentle, rhythmic motion of the Wandering Waves blanket—a modern take on the classic chevron with a soft, textured ripple. This easy-to-master pattern creates a cozy, heirloom-quality piece that's perfect for snuggling and naptime. Whether you're a seasoned crocheter or just starting your yarn journey, this pattern is designed to be approachable, rewarding, and absolutely beautiful. The subtle wave texture, created with simple front post stitches, adds a touch of sophistication while remaining wonderfully beginner-friendly. Let's dive in and create something truly special!
Materials Needed
Before we begin, gather your materials. Having everything ready will make your crocheting experience smooth and enjoyable.
- Yarn: Worsted weight (4) yarn in three colors:
- Color A (Soft Sage) – approximately 400 yards
- Color B (Cream) – approximately 400 yards
- Color C (Dusty Blue) – approximately 400 yards
- Crochet Hook: H/8 (5.0 mm) crochet hook
- Other: Yarn needle for weaving in ends, scissors
Gauge
14 double crochet (dc) and 8 rows = 4 inches in pattern stitch. Be sure to check your gauge to ensure your blanket comes out the correct size. If your gauge is off, adjust your hook size accordingly.
Step-by-Step Instructions
This blanket is worked in rows with a simple repeat of double crochet and front post double crochet to create a subtle wave texture. The chevron shape is achieved through increases and decreases at the peaks and valleys. Don't worry—it's easier than it sounds! Let's break it down.
Understanding the Stitches
- ch: chain
- dc: double crochet
- fpdc: front post double crochet (yarn over, insert hook from front to back to front around the post of the stitch, yarn over, pull through, complete as a regular double crochet)
- sc: single crochet
- sl st: slip stitch
Foundation Row
With Color A (Soft Sage), chain 121. This foundation chain will create the width of your blanket. Make sure your chain is not twisted before you begin the first row.
Row 1
Dc in the 4th ch from hook (this counts as your first dc). Dc in the next 3 ch. Now we'll create our first peak: *3 dc in the next ch (this is your peak increase). Dc in the next 4 ch. Skip the next 2 ch (this forms your valley). Dc in the next 4 ch. Repeat from * across, ending with 3 dc in the last ch. Turn your work. (You will have 6 peaks and 5 valleys.)
Row 2
Ch 3 (counts as your first dc). Dc in the next 4 dc. *3 dc in the next dc (peak). Dc in the next 4 dc. Skip the next 2 dc (valley). Dc in the next 4 dc. Repeat from * across, ending with dc in the top of the turning ch. Turn.
Row 3 (Texture Row)
Ch 3. *Fpdc around the next dc. Dc in the next 3 dc. 3 dc in the next dc (peak). Dc in the next 3 dc. Fpdc around the next dc. Skip the next 2 dc (valley). Repeat from * across, ending with dc in the top of the turning ch. Turn.
Row 4
Ch 3. Dc in the next 4 dc. *3 dc in the next dc (peak). Dc in the next 4 dc. Skip the next 2 dc (valley). Dc in the next 4 dc. Repeat from * across, ending with dc in the top of the turning ch. Turn.
Row 5
Repeat Row 2.
Row 6
Repeat Row 3.
Color Sequence & Repeating the Pattern
Now that you've mastered the first 6 rows, it's time to add color and length! Follow this color sequence to create the beautiful striped effect:
- Rows 1-6: Color A (Soft Sage)
- Rows 7-12: Color B (Cream)
- Rows 13-18: Color C (Dusty Blue)
- Rows 19-24: Color B (Cream)
- Rows 25-30: Color A (Soft Sage)
- Rows 31-36: Color C (Dusty Blue)
- Rows 37-42: Color B (Cream)
- Rows 43-48: Color A (Soft Sage)
Continue alternating colors in this manner (A, B, C, B, A, C, B, A) until the blanket measures approximately 36 inches from the foundation, ending with a Row 6 repeat. When changing colors, simply fasten off the old color and join the new color with a slip stitch in the first stitch of the next row.
Finishing Touches
Final Row
With Color A (Soft Sage), ch 1. Sc in each dc across, working 3 sc in each peak and skipping 2 dc at each valley. This will help even out the edges. Fasten off and weave in all ends with your yarn needle.
Border (Optional but Beautiful)
With Color B (Cream), join yarn in any corner. Ch 1. Sc evenly around the entire blanket, working 3 sc in each corner to keep the corners nice and square. Join with a sl st to the first sc. Fasten off and weave in ends.
Tips for Success
- Count your stitches: It's easy to lose track, especially with the peaks and valleys. Count your stitches at the end of each row to ensure you haven't accidentally added or dropped any.
- Keep your tension consistent: Try to keep your yarn tension even throughout. This will help your blanket lay flat and look professional.
- Block your blanket: Once you've finished and woven in all ends, gently block your blanket to help it lay flat and even out the stitches. Simply lay it flat, mist with water, and let it dry completely.
And there you have it—a beautiful, handmade Wandering Waves Baby Blanket! This pattern is perfect for gifts, baby showers, or just because. The soft, textured waves and gentle color transitions make it a timeless piece that will be treasured for years to come. Happy crocheting!