The Cozy Cabin Cable Fingerless Gloves Free Pattern
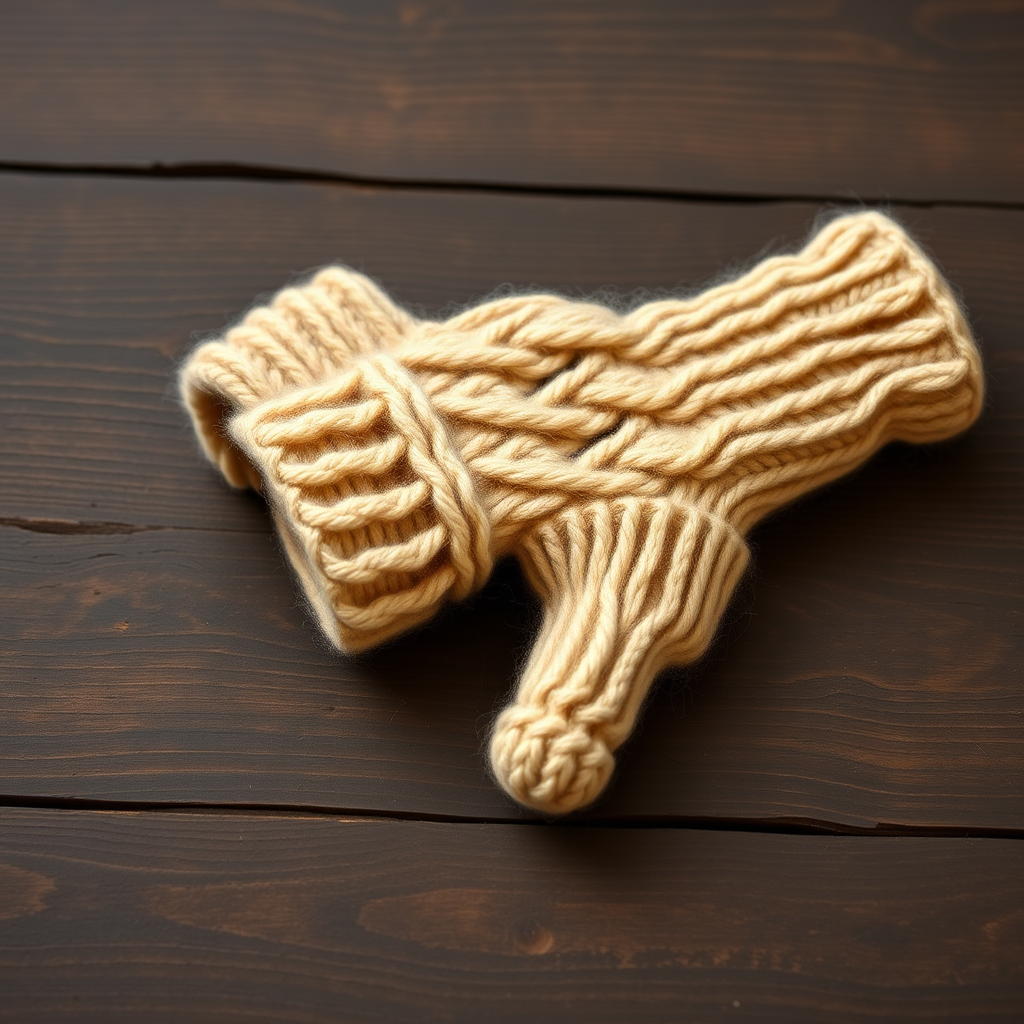
The Cozy Cabin Cable Fingerless Gloves: A Free Knitting Pattern for Beginners
There's something deeply satisfying about wrapping your hands in a garment you've crafted yourself—especially when it features the timeless elegance of cable knitting. These Cozy Cabin Cable Fingerless Gloves are designed to bring that rustic, cabin-in-the-woods charm to your everyday life. Whether you're sipping coffee on a crisp autumn morning, typing at your desk, or taking a brisk winter walk, these gloves keep your fingers free while your palms and wrists stay toasty warm.
This pattern is perfect for knitters who have mastered the basics and are ready to dip their toes into the wonderful world of cables. With clear instructions, a forgiving worsted-weight yarn, and a simple four-round repeat, you'll be amazed at how quickly these gloves come together. Let's grab your needles and get started!
Materials Needed
Before we dive into the stitches, let's gather everything you'll need for this project. Having all your supplies ready will make the process smooth and enjoyable.
Yarn
- Worsted weight yarn (Category 4), approximately 150-200 yards. For the best results, choose a yarn with good stitch definition so your cables really pop. A great choice is Lion Brand Wool-Ease in 'Fisherman' or 'Oatmeal'—the warm, neutral tones perfectly capture that cozy cabin aesthetic.
Needles & Notions
- US Size 7 (4.5 mm) knitting needles—either double-pointed needles (DPNs) or a circular needle for magic loop, whichever you prefer for small circumference knitting.
- Cable needle (or a spare DPN) for working the cable stitches.
- Stitch markers (at least 4)
- Stitch holder or scrap yarn for holding thumb stitches
- Tapestry needle for weaving in ends
Gauge
20 stitches and 26 rows = 4 inches in stockinette stitch. Always take a moment to check your gauge—it ensures your gloves fit perfectly. If your gauge is off, simply adjust your needle size up or down until you hit the mark.
Finished Size
This pattern creates an Adult Medium glove measuring approximately 7.5 inches around the palm and 8 inches long. The ribbed cuffs provide a snug, comfortable fit that stretches slightly to accommodate most hand sizes.
Step-by-Step Instructions
Now for the fun part! We'll work the gloves in the round, starting with the ribbed cuff, moving into the beautiful cable pattern, adding a thumb gusset, and finishing with a neat ribbed top. Don't worry if cables seem intimidating—our detailed instructions will guide you through every twist and turn.
Abbreviations
- CO: cast on
- K: knit
- P: purl
- C4F: slip 2 stitches to cable needle, hold in front, knit 2, knit 2 from cable needle
- C4B: slip 2 stitches to cable needle, hold in back, knit 2, knit 2 from cable needle
- K2tog: knit 2 together (decrease)
- M1: make one (increase)
- SSK: slip, slip, knit (decrease)
- BO: bind off
Right Glove
Cast On & Ribbing
CO 40 stitches. Join in the round, being very careful not to twist your stitches. Place a marker at the beginning of the round to keep track of your place.
Work K2, P2 ribbing for 2 inches. This creates a snug, stretchy cuff that will keep the gloves securely on your hands.
The Cable Pattern
Now we'll establish the beautiful cable pattern that runs along the back of your hand. The pattern is a simple 4-round repeat that creates a gorgeous braided effect.
Round 1: *K4, P2, K4, P2* repeat from * to * around (5 repeats total).
Round 2: *C4F, P2, C4B, P2* repeat from * to * around. This is where the magic happens—the cables twist and cross to create that intricate texture.
Round 3: *K4, P2, K4, P2* repeat from * to * around.
Round 4: *K4, P2, K4, P2* repeat from * to * around.
Repeat Rounds 1-4 until your piece measures 3 inches from the cast-on edge. You'll see the cable pattern emerging beautifully along the back of the glove.
Thumb Gusset
Now we'll add extra stitches to create room for your thumb. This is called a gusset, and it ensures a comfortable, well-fitting thumb opening.
Round 1: Work in pattern across the first 20 stitches (this will be the back of your hand), place marker, M1, K1, M1, place marker, work in pattern across the remaining 20 stitches (this is the palm side).
Round 2: Work in pattern, knitting the increased stitches as they appear (they will be knit stitches).
Round 3: Work in pattern to marker, M1, K to marker, M1, work in pattern.
Repeat Rounds 2-3 until you have 13 stitches between the markers. You're increasing every other round, which creates a smooth, gradual expansion for your thumb.
Separate the Thumb
Now it's time to isolate the thumb stitches so we can work the hand and thumb separately.
Next round: Work in pattern to the first marker, remove marker, place the 13 thumb stitches on a stitch holder or scrap yarn, CO 1 stitch (this creates a bridge between the thumb and hand), remove the second marker, work in pattern to the end of the round. You now have 40 stitches total back on your needles.
Continue the Hand
Continue working in the cable pattern (Rounds 1-4) until the glove measures 7 inches from the cast-on edge, or your desired length. For best results, end after completing Round 4 so your pattern is at a natural stopping point.
Top Ribbing
Work K2, P2 ribbing for 1 inch. This creates a neat, finished edge at the top of the glove. BO loosely in rib to maintain stretchiness.
The Thumb
Transfer your 13 thumb stitches back onto your needles. Pick up and knit 1 stitch from the bridge you created earlier. You now have 14 stitches total for the thumb.
Work in stockinette stitch (knit every round) for 1 inch. This creates a comfortable, flexible thumb tube. BO loosely.
Left Glove
Work the same as the right glove, but with one important difference: place the thumb gusset after 20 stitches from the beginning of the round. This means you'll work the first 20 stitches in pattern, then place markers for the gusset, then work the remaining 20 stitches. This mirrors the thumb placement so your gloves are perfectly symmetrical.
Finishing Touches
Congratulations, you've completed both gloves! Now for the final steps:
- Weave in all ends using your tapestry needle. Take your time here—neat ends make for professional-looking gloves.
- Block gently to even out the cables and relax the stitches. Simply soak the gloves in lukewarm water with a drop of mild soap, gently squeeze out excess water (never wring!), and lay flat to dry, shaping them as they dry.
And there you have it—your very own pair of Cozy Cabin Cable Fingerless Gloves! These make wonderful gifts for loved ones (or a special treat for yourself). The cable pattern is endlessly rewarding to knit, and the finished result is both practical and beautiful.
Remember, practice makes perfect. If your first glove feels a bit wonky, don't worry—your second one will be even better. Happy knitting, and enjoy the cozy warmth of your handmade creation!



