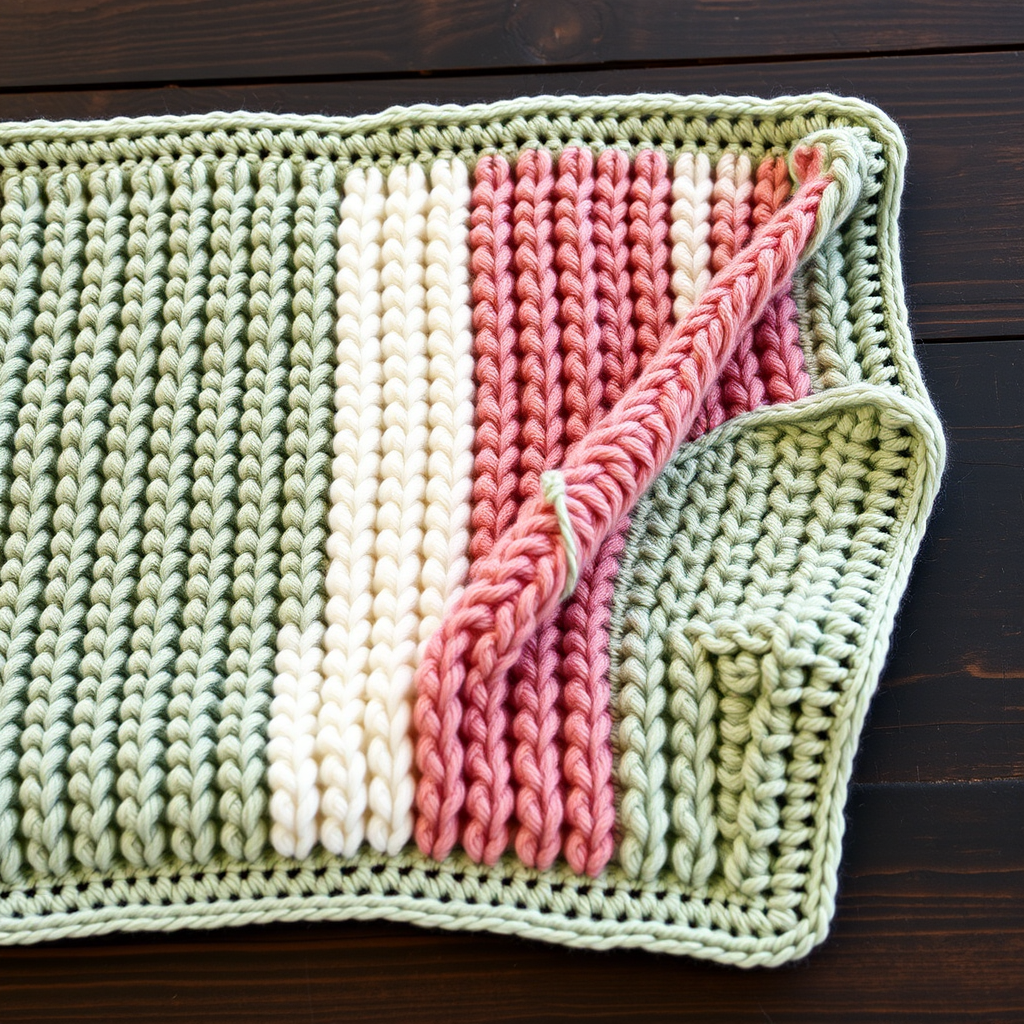
Sunset Gradient Baby Blanket Free Pattern

Wrap Your Little One in Warmth: The Sunset Gradient Baby Blanket
There is something truly magical about creating a handmade heirloom for a new arrival. The Sunset Gradient Baby Blanket captures the serene beauty of a summer evening, transitioning from soft peach through vibrant corals and golden yellows into a creamy, soothing finish. This pattern is not only a joy to gift but also a relaxing project for crocheters of all levels. The rhythmic repetition of the shell stitch is almost meditative, and the result is a plush, textured blanket that feels as warm as it looks. Let’s dive into creating this stunning piece that will surely become a cherished keepsake.
Materials Needed
Before you begin, gather your supplies. This project uses simple, readily available materials to create a high-end look.
- Yarn: DK weight (Light #3) cotton or cotton-blend yarn. You will need approximately 200g (or about 420 yards) of each of the following colors:
- Peach
- Coral
- Golden Yellow
- Soft Orange
- Cream (for the main body and border)
- Crochet Hook: Size I/9 or 5.5 mm hook. Ensure your hook is comfortable for your grip, as this is a larger project.
- Other Tools: A yarn needle for weaving in ends, and a pair of scissors.
Gauge: To ensure your blanket matches the intended dimensions (approx. 36" x 42"), it is crucial to check your gauge. Work a swatch until you achieve 4 shell stitches (each shell = 3 dc) and 6 rows = 4 inches in the pattern. Adjust your hook size if necessary to meet this gauge.
Step-by-Step Instructions
This pattern is worked in rows using a simple shell stitch. The key to the beautiful gradient is the color changes, but the crochet technique remains consistent throughout. Let's break it down.
Getting Started: The Foundation Chain
To begin, make a slip knot and chain (ch) 121 stitches loosely. This foundation chain needs to be flexible so the bottom edge of your blanket doesn't pucker. The pattern is a multiple of 6 + 1, and 121 chains will give you the perfect width for a baby blanket.
Row 1: Establishing the Shell Pattern
This first row sets the stage for the entire pattern.
- First Shell: Insert your hook into the 4th chain from your hook. Work 2 double crochets (dc) into that same chain. Because you skipped 3 chains (which counts as the first double crochet), you now have a total of 3 dc in that spot. This is your first "shell".
- Skip and Single Crochet: Skip the next 2 chains. Work 1 single crochet (sc) into the very next chain.
- Repeat the Pattern: *Skip the next 2 chains. Work 3 dc into the next chain (this creates a shell). Skip 2 chains, then work 1 sc into the next chain.* Repeat the sequence between the asterisks (*) across the entire row until you have only 3 chains remaining.
- Finishing the Row: Skip the next 2 chains. Work 3 dc into the very last chain of the row. Turn your work.
Row 2: Building the Texture
Now we will work the shells into the "valleys" of the previous row to create the interlocking texture.
- Starting the Row: Chain 1 (this does not count as a stitch). Work 1 sc into the first dc of the row below (this is the top of the shell you just made).
- Creating the Shell: Work 3 dc into the next single crochet space (this is the sc you made in the previous row, which now sits in the "valley" between shells).
- Continue the Pattern: Work 1 sc into the center dc of the next shell (the 2nd dc of the 3-dc group from the previous row). *Then, work 3 dc into the next sc space. Work 1 sc into the center dc of the next shell.* Repeat this pattern across the row.
- Finishing the Row: You will end the row by working 1 sc into the top of the turning chain (the chain 3 from the beginning of the previous row). Turn your work.
Row 3: Alternating the Shells
This row mirrors Row 1, placing the shells over the single crochets.
- Starting the Row: Chain 3 (this counts as your first double crochet). Work 2 dc into the very first sc of the row below. This creates your first shell.
- Continue the Pattern: *Work 1 sc into the center dc of the next shell (from the row below). Work 3 dc into the next sc space.* Repeat this sequence across the row.
- Finishing the Row: You will end the row by working 3 dc into the very last sc of the row. Turn your work.
Color Sequence & Repetition
Now that you have the rhythm, the magic happens with the color changes. You will continue repeating Rows 2 and 3 for the entire blanket, following this color order. When you finish a row and are ready to change colors, simply finish the last loop of the final stitch with the new color and turn your work.
- Peach: Work Rows 2 through 10.
- Coral: Work Rows 11 through 19.
- Golden Yellow: Work Rows 20 through 28.
- Soft Orange: Work Rows 29 through 37.
- Cream: Work Rows 38 through 46.
After Row 46, your main blanket body is complete. Fasten off the yarn and weave in all loose ends carefully, being sure not to pull the fabric too tightly.
Adding the Finishing Border
A beautiful border gives the blanket a polished, professional look.
- Round 1 (Single Crochet): Attach your Cream yarn to any corner of the blanket. Work a round of single crochet (sc) evenly around the entire perimeter of the blanket. When you reach each corner, work 3 sc into the corner stitch to ensure the border lays flat and turns the corner neatly.
- Round 2 (Reverse Sc - Crab Stitch): For a delicate, twisted-cord look, work a round of reverse single crochet. Instead of working from right to left, you will work from left to right. Insert your hook into the next stitch to the right, yarn over, pull up a loop, and complete the single crochet. This creates a beautiful, rope-like edging. Continue this around the entire blanket.
- Finishing: Fasten off the yarn and weave in this final end. Give your blanket a gentle block if desired to even out the stitches and enhance the drape.
Your Sunset Gradient Baby Blanket is now complete! The soft, textured shells and the warm, ombre color palette make it a stunning gift for a baby shower or a beautiful addition to your own nursery. Enjoy the process and the beautiful result of your handmade creation.